
In this detailed guide, we delve into the disassembly and customization process of the DIY Patriot wireless mouse, specifically focusing on the addition of a DPI switch button. With its sleek and compact design, this mouse offers ample room for modifications to enhance its functionality.
Key Features of the DIY Patriot Wireless Mouse:

1. Single-battery Power Supply: The mouse operates on a single battery, featuring a distinctive red ring receiver.

2. Intelligent Power Management: The mouse incorporates an intelligent power management system. When the battery is inserted without plugging in the receiver, the bottom LED briefly illuminates before entering a low-power sleep state. This state is periodically interrupted by high-current (mA-level) checks for the receiver signal. If no signal is detected, the mouse remains in a low-power sleep state until awakened by a button press.
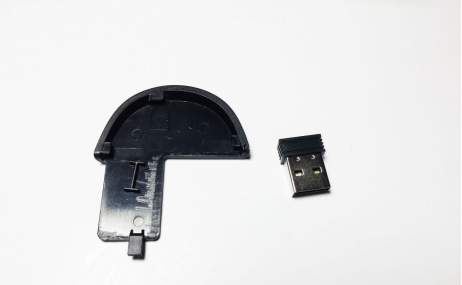
3. Quality Build: The internal structure is composed of durable plastic materials, ensuring reliability and longevity.

4. Scroll Wheel Design: The scroll wheel, lacking a coated surface, may present a slightly slippery feel, impacting user comfort.

Internal Components:
1. Motherboard Layout: Upon disassembling the mouse, the motherboard reveals a distinctive LED styling, providing insight into the device's internal architecture.

2. Power Management IC: A low-power synchronous boost IC with three pins facilitates efficient power management.

3. Sensor and Crystal: The presence of a sensor and crystal further contributes to the mouse's precision and performance.

Customization Opportunities:
1. DPI Button Integration: Exploration of the motherboard identifies a vacant spot for a DPI button. By utilizing a three-tier DPI switch, users can enhance their mouse's sensitivity. Practical experimentation with tweezers confirms the feasibility of implementing a custom DPI switch button.

2. Scroll Wheel Enhancement: The reverse side exposes an ungrounded scroll wheel encoder outer shell, potentially causing slight wobbling during use. Addressing this issue involves soldering to stabilize the scroll wheel and improve user experience.

Technical Details:
1. Wireless Communication Chip: The BYKC68MS wireless communication chip serves as a crucial component in ensuring seamless connectivity.

2. Lens Functionality: The lens contributes to the mouse's overall precision and accuracy.

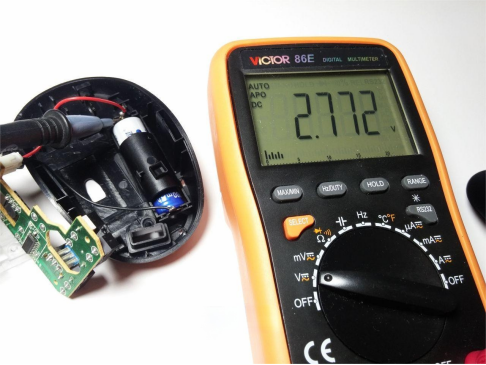
3. Boost IC Output Voltage: A thorough examination reveals an output voltage of 2.772V, indicative of a 2.8V DC-DC power supply.
Optimizing Precision:
If there are precision issues with the mold and the scroll wheel is slightly off-center, rubbing against the left side of the shell, a shim can be added to solve the problem.

Antenna, the red ring is scraped off the PCB, reinforcing the encoder's outer shell.

Adding a DPI button below, as there are no two-prong microswitches available, a 4-pin one was modified, with the legs extended at the bottom.
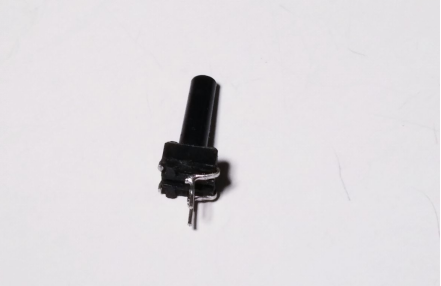
Used a bit of 704 adhesive.
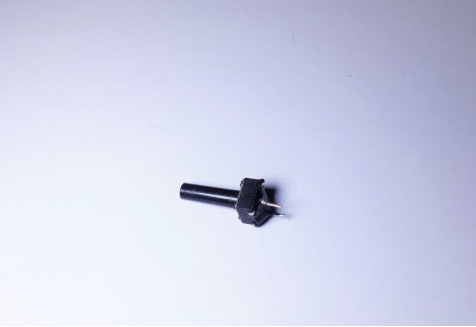
Looks pretty good.

Soldered on the reverse side.

Carved a square hole in the corresponding position on the shell.
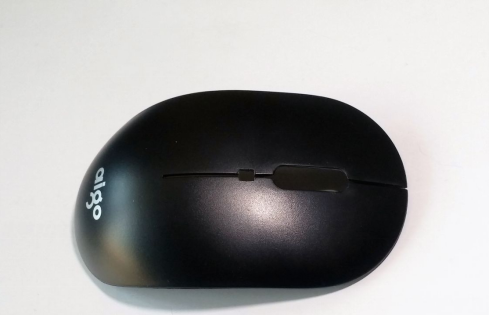
Used a rotary tool to carve a unique button shape, then sprayed a bit of matte black and glossy paint to achieve a matte and glossy effect, making it blend with the shell material. Drilled a hole at the bottom and added a small piece of silicone pad for the best feel. Then placed it on top of the microswitch.

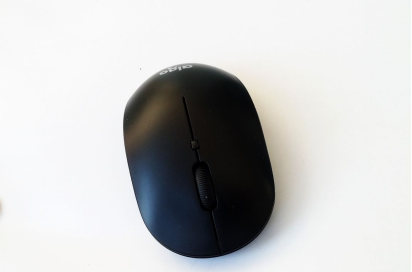
Assembled, the effect is quite good, almost blending seamlessly with the shell.
Conclusion:
This comprehensive guide not only showcases the internal components and design of the DIY Patriot wireless mouse but also offers valuable insights into potential customization opportunities, empowering users to elevate their mouse experience.


