
If there Enhance the functionality of your plug-in night light by following these modification steps:
Disassemble the Night Light:
Carefully dismantle the night light to expose its internal circuit board, revealing a compact electronic configuration.
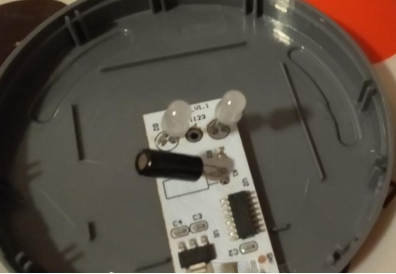
Utilize TP4056 Charging Module:
Opt for the TP4056 charging module with integrated 1A charging protection, ensuring an efficient and secure charging process.
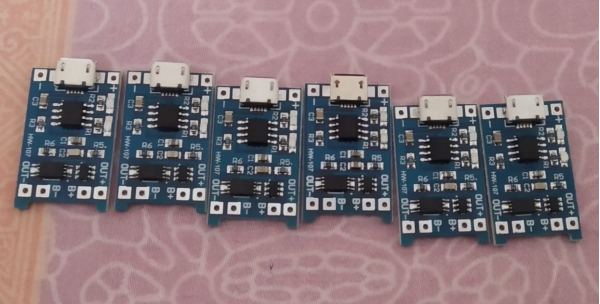
Preserve Aesthetic Integrity:
Maintain the device's visual appeal by retaining the existing micro USB interface. Disconnect the PCB circuit with precise incisions for seamless integration.
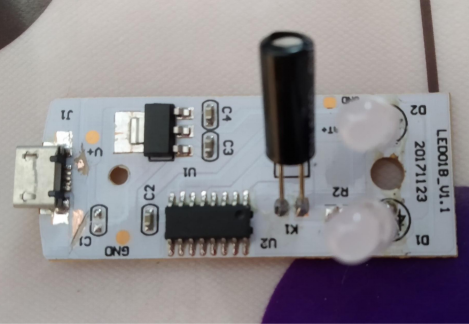
Connect Input and Output Terminals:
Establish connections between the night light's input and output terminals and the designated charging board to enable a streamlined power flow.
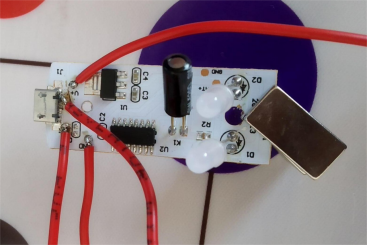
Enhance Stability with Magnets:
Augment stability during usage by affixing magnets to the base, facilitating a secure attachment.
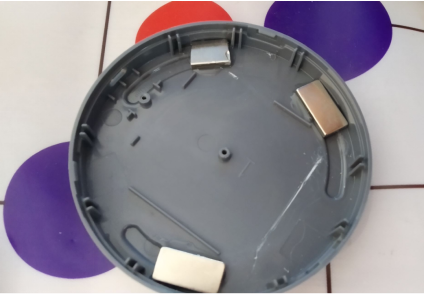
Secure Battery Placement:
Choose an appropriately sized battery and affix it securely using high-quality 3M adhesive.
Innovative Indicator Light Placement:
Consider extending the charging board's indicator light to the base through a drilled hole. Alternatively, position the charging board upright, ensuring the indicator light is visible through the translucent lampshade for both functionality and aesthetic appeal.
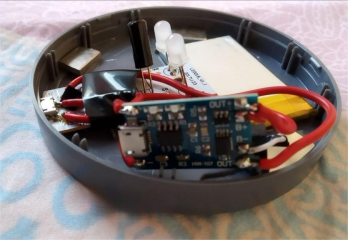
Optimal Assembly and Presentation:
Thoughtfully secure the wiring, meticulously assemble the components, and marvel at the charging process with a striking red light during charging, transitioning to a blue indicator light upon full charge.
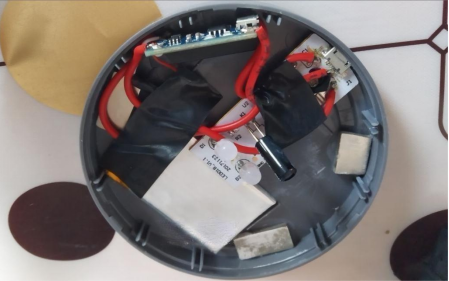
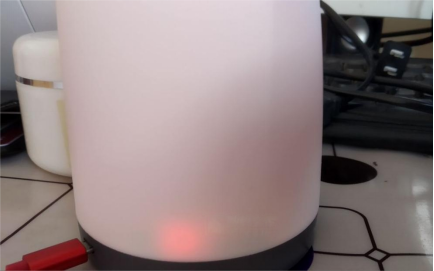
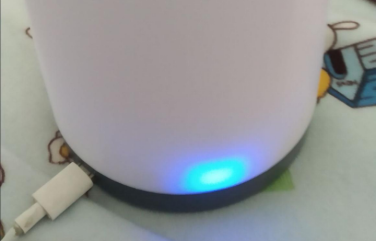
This comprehensive modification not only improves the night light's charging capabilities but also elevates its aesthetic appeal, creating a user-friendly and efficient lighting solution.


