
Building upon the insights shared in the previous DIY article on DIY LED Flashlight: Dimming & Touch Upgrades, this iteration explores the possibilities of customizing a C8 casing. Unlike the intricate manual engraving process, this approach leverages the efficiency of the etching method.
The primary focus is on upgrading the switch mechanism from a vibration switch to a reed switch. This modification allows for seamless toggling between stepless and stepped modes, requiring only proximity to a magnet for operation. The stability of the reed switch surpasses that of the vibration switch, which tends to exhibit unreliability when subjected to short circuits.
A notable aspect of this project involves the meticulous creation of a touch button. The intricate process demands significant time investment for precise polishing and installation. The flashlight driver configuration mirrors that of the prior article, employing 8 7135 chips and 8022ws. Emphasizing the importance of a 10uF capacitor is crucial for ensuring stability, especially considering occasional challenges with the 8022ws stemming from capacitor and battery issues. Addressing these concerns may involve a chip and capacitor replacement, ultimately requiring the utilization of the 8022 chip for optimal performance.
Outlined below is the step-by-step process:
· Begin by sketching the circuit design using an oil-based pen.
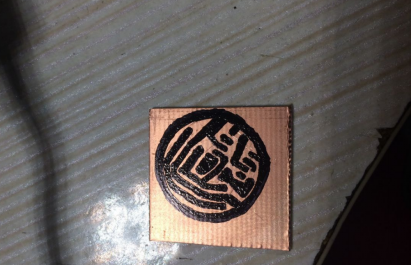
· Execute the etching process, with possible touch-ups in certain areas.
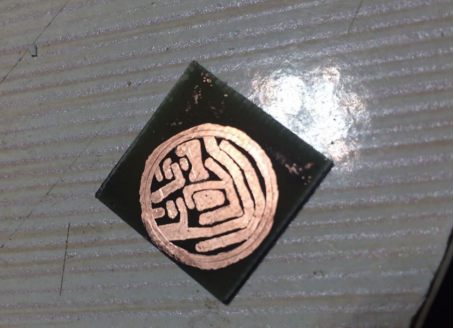
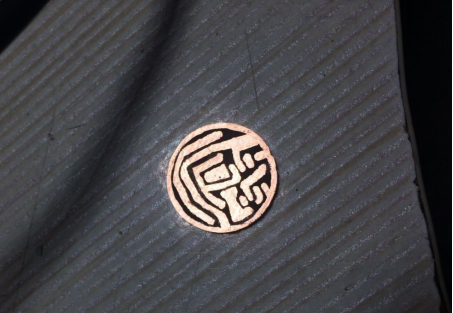
· Achieve the desired shape through meticulous polishing.
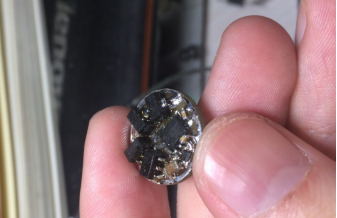
· Solder the components onto the circuit board.
· Drill strategic holes in the circuit compartment to accommodate touch wires.
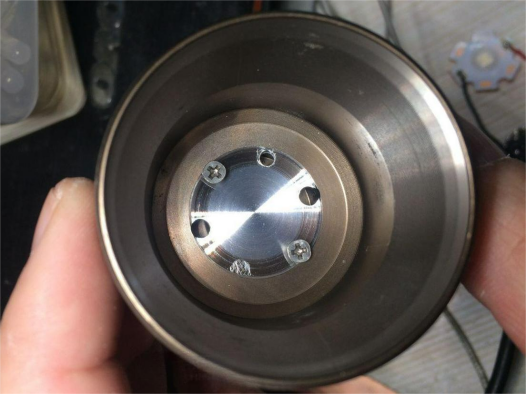
· Precisely position the hole designated for the touch button.
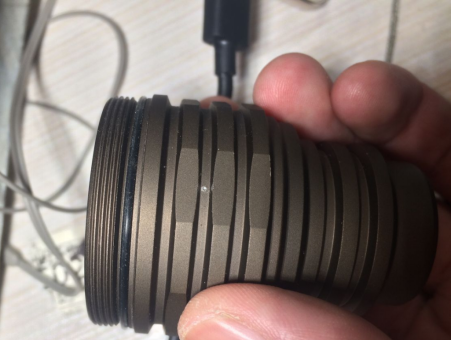
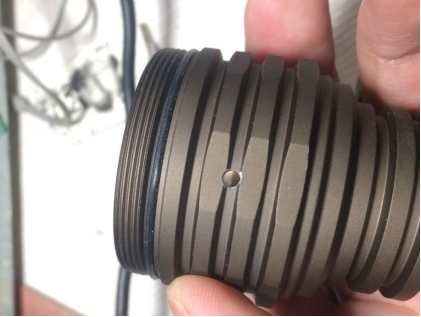
· Although the reed switch may appear relatively large, it remains within standard market sizes.
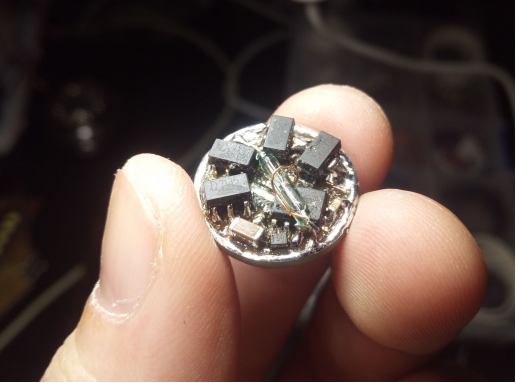
· Exercise caution when bending the pins to prevent breakage.
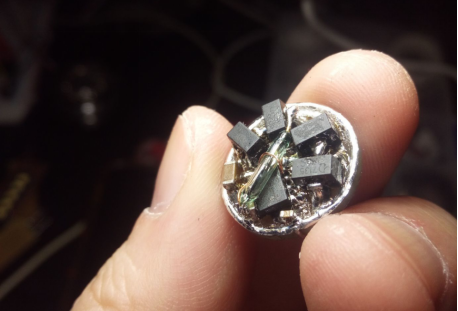
· Prepare for the installation of LED beads and the application of thermal grease.
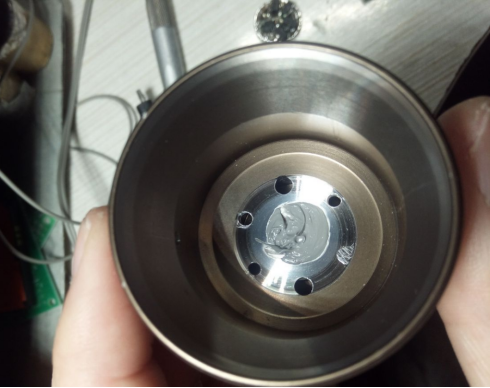
· Attach the driver board and meticulously solder the touch wires.
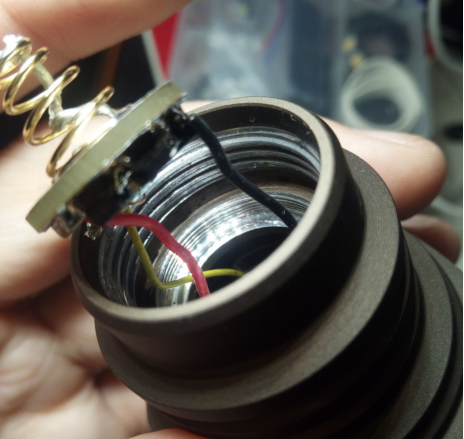
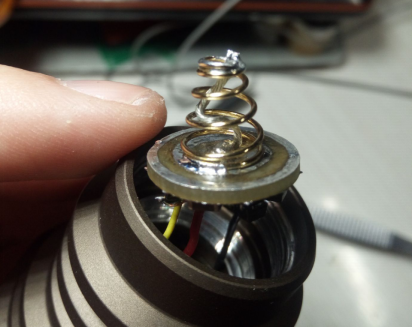
· Secure the circuit compartment effectively.
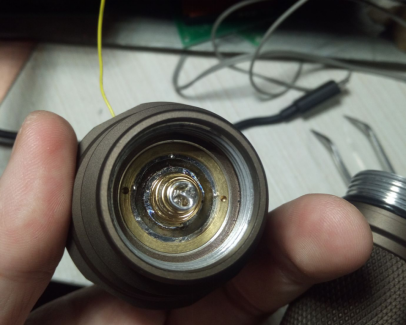
· Extend the touch wires in preparation for connecting the touch button.
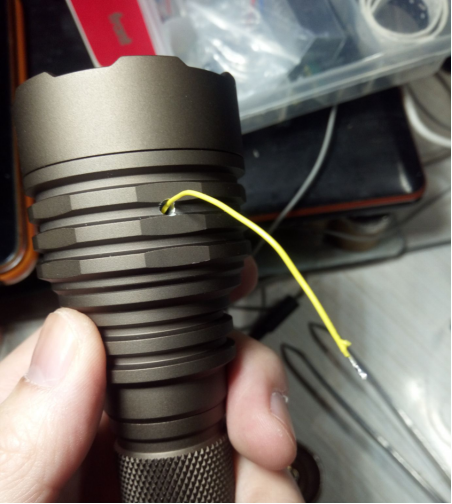
· Employ epoxy resin for a refined finishing touch.
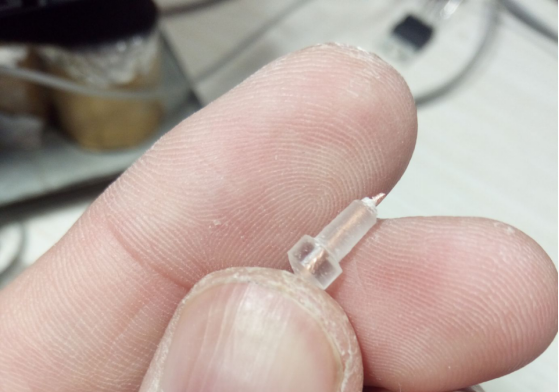
· Solder the touch button with precision.
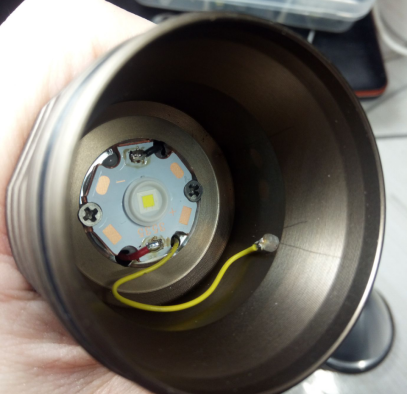
· Complete the assembly by installing the reflector.
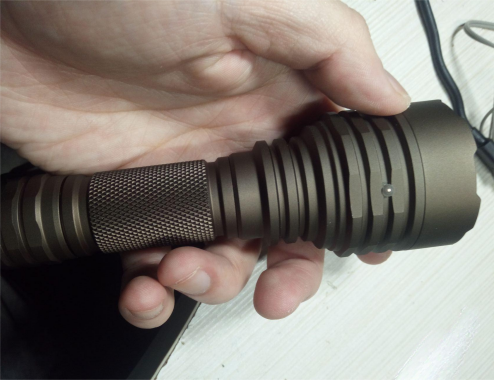
· Evaluate the moonlight brightness, considering potential limitations in achieving this effect with certain 7135s.
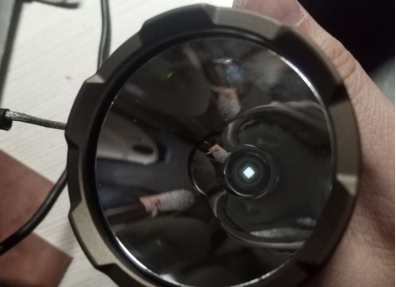

· Observe and appreciate the three-level dimming effects.

This comprehensive guide not only provides valuable insights into flashlight customization but also serves as a resource for enthusiasts seeking to optimize their flashlight experience.


