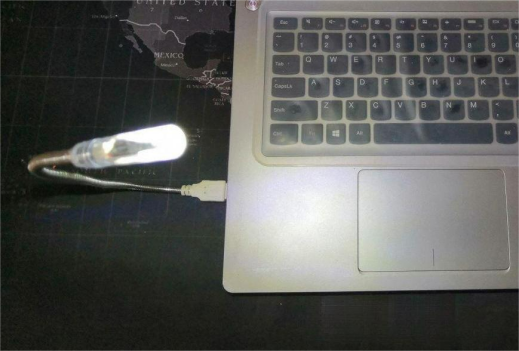
I. Material Preparation
Main Materials:
1. Neutral Pen (Recommended with an Empty Pen Core)

2. Strip LED Light (Minimum of 3 Pieces)
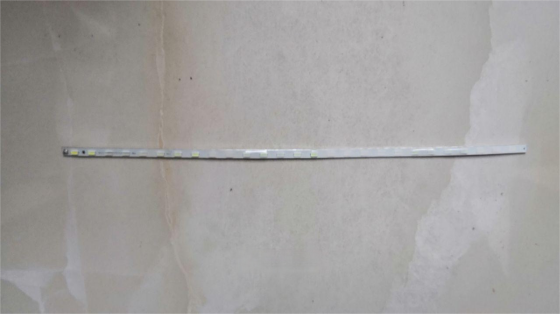
3. USB Cable (Primarily Utilizing 2 Power Lines)
Auxiliary Materials:
· Soldering Iron
· Hot Glue Gun
· Several Thin Wires
II. Processing of Main Materials
Pen Barrel - Light Head:
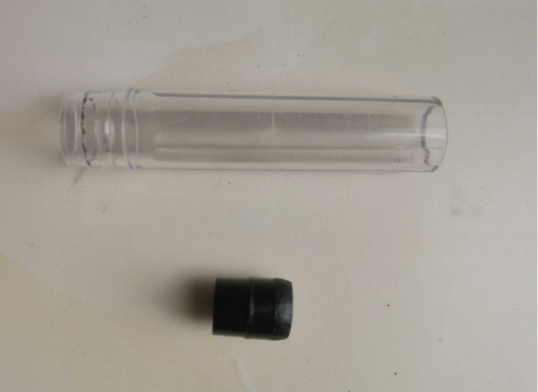
Trim approximately 3.5~4cm from the tail end of the pen barrel. Ensure a flat cut and smooth the edge of the built-in black plug. Slightly widen the hole for assembly.
Patch LED Beads (2-3 pieces) - Light Source:
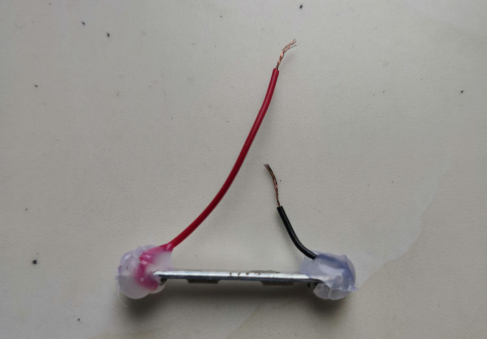
Cut the LED strip from one end, leaving 2 pieces. Identify the soldering points; one end serves as the negative pole. Using a USB cable, electrically probe the strip to determine the positive pole side. Gently expose the metal segment by scraping off the film with a blade. Solder wires to the positive (red) and negative (black) poles.
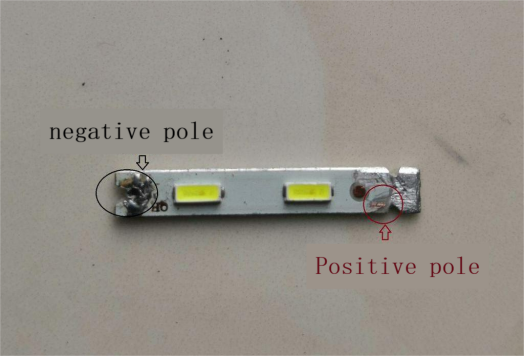
Note: Apply hot glue to both wire ends for stability during assembly.
USB Cable - Lamp Holder:
Utilize a flexible metal USB cable if available, simplifying the process. Cut a section from the end of an empty pen core, ensuring inclusion of the black plug. Secure the existing two wires, applying hot glue if necessary.

If a flexible USB cable is unavailable, consider alternative secure options, such as a plastic bottle from gel or floral water, secured with hot glue.
III. Assembly
Weld the prepared light source and light head separately, leaving adequate wire length to fit entirely inside the pen barrel.
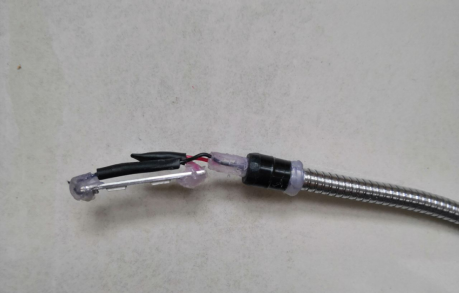
Recommended power source: 5V-500mA charger.
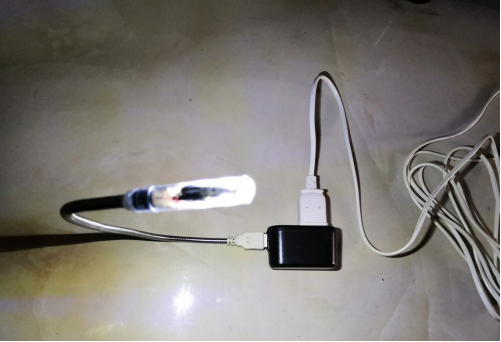
By default, use as a stylish small desk lamp for computer keyboards.
