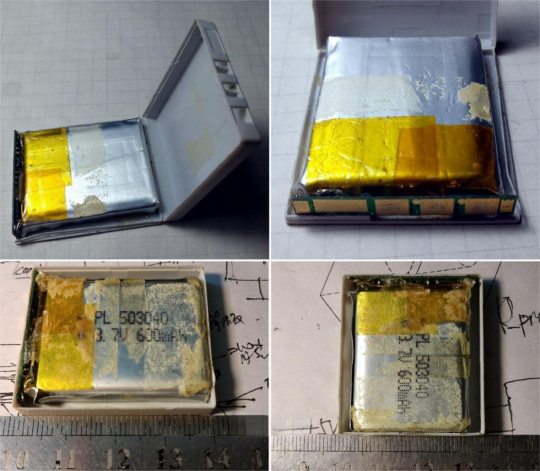
In the event of a complete failure of the SAMSUNG I6 card camera battery, consider acquiring a polymer battery of comparable size to replace the original battery core.
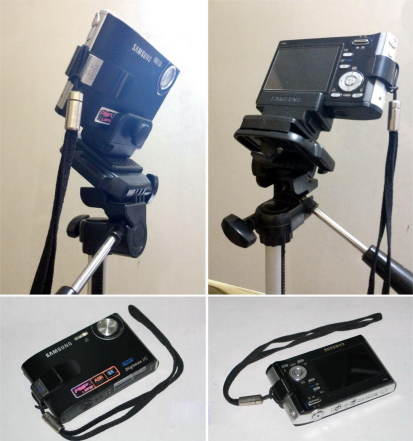
Presenting the Digimax i6 camera, a 2006 creation by Samsung, featuring a periscope-style lens, a 6 million-pixel CCD, and 2cm macro capabilities.
Notably lacking a tripod mounting hole at the base, the camera requires an adapter, plugged into the bottom data interface, for tripod installation. Consequently, when utilizing a tripod, direct external power supply is unfeasible, necessitating the use of batteries.
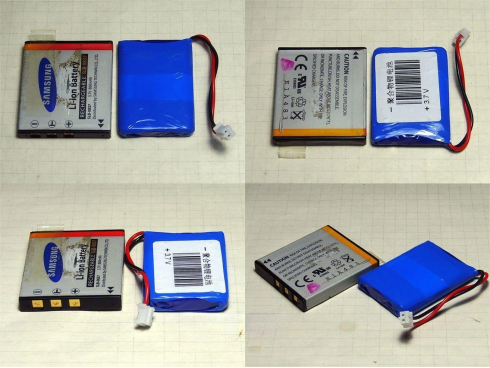
One original battery has experienced swelling and subsequent failure, while a substitute battery (with the battery core replaced once) yields only a limited number of photos per charge.
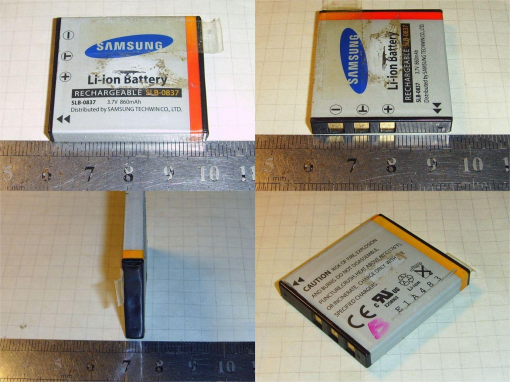
The defective original battery, SLB-0837 type, measuring 40355mm, requires disassembly due to its swollen state, impeding automatic ejection from the battery compartment.
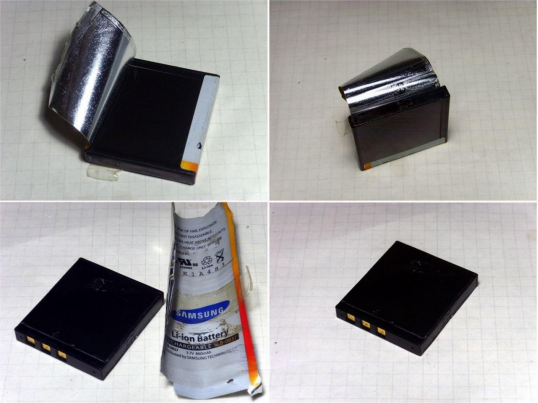
To salvage components such as the original battery's interface, disassembly of the original battery is imperative. Utilize a heat gun on its lowest temperature setting to facilitate the removal of outer layers, revealing information-studded stickers.
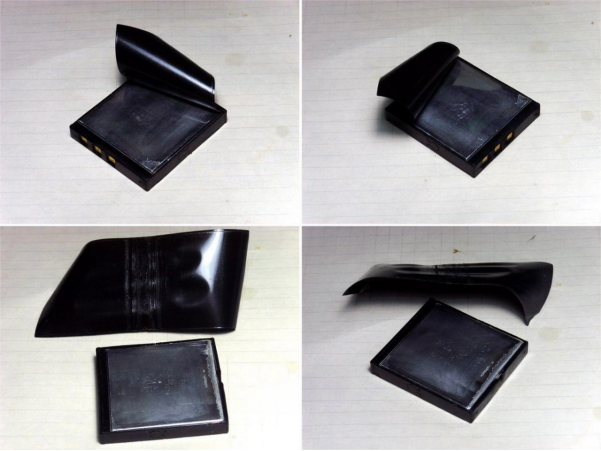
Further layers of black film, affixed in a different direction, must also be removed. This film is crucial to the battery's adhesion on three sides.
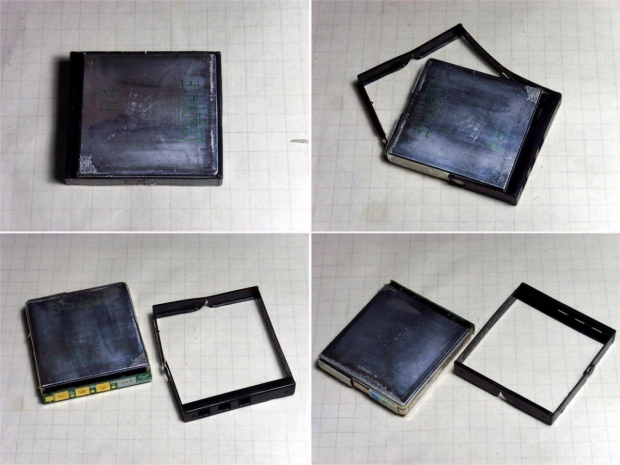
A delicate frame surrounds the lithium battery core, comprised of two interconnected parts in an Omega structure. Remove the outer frame to extract the battery core.
The battery interface doubles as the protection board, detached after the welding of positive and negative electrodes.
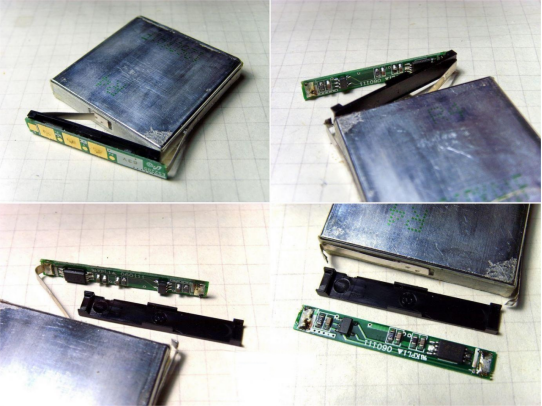
This protection board mirrors the structure of similar battery protection boards currently in use.
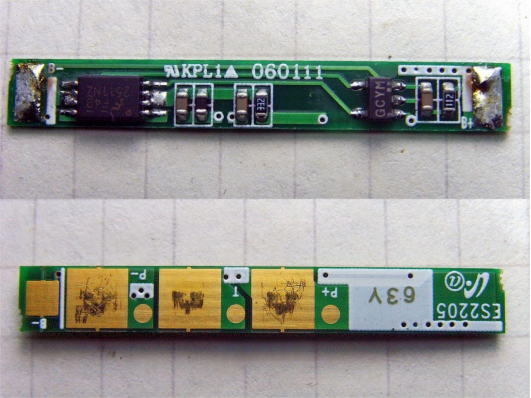
While the battery core on the right is deemed unusable, several components on the left are still integral to the process.
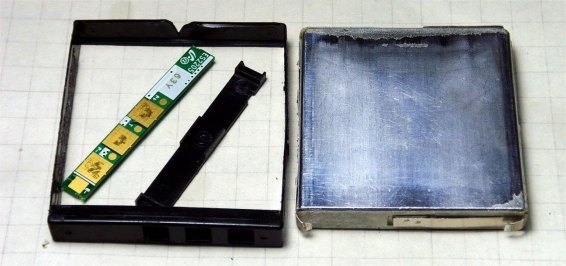
Subsequently, the installation of the replacement battery, encased in a blue protective cover, into the original battery's frame is essential.
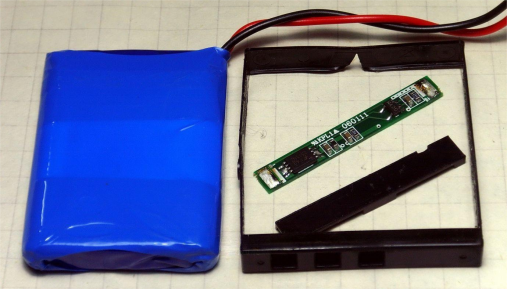
The replacement battery core, a 603139 specification with 1000mAh and 3.7V, lacks detailed labeling but adheres to required parameters.
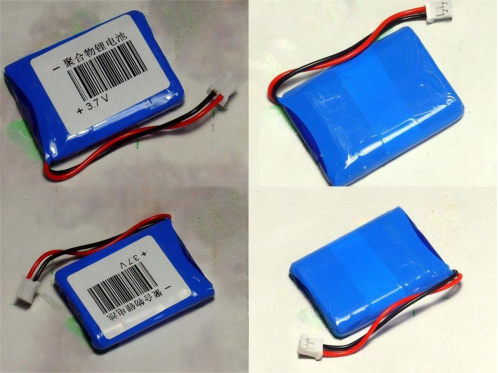
For accurate measurements, an LED is employed for testing the battery.
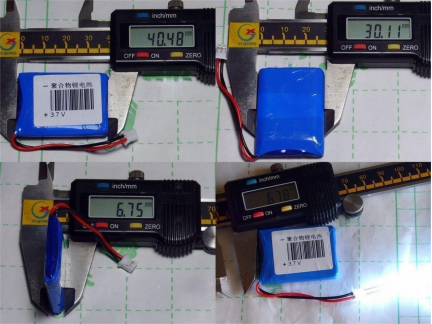
Precision is key when removing the layers of the blue heat-shrink protective cover, exposing the inner protective board.
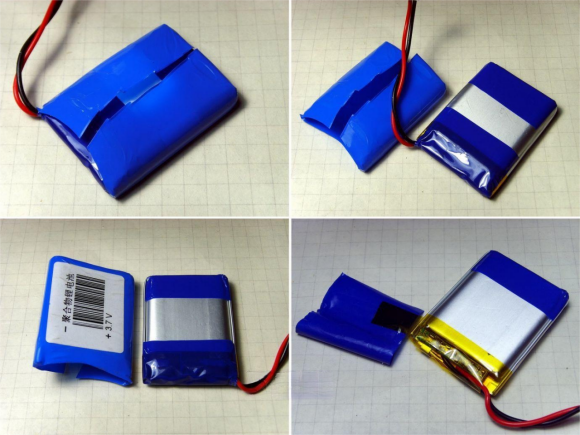
After removing the tape enveloping the protective board, attention shifts to the lead wire welded onto the protective board. The battery core electrode is connected to the protective board through spot welding.
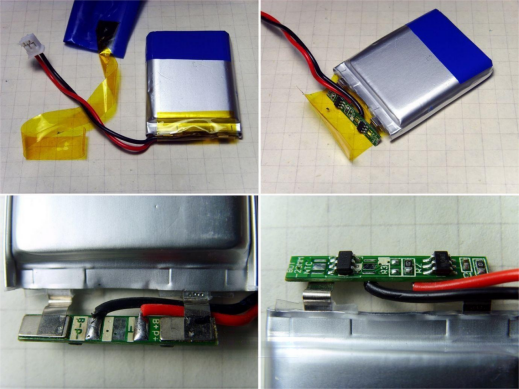
The new battery's protection board follows a standard structure, featuring a DW01 and an 8205A.
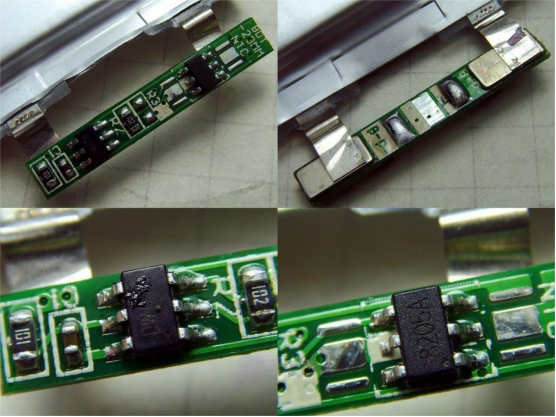
Carefully remove the battery electrode using pliers, ensuring minimal damage to the thin and soft electrode. Prior to complete removal of the protective board, mark the polarity to prevent errors.
Tinning the electrode is the next step, necessitating the use of tweezers to hold it and dissipate heat, ensuring controlled soldering of wires.
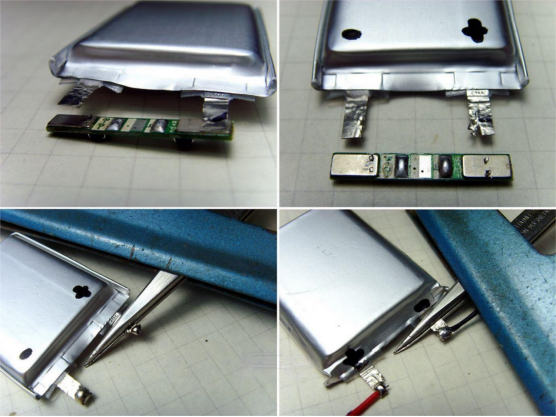
Choosing a thin and flexible wire for the lead is essential to prevent stress-related damage to the electrode. After soldering the electrode to the lead wire, conduct a thorough check before placing it in the frame.
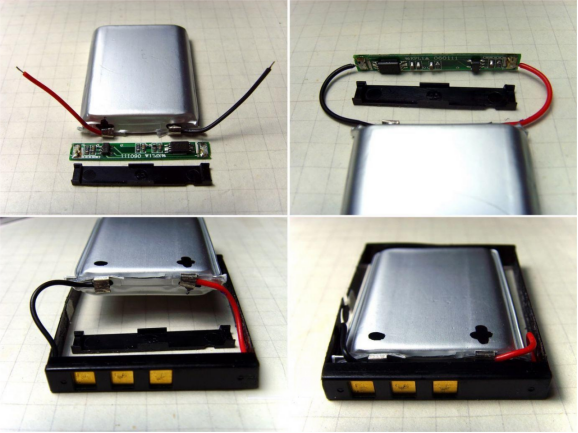
Strengthen the thin frame using adhesive tape, and then insert the protective board and battery into the frame, addressing any gaps on both sides with appropriately sized strips.
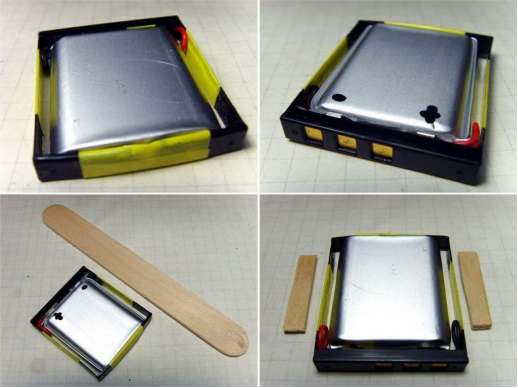
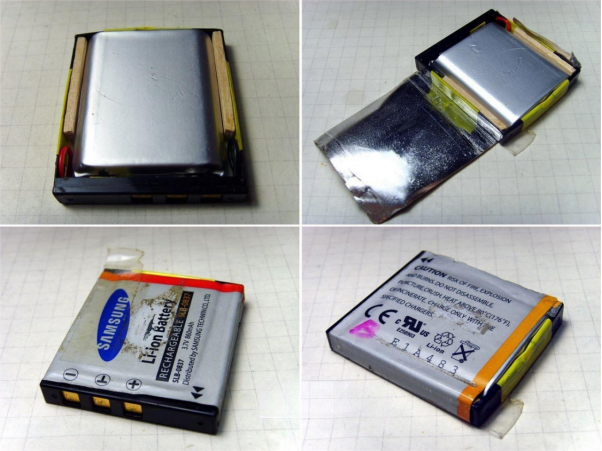
Wind back the outermost tape removed from the original battery initially. Install the new battery into the camera, which should start up normally.
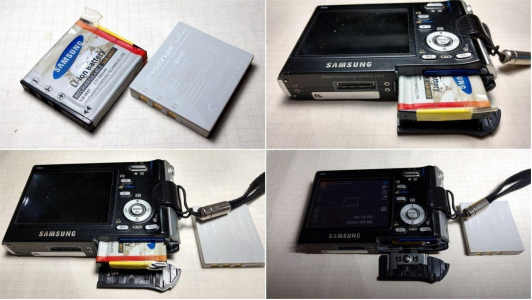
Upon inspection of the substitute battery, featuring a 503040 polymer battery core, it becomes evident that it differs from the original due to the presence of a complete battery box.
The battery box's spatial requirements and the inability of the battery core to precisely fill the available space result in a reduced capacity. Despite efforts to maximize thickness at 6mm, the new battery core's capacity may not meet expectations.
