
Continuing from yesterday's article on DIY Transit Card Mod: Access Control Upgrade, let's create a truly personalized bus pass.
First, sketch out a rough route, still 25X40MM, for a compact and durable appearance.
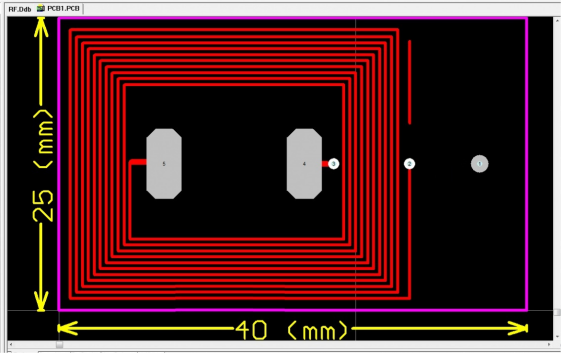
Heat transfer the mirrored image:
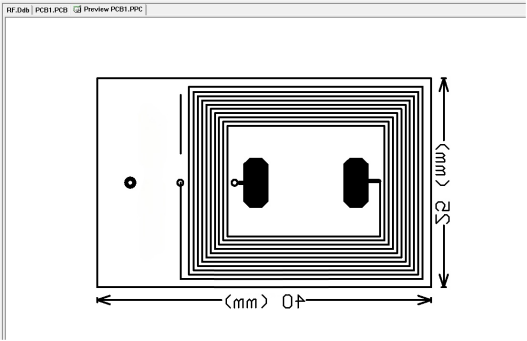
Heat it at 200 degrees on the hot plate for about ten seconds, and it should transfer successfully. The 0.254MM lines are relatively straightforward.
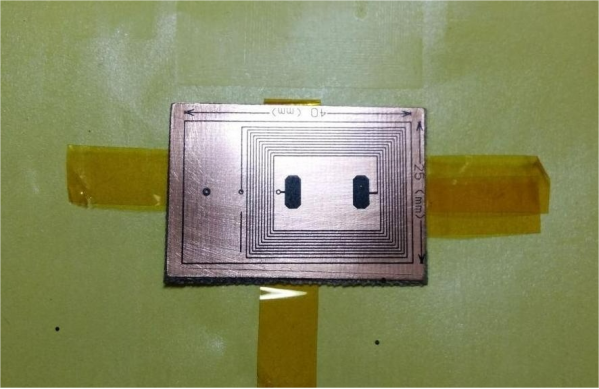
For the etching solution, mix some acid with hydrogen peroxide and water, roughly in a ratio of 1:1:3 or 1:2:3. If they've been sitting for a while, you can mix them by feel. If the progress slows, add a bit more. The etching process here took about ten minutes.
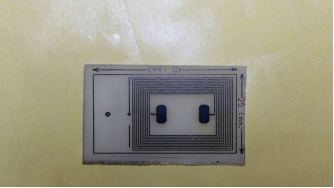
A gentle brush with developer removes the toner, leaving it clean and tidy. We can't use sandpaper here because we need to preserve the thick copper and prevent sand from breaking lines; after all, these are 0.25MM lines.
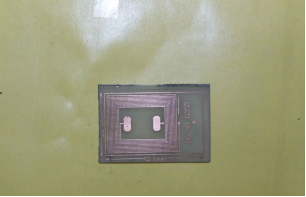
To prevent oxidation temporarily, apply a saturated solution of alcohol rosin.
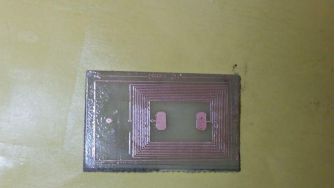
Trim and tidy up the edges.
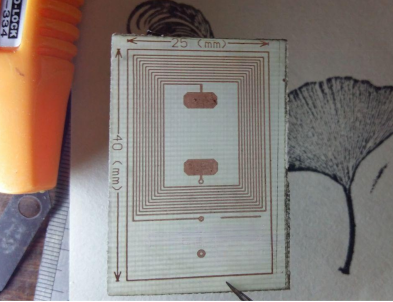
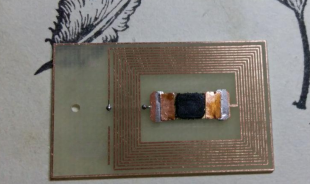
After cutting and grinding the edges, mount the chip. Adding copper plating on both sides reinforces and protects the chip and ensures evenness.
On the back, we need to cut a V-groove and buried four 0.1MM enameled wires for jumpers, ensuring the back is flat.
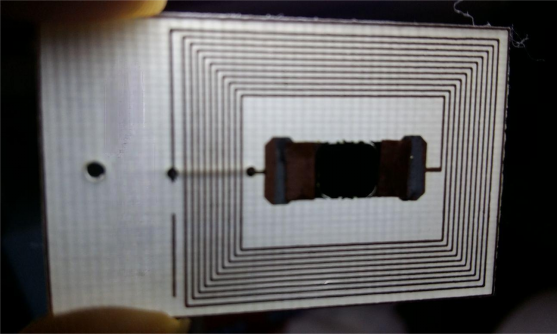
Front view.
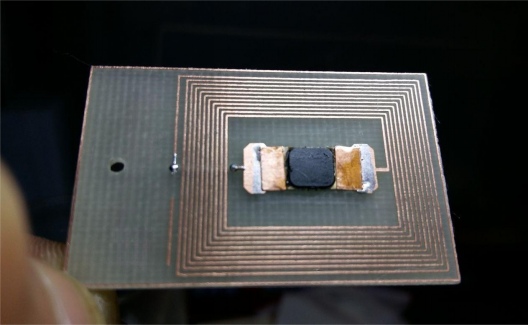
A thin layer of green oil is applied, with high-temperature glue in the middle for easy IC replacement in the future. It takes about ten minutes to set.
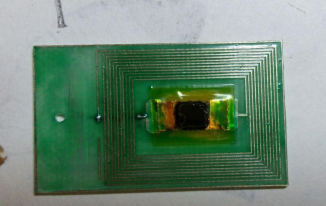
You can also apply some green oil in the V-groove on the back.
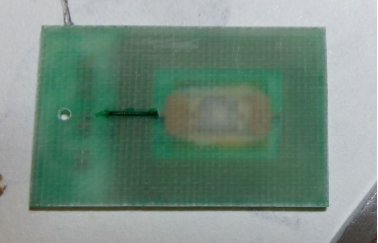
Almost done.
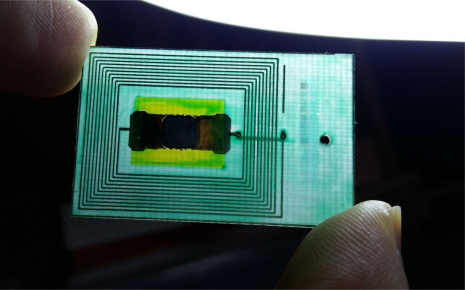
Attach a lanyard, and we're finished.
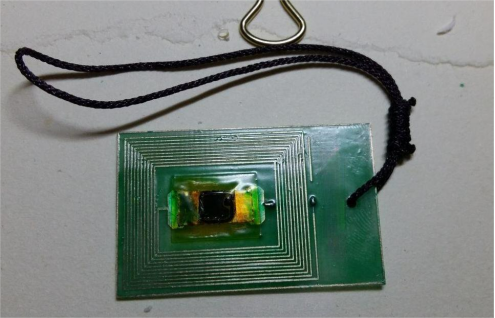
Finally, regarding performance, it works perfectly on buses and light rails. However, because the coil was drawn randomly, the distance for NFC with a smartphone is only about 1.5-2CM. If you plan to make one, consider adding 3-5 more turns to the coil for potentially better results.


