
The text details the step-by-step process of creating a Morse code practice device through do-it-yourself (DIY) methods. If you're keen on crafting your own Morse code practice tool, this guide is worth a read.
Let's start by examining the final product:
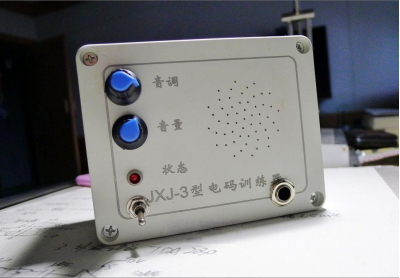
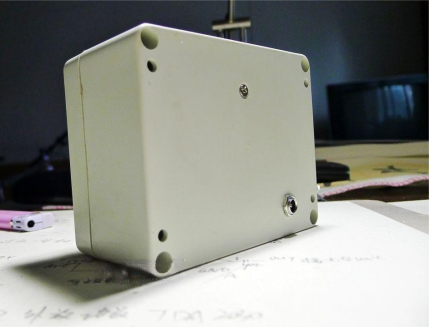
Original Components:
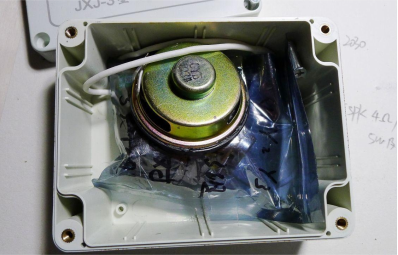
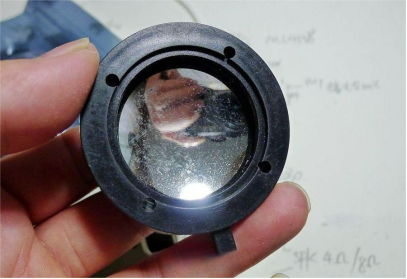
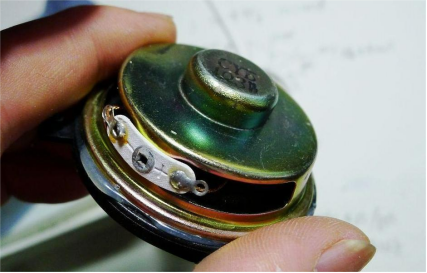
Upon disassembling the materials, you'll find a variety of internal components within the casing, including a sizable speaker.
Circuit Board and Components:
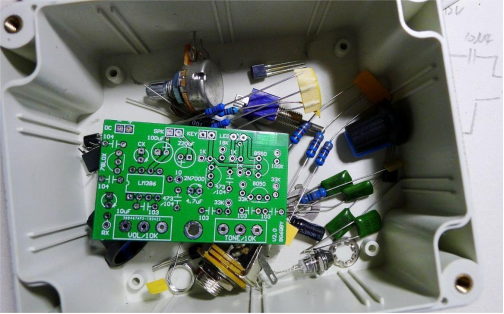
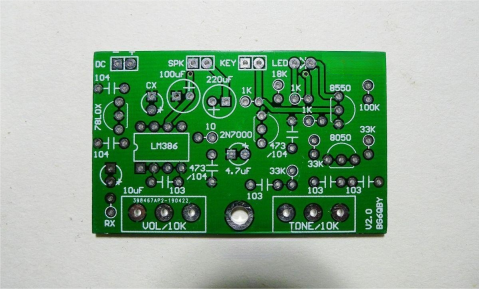
Take a closer look at the circuit board and its accompanying parts.
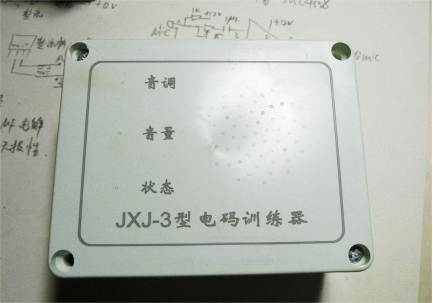
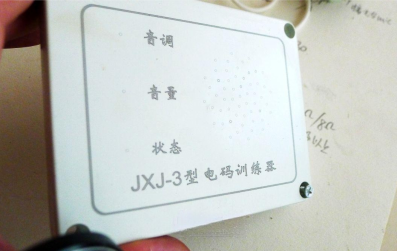
Laser-Printed Casing:
The casing boasts laser-printed designs, requiring perforations for features like the speaker and other necessary elements.
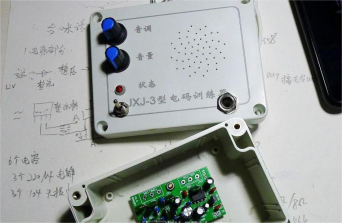
Drilling and Soldering:
Utilize a PCB drill bit to perforate the necessary holes before proceeding to solder the circuit board. It's a relatively straightforward soldering process, followed by securing the board onto the casing using copper pillars.
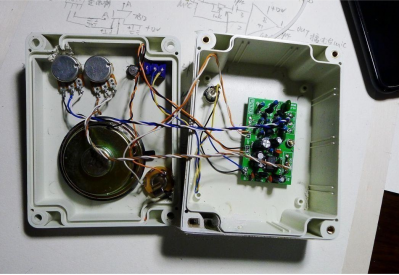
Jumper Wires:
Various jumper wires will be employed in the assembly process to ensure connectivity.
Testing the Prototype:
Once assembly is complete, it's time to test the device. A 6.5mm plug is utilized to simulate an electrical connection, verifying functionality.
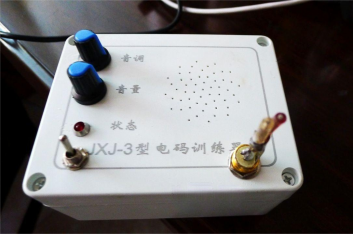
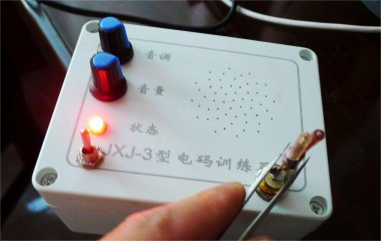
Completion:
With testing completed successfully, you've now finished crafting your Morse code practice device.


