
If you're into clock-controlled radios, you might consider getting the Sony ICF-C218 clock-controlled radio, the 220V version, and modifying it by adding a speaker and a tuning indicator light. No need to mess with the transformer, it has an onboard clock crystal oscillator, so it doesn't rely on the power grid frequency for timekeeping. It runs on a CR2032 button cell battery to keep time during power outages. After cleaning and polishing, it's quite satisfying; the radio reception is great, and the alarm sound gradually increases in frequency.
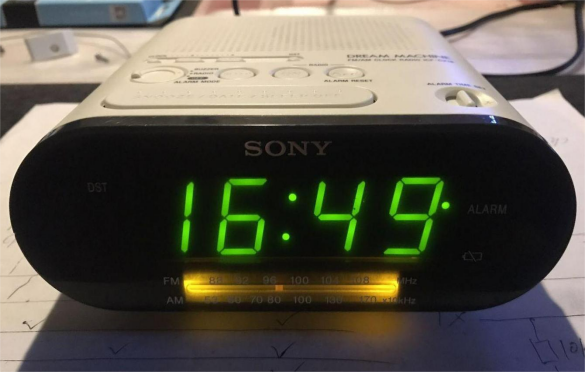
There's a surplus of black ones on the market, but all things considered, the white version seems more fitting.
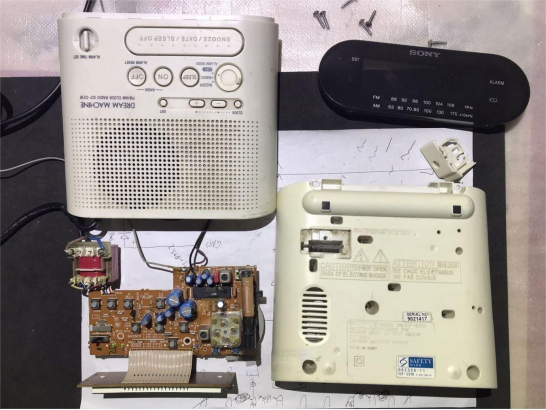
Cleaning off the yellow stains:
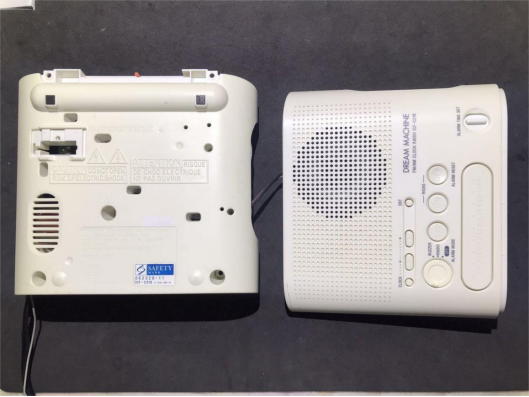
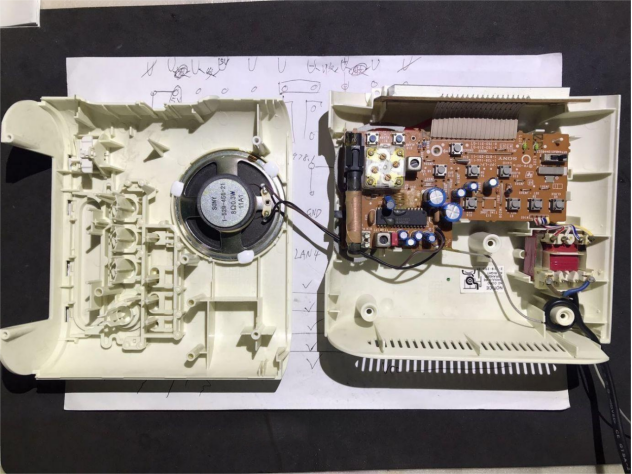
After cleaning, I made some modifications to the radio. First up was the speaker quality. I used Sony's own 8-ohm/0.3W paper cone speaker, 2.5 inches (66mm) in diameter. The highs are clear but piercing. The CXA1019S chip's built-in amplifier standard output is only 0.5W. Since there's only one material option for the paper cone speaker, replacing the original parameters isn't worth it. Instead, you can look for a full-range speaker with the same dimensions, either with a cloth or rubber edge, for a richer vocal sound. You can refer to the following full-range speaker with cloth edge, with parameters of 4 ohms/3W.
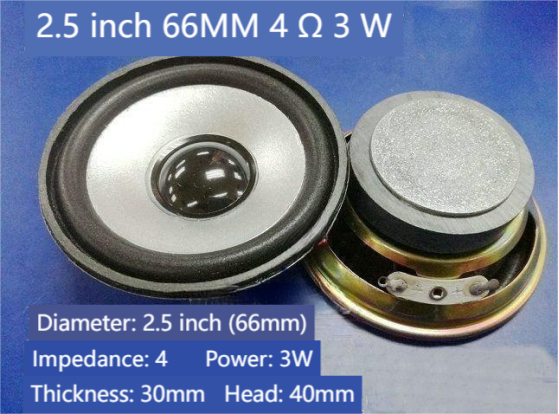
After cleaning off the residue from the original speaker, I replaced it and used 704 silicone gel to fix it in place overnight. The actual change in sound is significant, but you can't turn the volume up too high; mismatched impedance and power could cause distortion or even damage the amplifier. In practice, you can't turn the volume up too high, but it's entirely adequate.
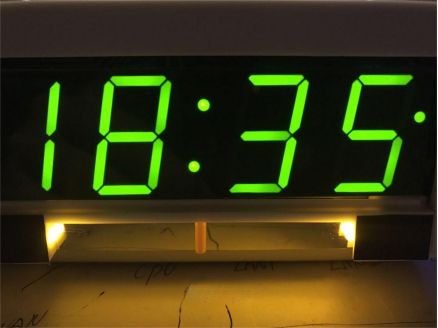
As a bedside clock, this brightness level is ideal, not glaring, and doesn't disrupt sleep at night.
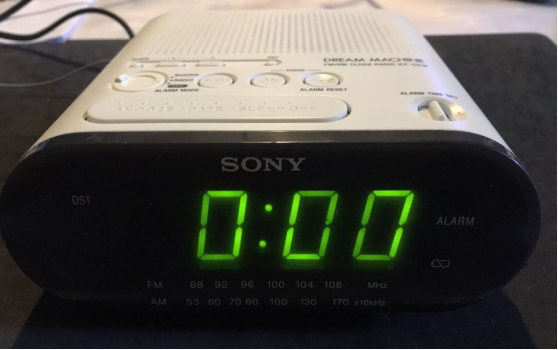
However, in line with the principle of soft lighting, so as not to disturb rest at night, based on the LED screen structure of the device, you can choose two yellow LED lights for illumination or use them as tuning indicator lights by analyzing the original circuit diagram.
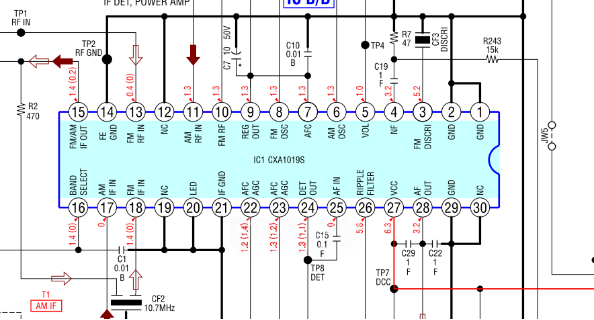
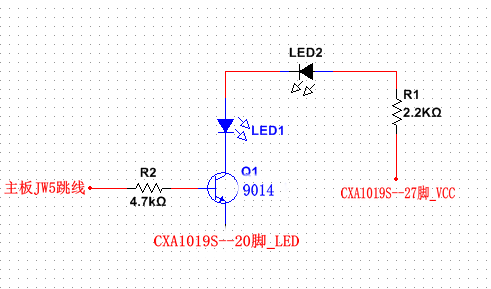
The tuning indicator light function pin of the original device defaults to ground and is not used. Simply disconnect pin 20 of the chip from the ground wire, and that's it. For this model, shutting down doesn't cut the chip's power supply; it's done by controlling the chip's mute function. Opening the radio is done by setting the LC872B06A chip's MUTE pin output to high, while closing it sets the pin output to low. You can use this signal to build an electronic switch using a transistor, which turns on the indicator light when the radio is on and turns it off when it's off. The schematic is quite simple, as shown below for reference.
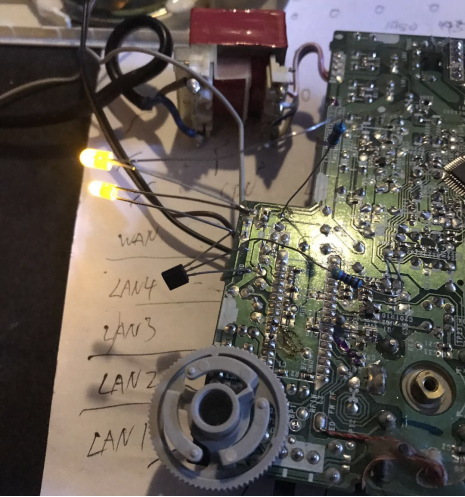
Two warm yellow LED lights shine from either side of the tuning window, making it easy to see in low light without being too bright or distracting.
Clock-controlled radios are still quite popular, and that wraps up this project.


