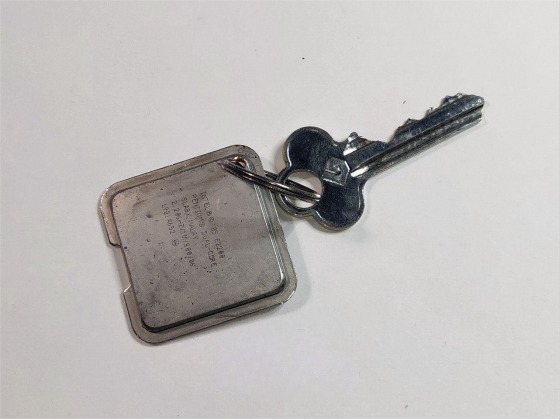
If you have a broken CPU that can't be used but you're reluctant to throw it away, you can consider following this guide to turn it into a keychain. In this example, an Intel dual-core E2200 CPU that no longer functions properly was DIYed into a keychain, preserved as a memento.
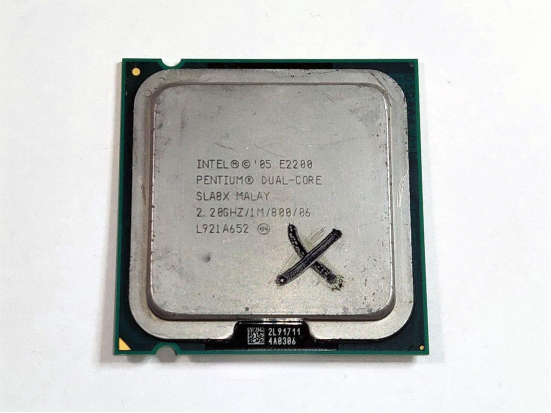
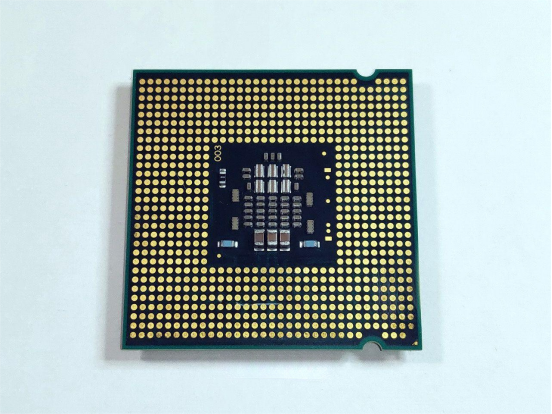
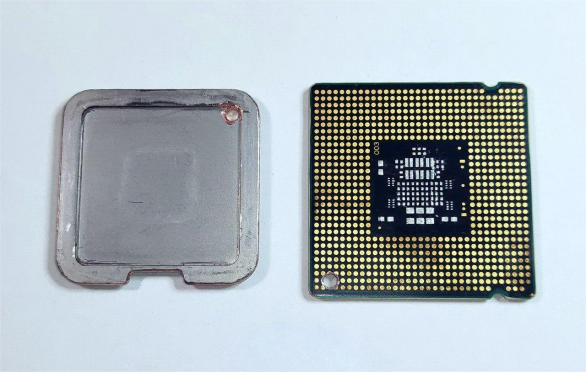
The copper lid and PCB are adhered together with a semi-soft adhesive.
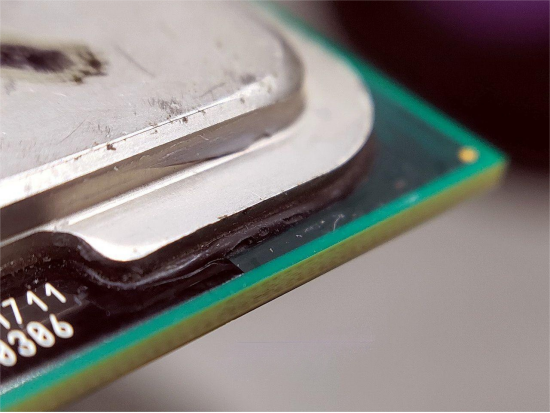
Using a PPR heat gun, carefully separate them. Place the CPU on top; it will start smoking after a while.
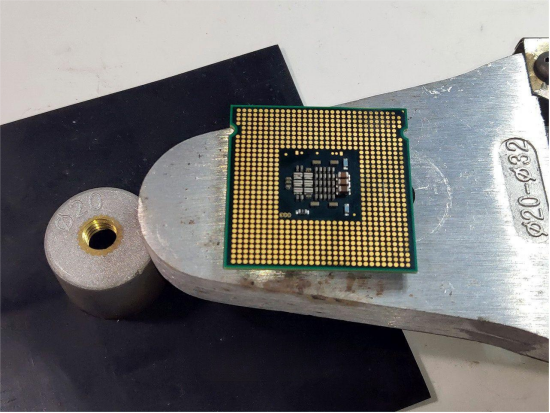
It's easier to separate while still hot.
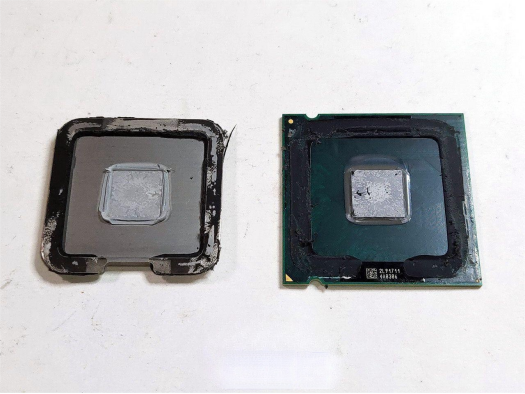
The copper lid section:
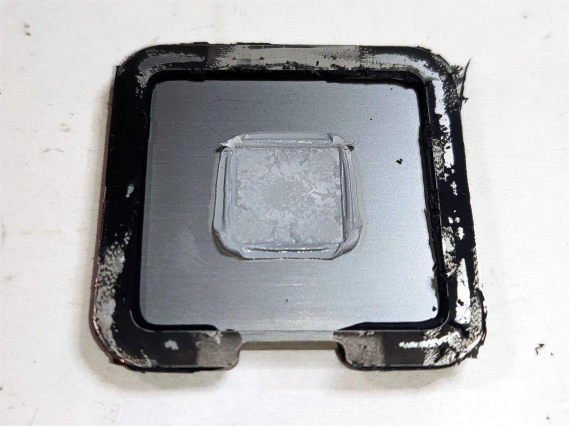
In the middle is a thermal material in contact with the DIE. It appears to be a minimal amount of thermal grease in the center, surrounded by a semi-soft, slightly hard adhesive to prevent the grease from overflowing or evaporating.
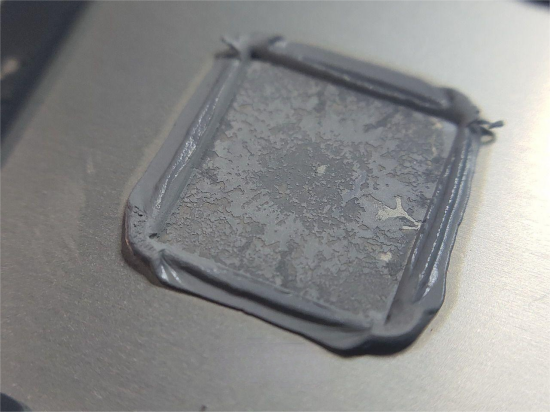
There's residual material on the DIE's surface.
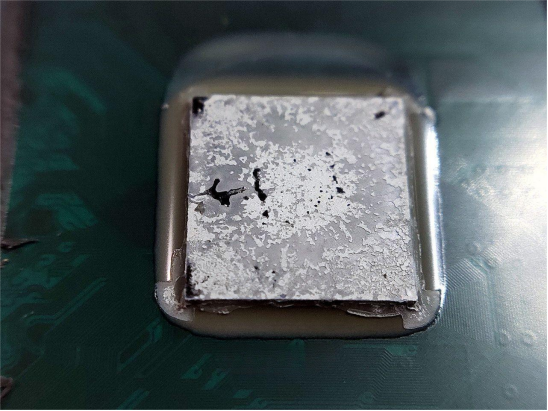
Components from the middle of the PCB bottom have been removed while hot. Lowering the temperature might preserve some of them.
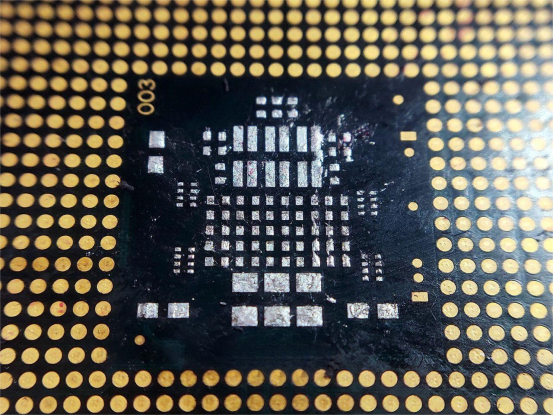
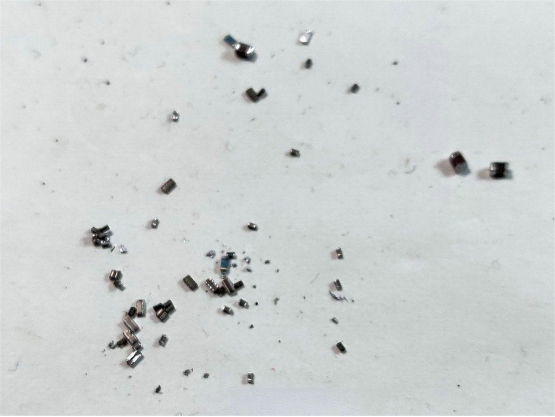
Most of the removed components are capacitors, some resembling resistors.
Clean the bare CPU.
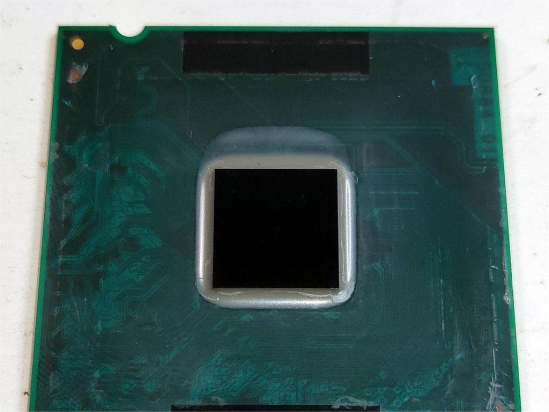
After disassembling the CPU, the next steps involve removing the adhesive and drilling holes. Drill a hole in one corner of the PCB, and then chamfer it.
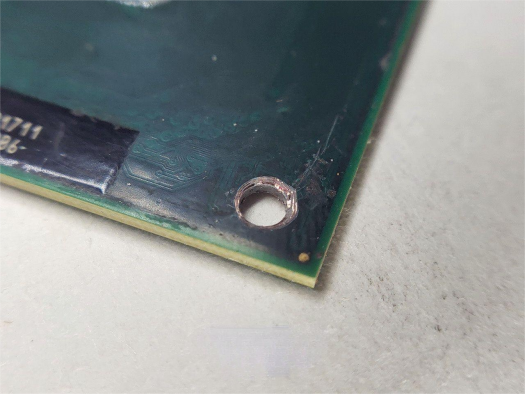
Apply the same treatment to the copper lid.
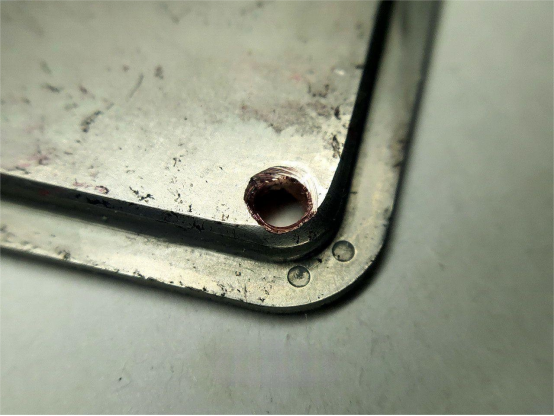
The corners and edges of the CPU and copper lid can be quite sharp. If concerned about scratches or cuts, use a small grinder to chamfer them.
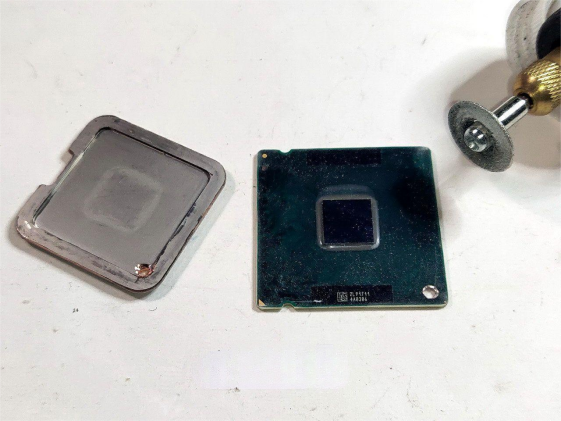
After chamfering, use tweezers and sandpaper to smooth them out until they feel sleek to the touch.
Here's how it looks after completing these steps:
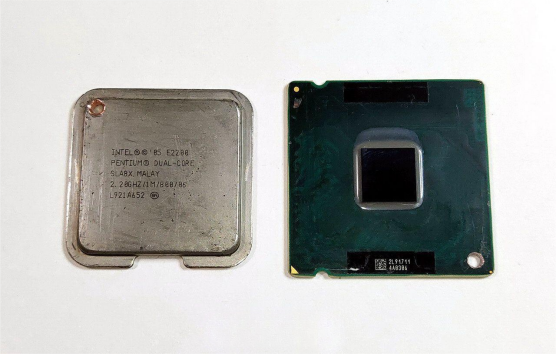
Backside view.
Finally, attach a key ring and keys as shown in the picture.
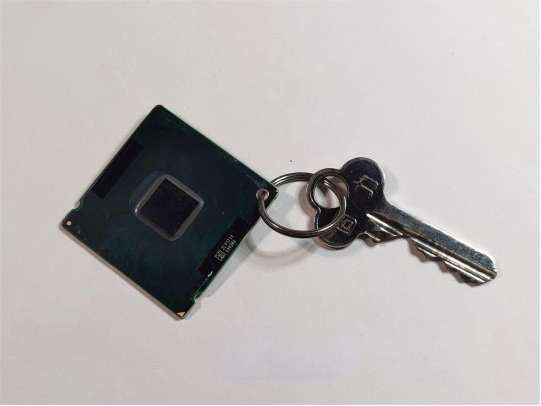
The effect with the copper lid attached.
