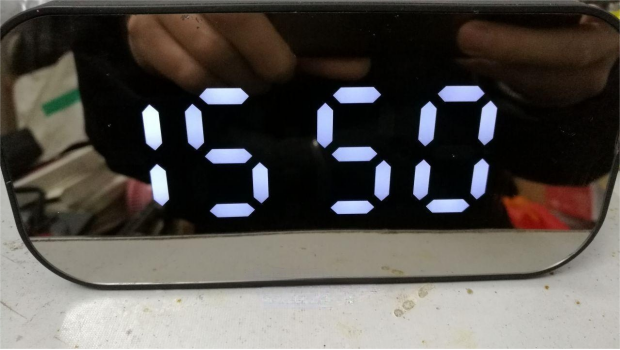
The clock speaker's low battery alert in the middle of the night often wakes me from sleep. A single charge lasts only two days, and if I forget to charge it, the alert sound can be quite annoying. So, how can we modify this?
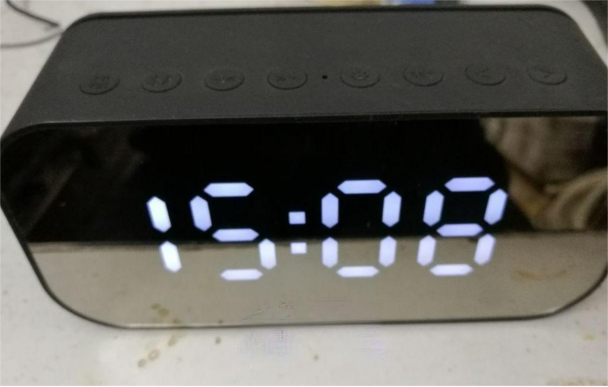
First, disassemble the device. There are no visible screws or seams on the body, only the panel and gaps. You can start by prying it open carefully with a plastic prying tool.
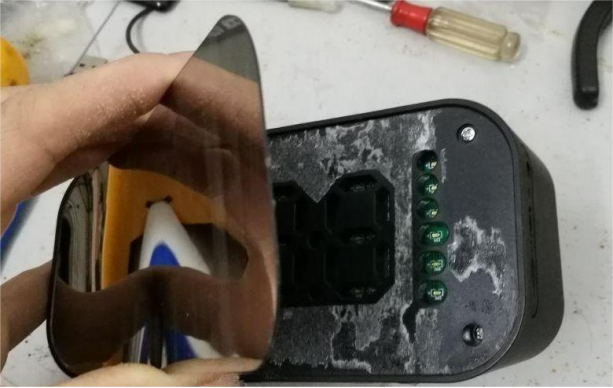
The screws are inside. The clock uses an LED matrix display, which consumes a lot of power.
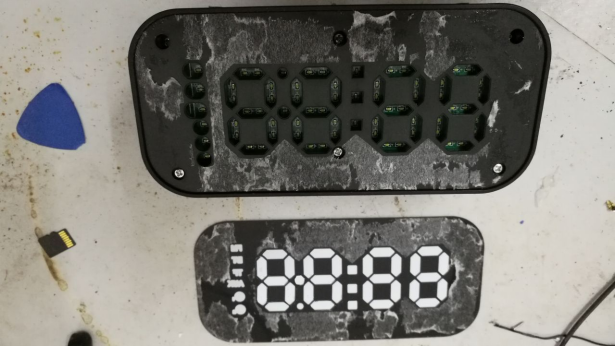
Unscrew and remove the light shield to reveal the PCBA.

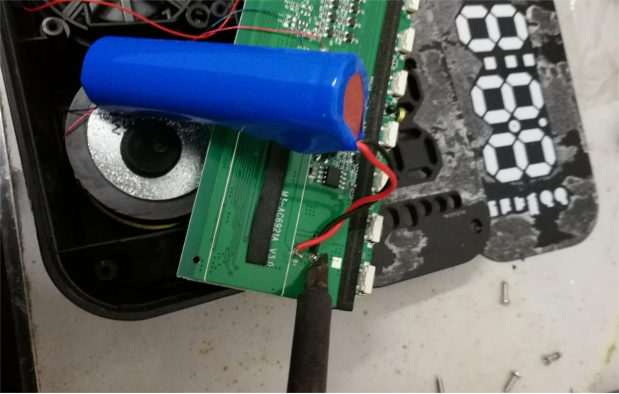
The PCBA is not fixed with screws, so handle it carefully. The battery is an 18650 type.

Remove the battery, but the capacity isn't visible.
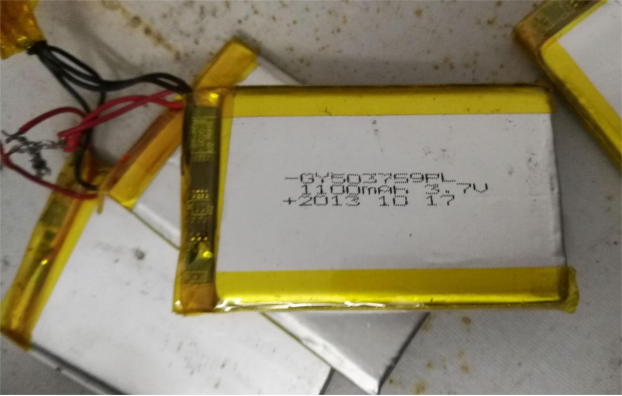
Considering the space inside the speaker, you can increase the battery capacity. Prepare a polymer battery, which has a capacity of 1100mAh. After measuring, it fits, but you'll need to modify the battery compartment. With four batteries, the total theoretical capacity would be 4400mAh.
Remove the battery compartment. The compartment is integrated with the vibration mold. Rotate it 90°, and the batteries fit, but the compartment is too long and needs trimming.
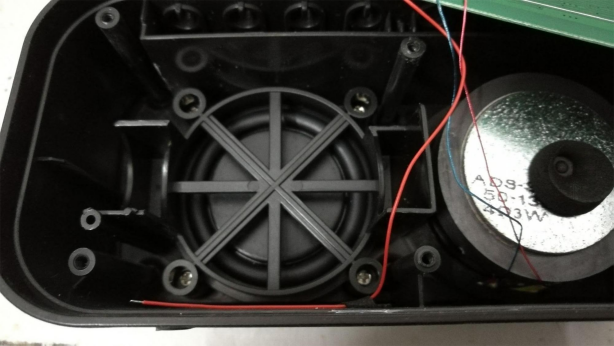
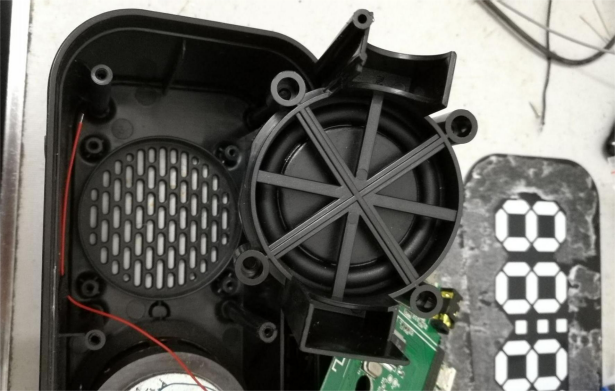
Before trimming:
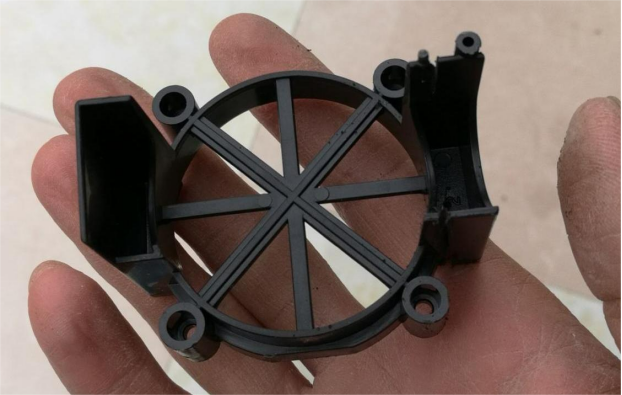
Cut off the excess:
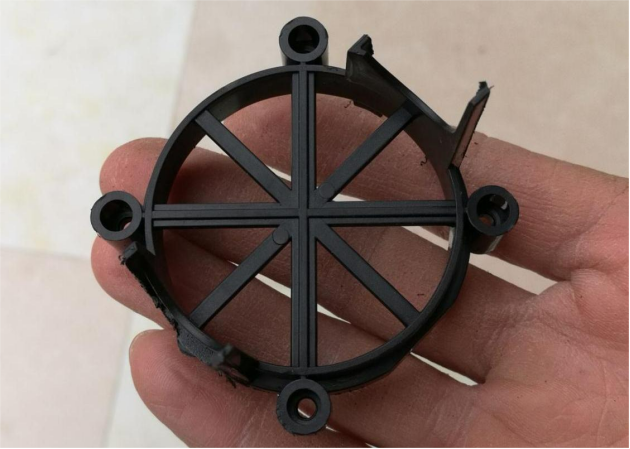
Rotate 90° and place it back; the screw holes align perfectly.
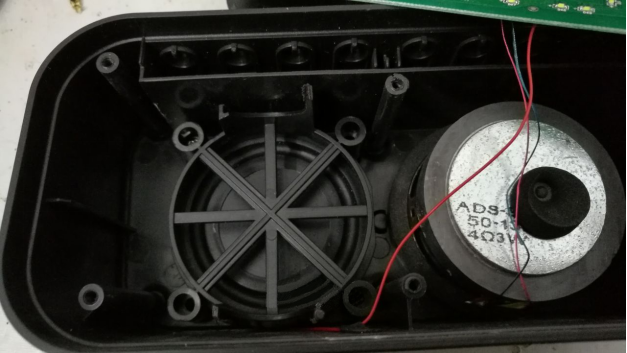
Insert the battery; it fits well. Due to the filter capacitor taking up space, the PCBA can't be fully seated yet.
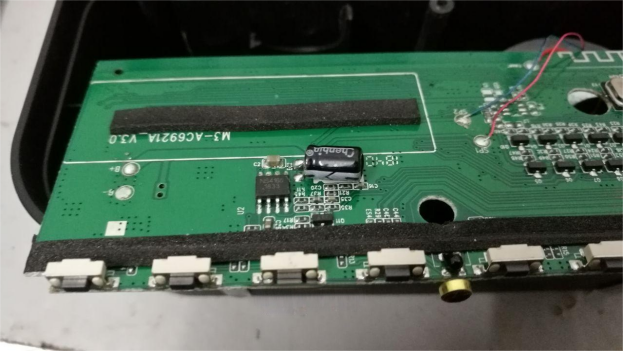
You can extend the pins to the side:
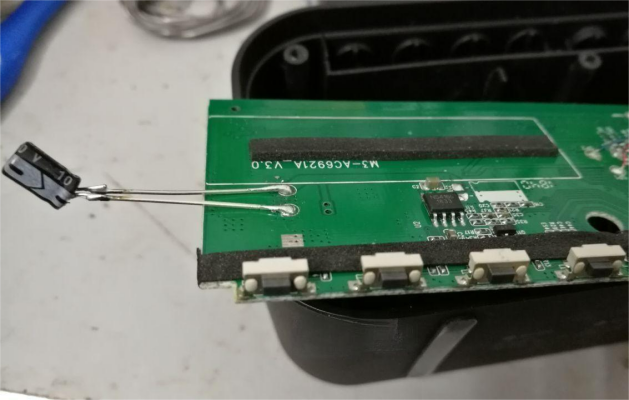
Organize and bundle the battery, then connect it with extension wires:
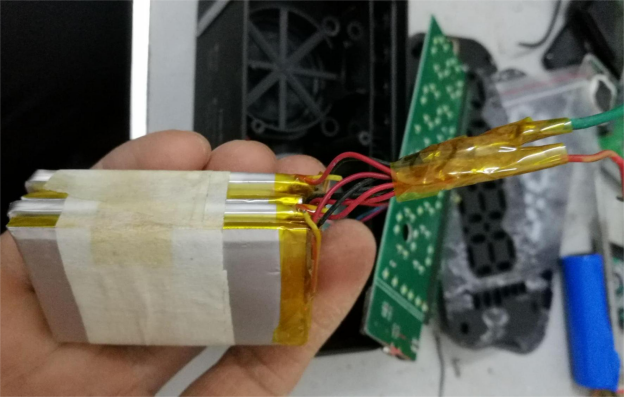
Solder the PCBA back in place and press the switch to power it on.
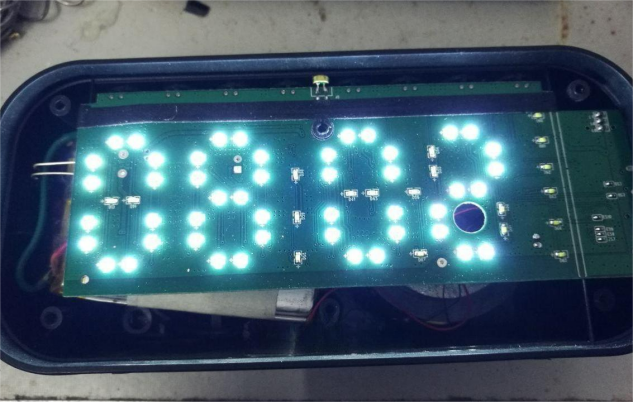
Perfect fit, the battery is secure, and reassembly is underway. Be careful not to attach the panel upside down. If you do, you'll need to peel it off and reattach it. Once everything is properly installed, the modification is complete. After testing, the battery lasted up to the fourth day on a full charge without any low battery alerts. The result is excellent.
