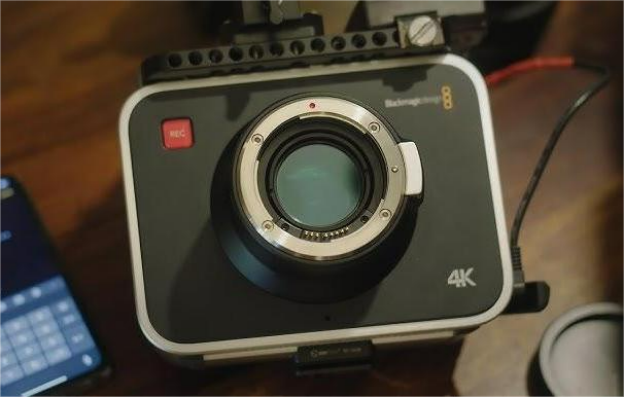
The BMPC 4K camera features a built-in battery with an estimated runtime of about one hour. Curious about how to create an external power supply for it? Let's dive in.
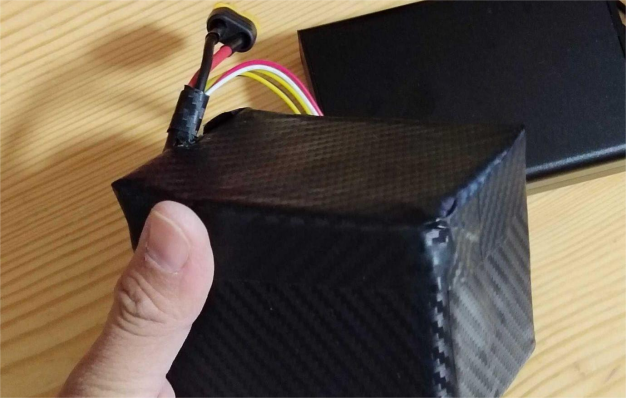
A battery pack was assembled using cells salvaged from an old electric bike. Configured as five in parallel and four in series, each cell has a capacity of just over 1Ah, giving a total capacity of about 5 to 6Ah. When connected to the BMPC 4K, the measured current is between 2.9 and 3A, allowing for an approximate total usage time of three hours. However, this setup is bulky and heavy, requiring a balance charger, which proved inconvenient after just two uses, prompting a move towards a more portable power solution.
The goal was to achieve around two hours of runtime while keeping it lightweight. The camera's external power supply specifications range from 12 to 30V, but it was confirmed that it operates normally at 9.6V. Thus, the design called for three cells in series, with a voltage range of 9.6 to 12.6V. After considering 18650, 21700, and 26650 cells, the 18650 was ruled out due to the high cost of 3000mAh cells—six were needed for a 3s2p setup, making it too bulky. The 26650 cells, while offering around 5000mAh, had a diameter exceeding 30mm when accounting for casing thickness. The 21700 cells, providing a similar capacity with a manageable thickness of around 25mm and a length only 5mm longer, were ultimately chosen. Three cells with a nominal capacity of 4800mAh, with real capacities over 4000mAh, were prepared.

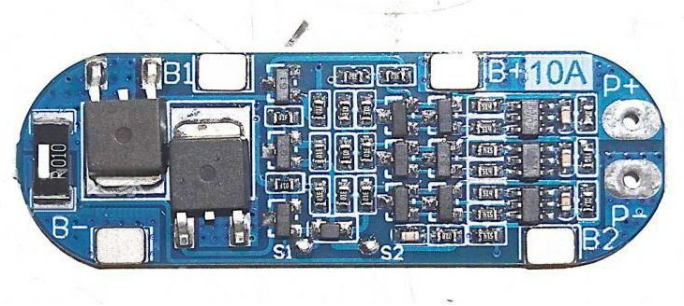
An aluminum alloy case measuring 71mm x 25mm x 100mm was selected, along with two 3S 10A protection boards featuring charging capabilities.
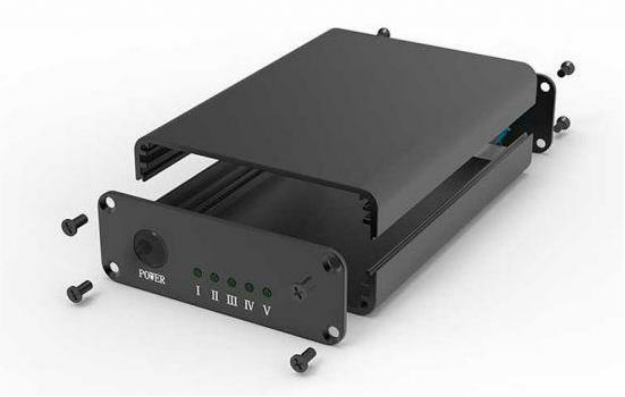
For external connections, a 5x2.1mm round socket, XT60 female connector, 2.54mm pitch header, and XT30 female connector were prepared, along with a 3D-printed panel. The 5x2.1mm port serves as the charging input, compatible with a 12.6V charger, though a standard 12V supply will work in a pinch. The XT60 connector was retained from the original battery pack, while the panel provided sufficient space for the components. A balance connector was also included for cell balancing as needed.

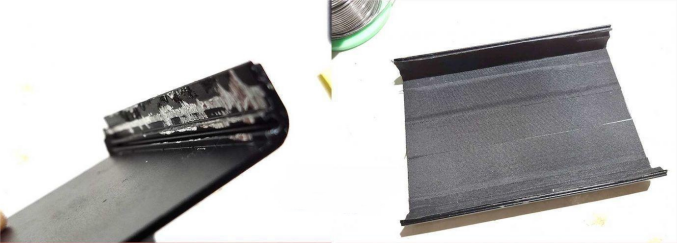
If the side reinforcement ribs for securing the PCB obstruct battery insertion, they may need to be trimmed. Since the batteries are in series, they were all wrapped in vinyl tape for insulation.
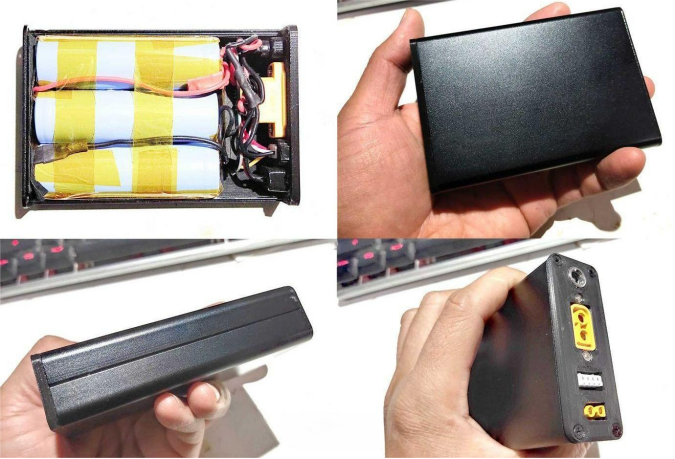
Once inserted, the batteries were secured to the case with double-sided tape, and EVA foam tape was used to separate the batteries from the protection board. All solder points were insulated with heat shrink tubing, and additional vinyl tape was applied to the protection board for extra safety, resulting in a perfect assembly.
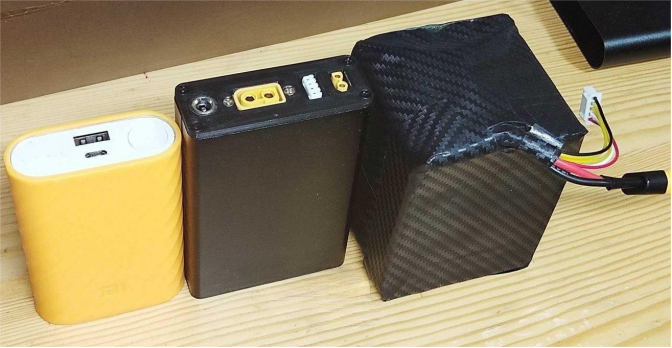
From left to right, the setup includes a Xiaomi power bank with three 18650 cells, the newly constructed external power supply, and the original battery pack. The new power supply is only slightly larger than the power bank, occupying about a third of the original battery pack’s volume, easily fitting in a pocket.
The weight was measured at 330 grams for the new supply, compared to 233 grams for the Xiaomi power bank and 884 grams for the old battery pack, making the new design over a pound lighter. It only exceeds the power bank's weight by 100 grams, perfectly achieving the volume and weight goals.

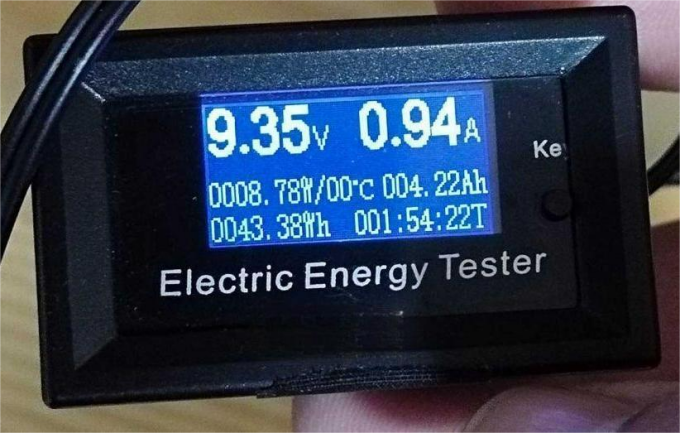
The internal battery of the camera recorded nearly 54 minutes of footage. The new external battery showed a measured current of 1.95A, gradually increasing as the voltage dropped.
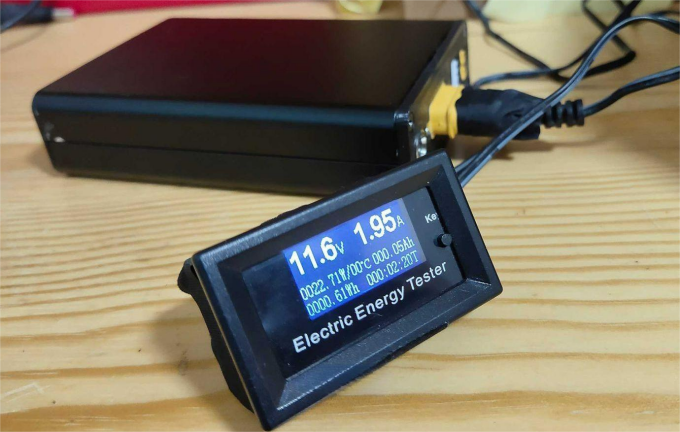
The actual runtime recorded was 1 hour and 54 minutes, with a capacity of approximately 4220mAh. The following image shows the battery still discharging, although it had mostly switched to using the internal battery. With the internal battery depleted, the total recording time reached about 2 hours and 55 minutes, comfortably meeting typical shooting requirements.
