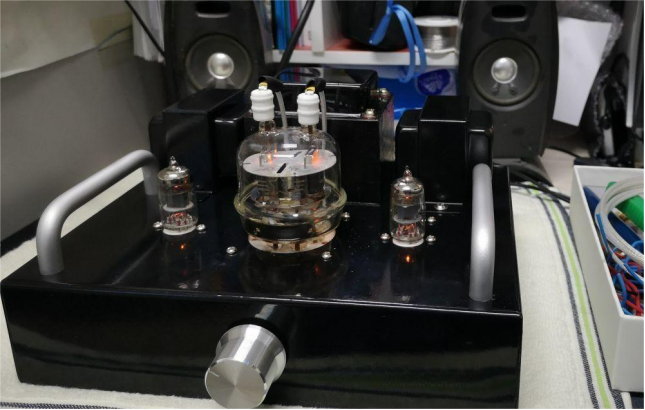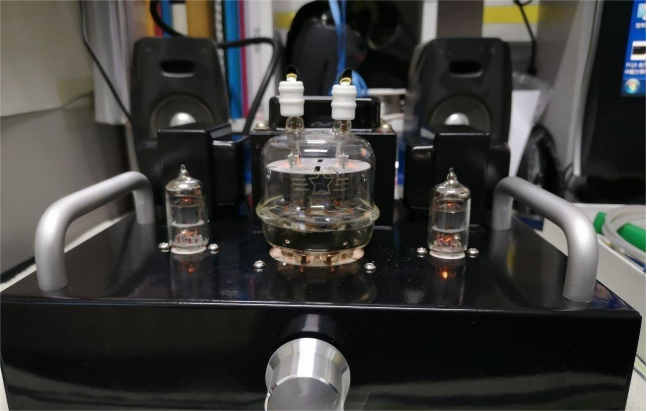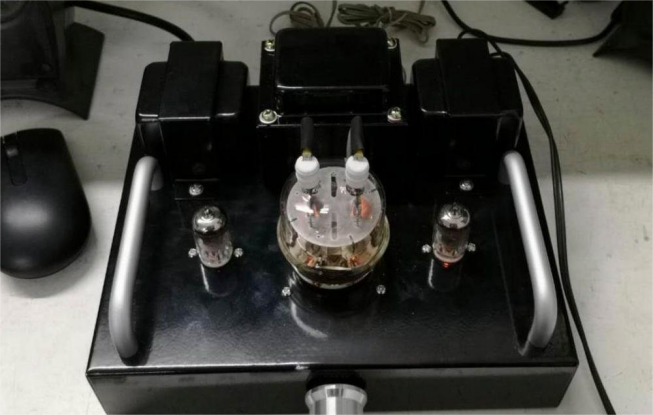
The FU32 tube amplifier kit allows you to DIY a small tube amplifier. If you're interested, keep reading!
First, you'll need to install the various connection terminals and the transformer. The positions of the two capacitors may require some adjustment. If the two capacitors are placed flat together, it won't utilize the space in the chassis effectively. However, if they are positioned upright together, while it saves space, you'll find that the distance between the capacitor leads and the bottom board is only a few millimeters. If the capacitors aren't secured properly and sink later, it could lead to a short circuit. Therefore, you'll need to reposition them as shown in the diagram below.
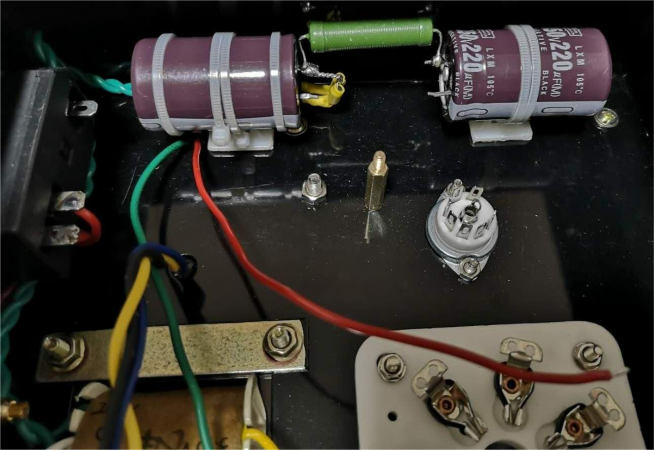
Here's a view of the capacitors placed upright, which may pose safety risks:
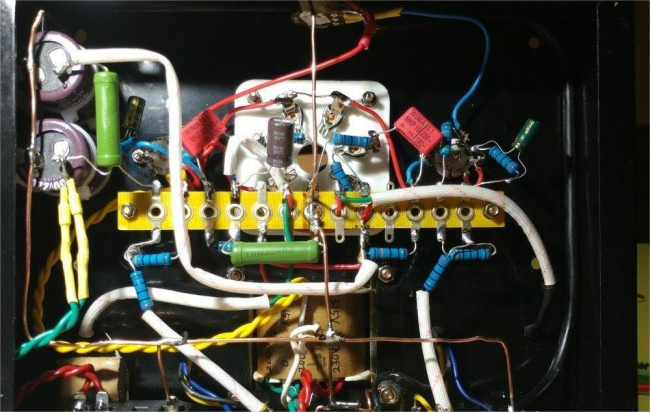
Below is the layout for the flat placement:
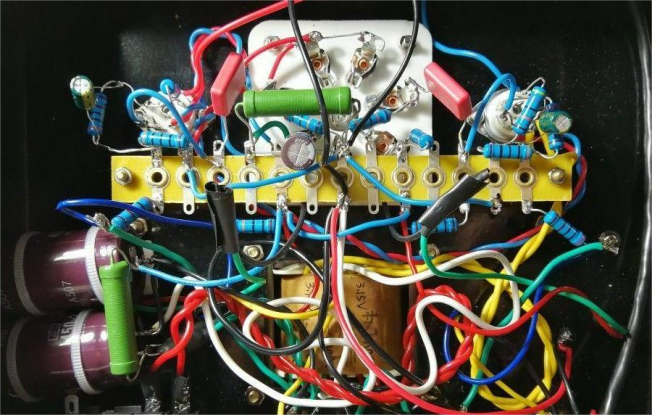
This is another way to position the capacitors. However, this setup might occupy the space needed for installing a toggle switch:
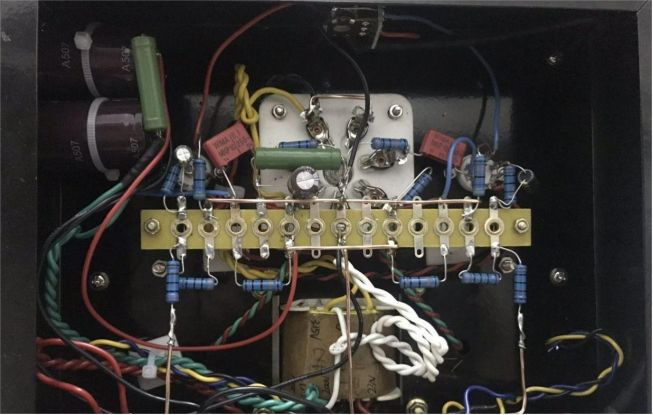
Here's the final appearance. During installation, try to manage the wiring neatly to avoid a mess:
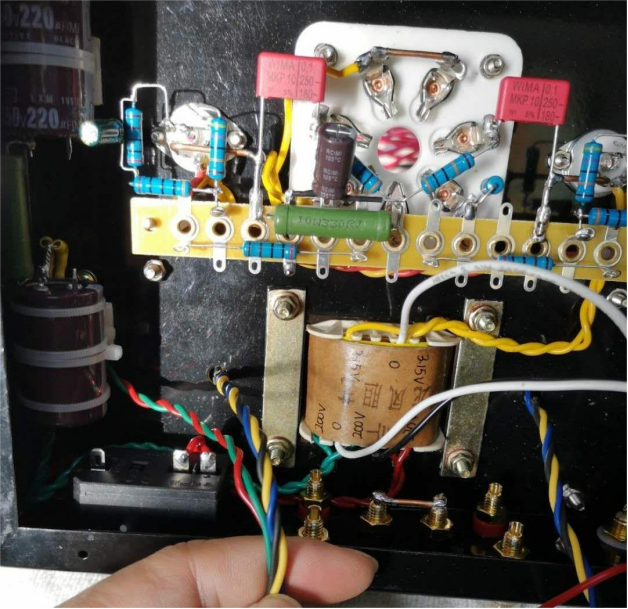
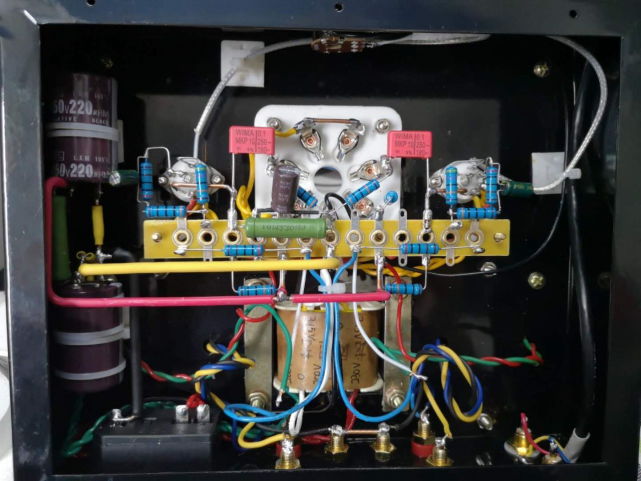
The white tape shown is temporary; you can later replace it with wire nuts or heat shrink tubing for a cleaner look. Trim any excess wire to the appropriate length.
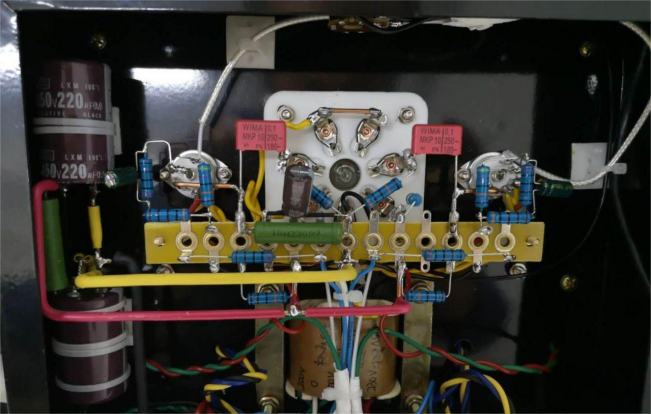
This is what the temporary setup looks like. Find the satellite speakers for the subwoofer, connect them, and before inserting the tubes, make sure to power it on to check for any loose or incorrect connections. After ensuring everything is secure, turn off the power and insert the tubes. During testing, you will find that there was no background noise—it was very quiet. The sound quality was good, and the volume was sufficient. In the future, you could add a toggle switch to the left side of the front panel or install a 3.5mm audio jack for headphones. Just make sure to test if connecting headphones will work properly.
