If you're interested in speaker modifications, you might want to check out this article.
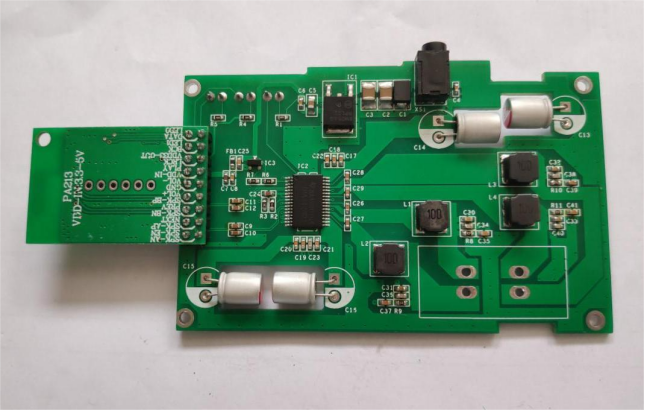
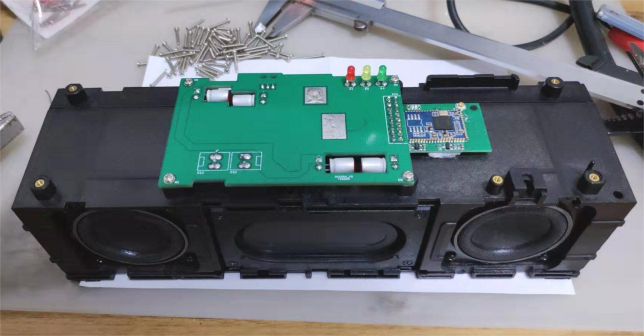
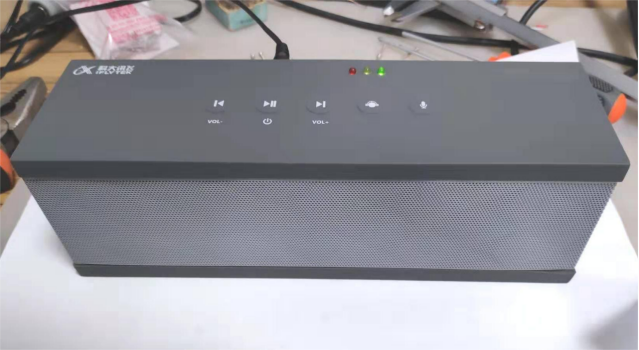
Baidu's smart speaker is indeed quite intelligent, but its sound quality is average, with insufficient separation between the left and right channels. On the other hand, the iFLYTEK VBOX offers excellent sound quality, but its app and server are no longer maintained, meaning it can only play the songs preloaded on the device. However, you can upgrade the VBOX into a Bluetooth speaker using the aptX HD (CSR8675) solution. As for the circuit, that's another story. In terms of structure, all you need is foam, rubber rings, glue, a passive diaphragm, embedded nuts, over thirty screws, one circuit board, a speaker, and a plastic shell.
The VBOX doesn't support Bluetooth and can only accept external audio signals through its AUX input. Additionally, since the VBOX contains an embedded Android system, its standby power consumption is very high. The original circuit board uses the TPA3118D2 as the audio amplifier, but you can opt for the upgraded TPA3128D2. The entire circuit is designed to handle a wide input voltage range of 7V to 23.5V. The CSR8675 Bluetooth module connection can be replaced with other components, as long as the LM78M05 regulator's junction temperature doesn't exceed the maximum limit. If you choose a compatible model for the LM78M05, it's recommended to go with one rated for 35V.
To modify the Bluetooth module, remove the current current-limiting resistor on the indicator light and instead use the light pin directly from the module to power the indicator. Also, replace the internal hex screws. After reassembly and testing, the sound quality is slightly worse than the original VBOX, with less full and clear bass—likely due to the NPCA110P audio chip used in the VBOX.
For this modification, you'll need to remove the lithium battery and create a cover to seal the battery compartment. Initially, a 1.6mm thick 3D-printed battery cover was used, but during testing, it was found that at high volumes, distortion occurred. Using a sound card as a signal generator, the battery cover caused a significant resonance between 50–100Hz. The issue was resolved by switching to a 2mm thick aluminum alloy cover and sealing all the gaps with 704 silicone rubber.


