
When LED tube lights fail, it's usually due to a reduction in the capacity of the electrolytic capacitors in the driver, causing flickering. If a specific string of LEDs isn't lighting up, you can remove the damaged LED board and measure it. For RoHS-compliant LED tubes, there are 24 LEDs in a string, divided into 5 groups, with 10 strings connected in parallel. Often, a failure in one LED in a string will cause the entire string to go dark. The removed LED board is typically useless because the faulty LED will create an open circuit. However, you can repurpose it by powering it with a 5V USB supply. If you're interested, feel free to read on.
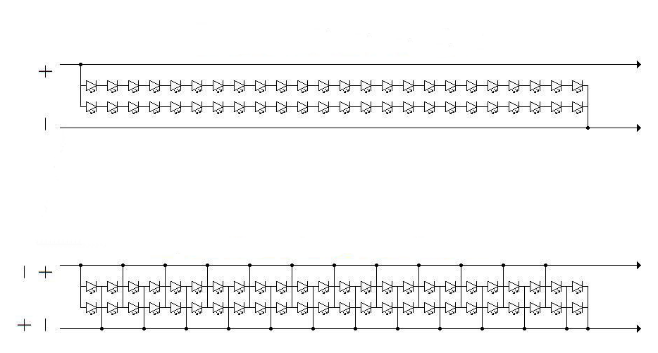
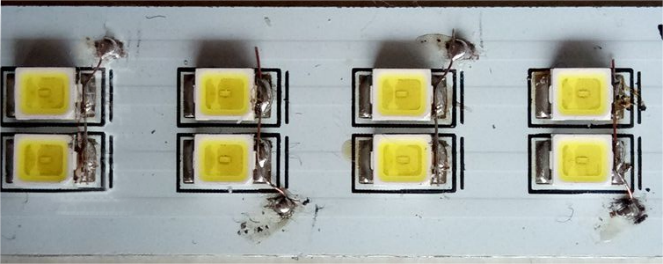
Given the previous explanation, you can solder the 24 strings of LEDs according to the circuit diagram, creating a short circuit path. Use a 5V power supply and add a suitable resistor to light it up, with no need to worry about polarity. Reversing the polarity will light up different LEDs.
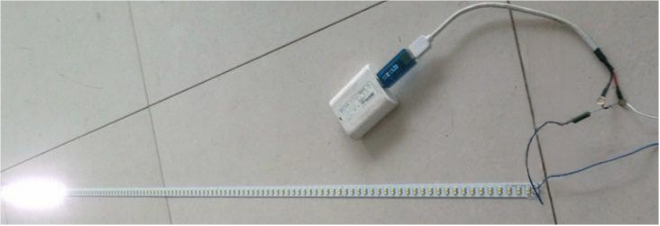
Below is an image showing the effect of modifying one group, while the other groups won't light up due to the high series voltage.
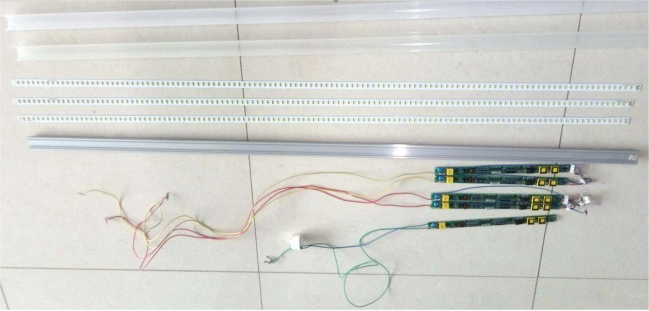
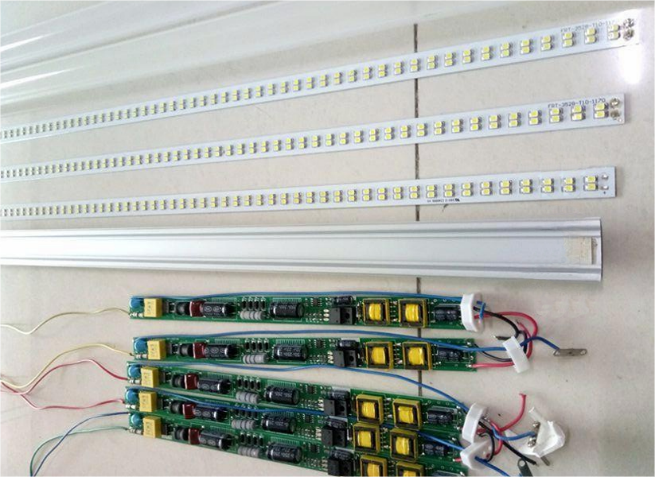
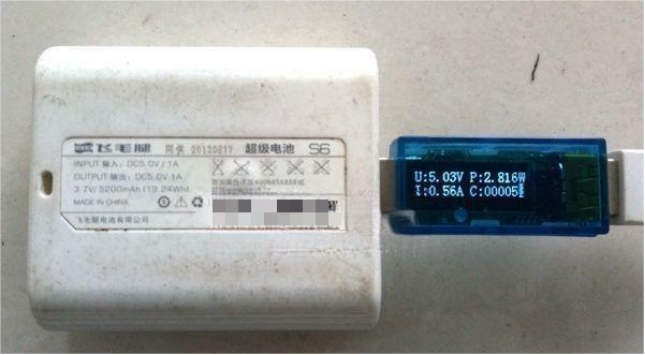
There are five groups in total, each consisting of 24 LEDs connected in series and then in parallel. In the image below, the upper part shows one group, and the lower part shows how it looks after the short circuit modification. A 0.5-ohm resistor is used in series with the 5V power supply, driving a current of 0.56A.

Additional Information:
The voltage drop across the LED string is measured as follows:
At 1 mA constant current: 2.6V, 5.2V, 7.8V, 10.4V, 13V...
Conclusion: A single LED drops 2.6V at 0.5mA.
At 10mA constant current: 2.88V, 5.76V, 8.64V, 11.52V...
Conclusion: A single LED drops 2.88V at 5mA.
Based on the voltage drop characteristics of the LED string, you can flexibly choose the short circuit location, and the supply voltage can be 5V, 6V, 9V, 12V, etc.


