
If you're interested in modifying your heatsink, take a look at this article. If your system is based on the Intel 115x platform, you can modify heatsinks from the Intel 775 and 1366 platforms (this modification requires using a file to enlarge the mounting holes).
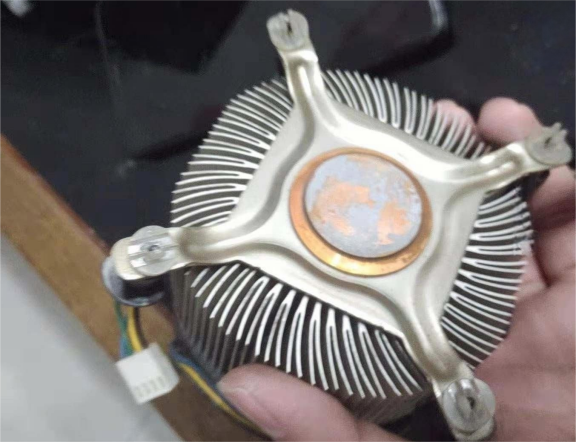
In a previous DIY article, DIY Intel Heatsink Modification, we also discussed modifying the original Intel heatsink. The same applies to the AMD 2600X original heatsink.
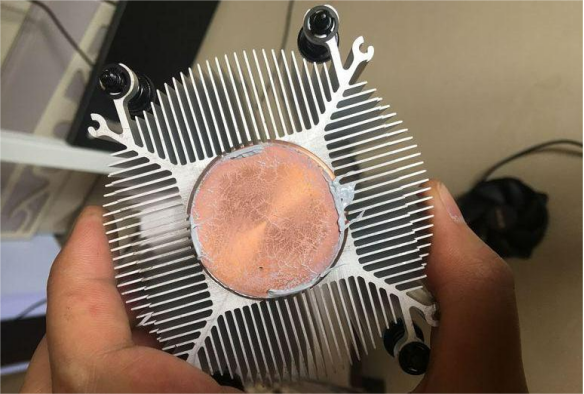
After power meter and FPU testing, the whole system, including the monitor, only consumes 120 watts. Excluding the monitor, power supply, motherboard, and hard drive, the CPU uses around 60 watts.
Here are the modification steps:
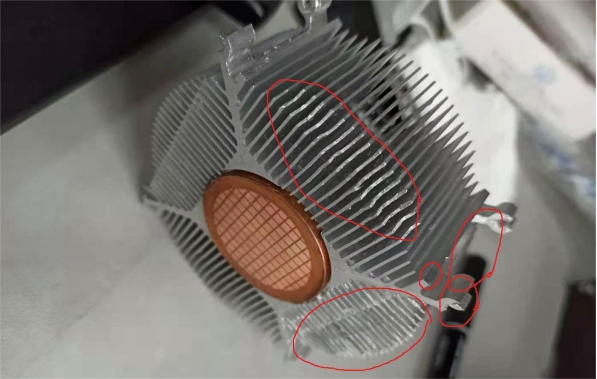
· The bottom of the fins interferes with the solid-state capacitors on the motherboard. You can use wire cutters to trim some of the fins and then smooth them down with a file.
· The original four mounting ears interfere with the solid-state capacitors on the motherboard. You can use wire cutters to trim them and smooth them down with a file.
· Prepare to use fan mounting posts to secure the heatsink to the motherboard. However, the diagonal center distance is 101mm, while the 115x is 75 * 1.414 = 106mm, so you will need to cut off the middle part of the fan mounting posts and slightly file the bottom ring to ensure it fits snugly with the screws.
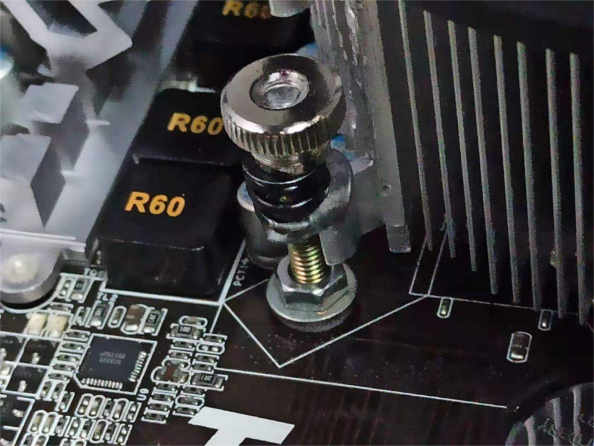
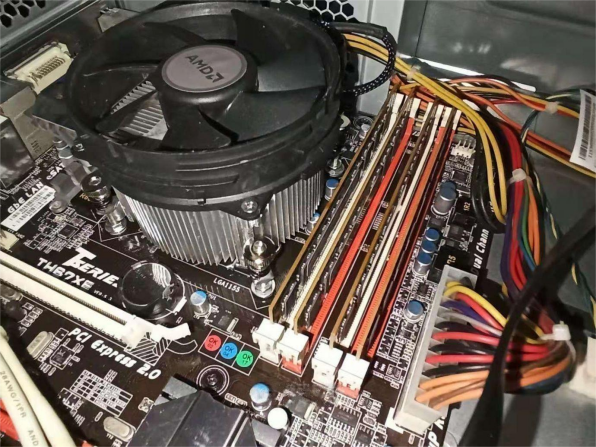
For all three systems, I installed long screws on the motherboard and tightened the nuts by hand, using a spring to apply downward pressure. I added nylon washers to prevent scratching the copper foil near the screw holes.
For the 3770, with a room temperature of 15°C, the FPU stress test ran at 61°C. This setup performed slightly better than the heatsinks from the 775 and 1366 platforms.
The end.


