If you're interested in modifying your alarm clock to use a Type-C rechargeable lithium battery, this article is just for you!
Cheap alarm clocks often come with power-hungry movements and typically run on 1.5V dry batteries that drain in just a couple of weeks. So what can you do about it? If you're curious, let's walk through how to convert your clock into a rechargeable one.
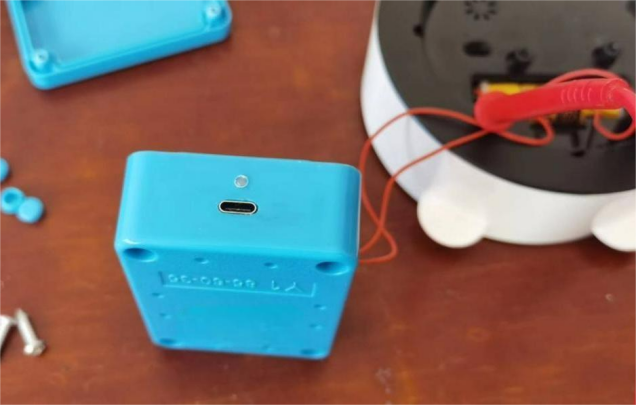
Check out the two photos below—they show the alarm clock after the modification. You don't need to permanently fix the battery holder in place. You can use it as a base or mount it on the back of the clock without affecting the overall appearance.


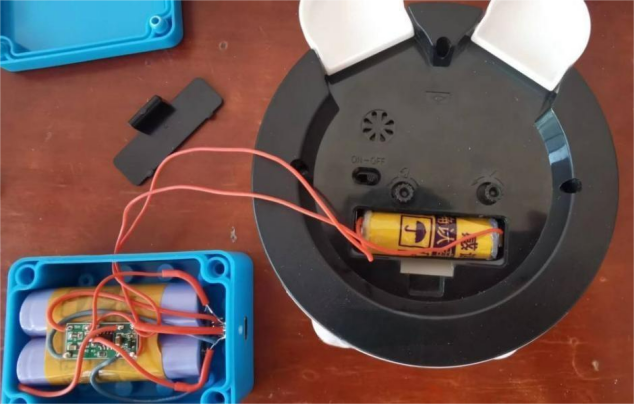
You can choose to install the battery and the step-down charging module inside the clock. But if you don't have a battery that fits well, you can always use an external setup.
For the battery case, a waterproof box works great. You can even salvage batteries from solar garden lights. Two cells together should give you around 2000mAh, though you can measure the exact capacity for better accuracy.

To fill the battery slot, you'll need to use the core of an old dry battery to make a dummy cell, since the metal contacts on both ends can't be soldered directly.

The charging module can be designed and soldered by hand. It uses a TP4056 for charging and a low-power 1.5V LDO regulator chip for output.


For convenience, it's best to use a Type-C port, though other ports work too if that's what you have on hand.

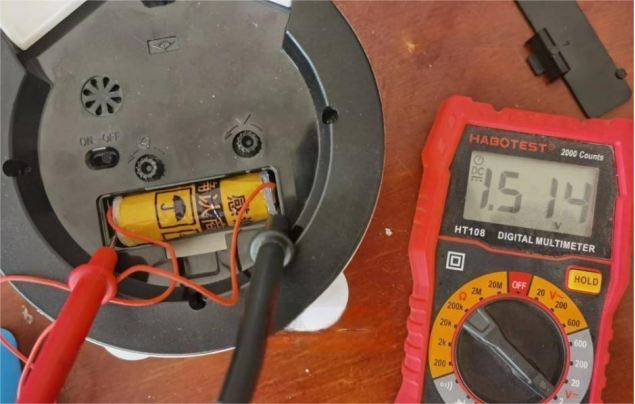
The output voltage from this regulator chip remains stable at around 1.51V to 1.52V, which is ideal for the clock mechanism.

Originally, the indicator LED was a surface-mount component hidden inside the clock, making it hard to see the charging status. You can replace it with a common anode bi-color LED and mount it on the clock shell: red for charging, green when fully charged.
Done!


