If you're interested in DIY projects that turn a vape into a soldering iron, you might find this article worth checking out.
If you already have a vape device and a 510 soldering iron tip, and you've been thinking about converting it into a functional soldering iron, follow along with this DIY guide.
This particular vape is an all-in-one unit without a separate charger, so the first step is to repurpose the original head to create a simple charging solution.
If you're not sure how the head is connected to the body, take extra care when disassembling it.

Once the head is taken apart, you'll only need the connector on the left side.

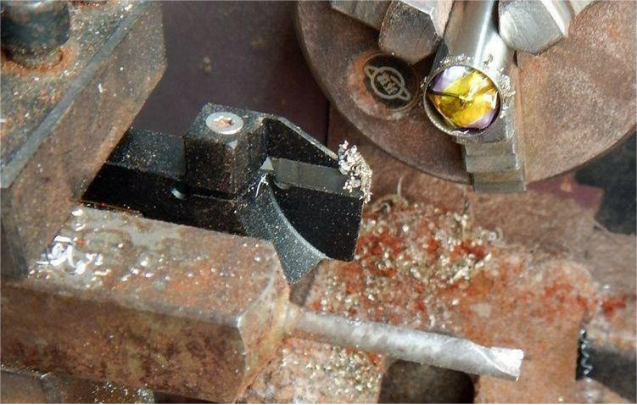
Since the casing is made of stainless steel, it can be tricky to cut—be cautious while sawing.

You can easily make a direct charging adapter. After charging it for a while, the device should work normally.

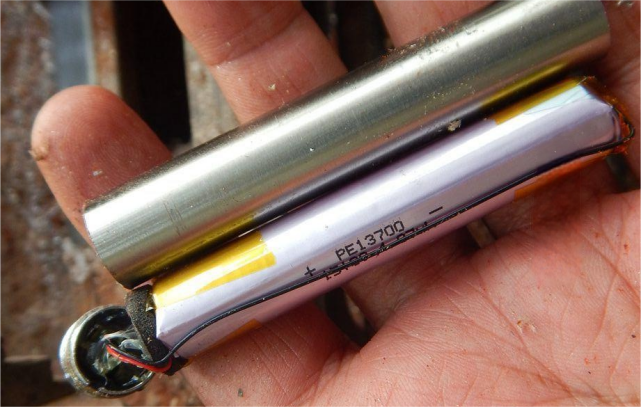
However, keep in mind that the vape's original circuitry only stays powered for a few seconds. If you're unsure whether the circuit board supports charging, it's best to remove the internal circuit entirely. Open the back cover, and you'll expose the built-in battery.

Similarly, remove the front cover to access the cylindrical 4.08Wh power battery inside.

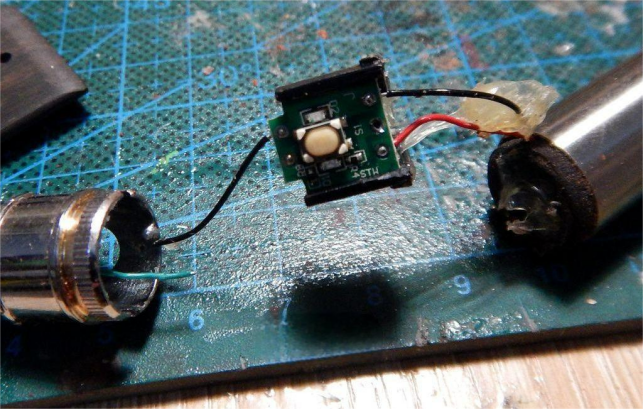
The front side of the circuit board only contains a button and an indicator light.

The back side appears to have a microcontroller unit (MCU) or something similar.

You can build a slightly larger housing to accommodate a 2A charging/discharging combo board with a power display. This board doesn't have built-in connectors, so you'll need to add a charging port manually.
Also, add an on/off button—press to power on, release to power off.

Here's the final result, as shown below. It can melt solder in about 10 seconds and works quite well.


Done!


