
If you're into DIY electric mosquito swatters, this article might be just what you're looking for.
So, what if your mosquito swatter doesn't turn on even after pressing the power button? You take it apart and notice that the original power source was two dry batteries, but it's been modified to use a single 18650 lithium battery with a remaining voltage of 3.9V. You press the switch—still no response. Chances are, the button is broken.
The original button was a square-shaped one, but due to internal oxidation, it no longer conducts electricity. You replace it with a metal push button wired in parallel, but it still doesn't work.
So, what now?
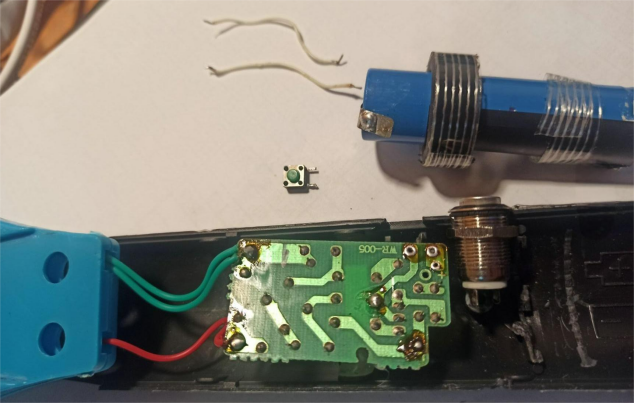
Both buttons are likely oxidized and non-conductive.
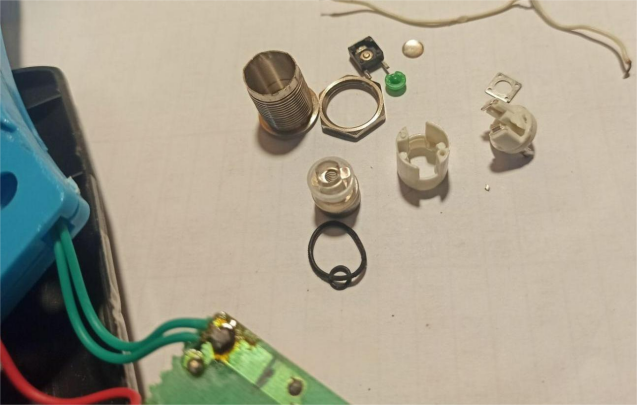
These metal buttons can't be reassembled once taken apart.
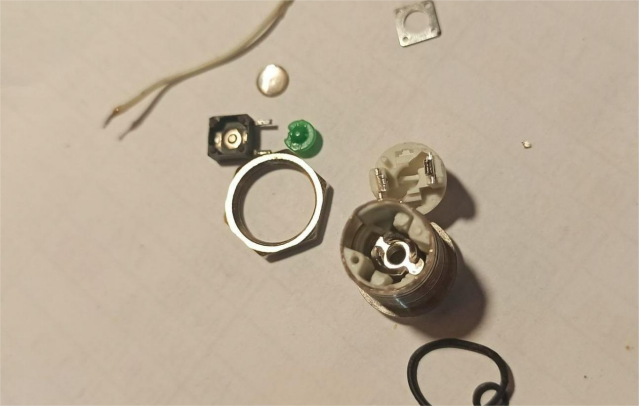
Here's what you can do: try installing another metal push button. But if you're worried it might fail again, you should test the power first. A quick test shows that the power supply is 4V with a working current of 0.8A. That's probably why both the original and replacement buttons couldn't handle it—they simply weren't built for that current.
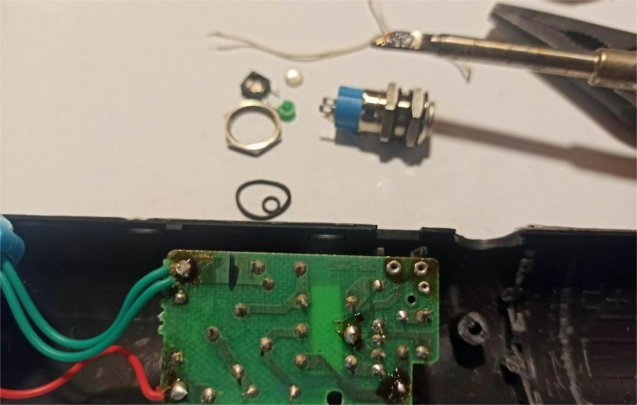
Now that we've identified the problem, how do we fix it?
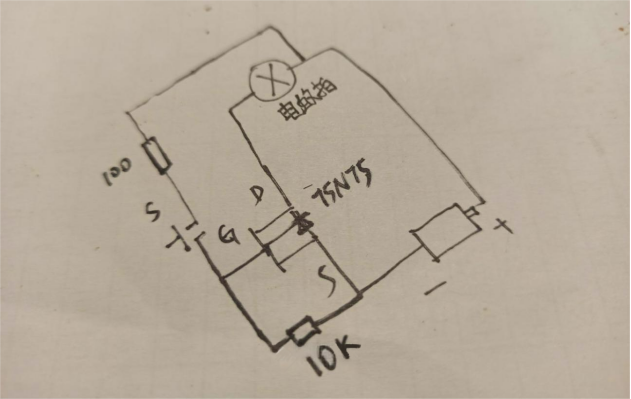
You can use a common N-channel MOSFET like the 75N75.
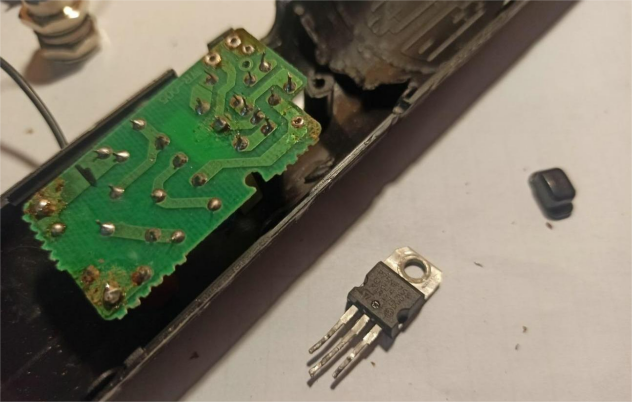
Solder the MOSFET onto the board and use the push button to control the gate of the MOSFET. This way, the current flowing through the physical button is minimal, greatly extending the button's lifespan.
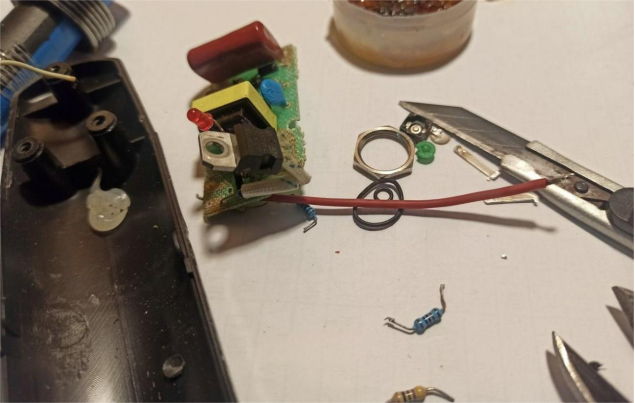
All you need are three components, and once they're insulated with heat shrink tubing, you're good to go.
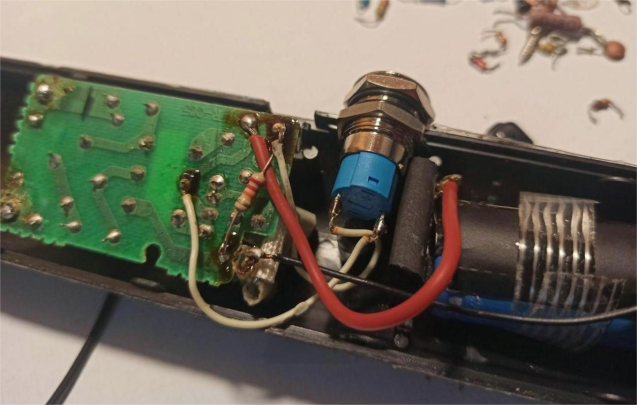
The large metal push button gives a much better tactile feel.
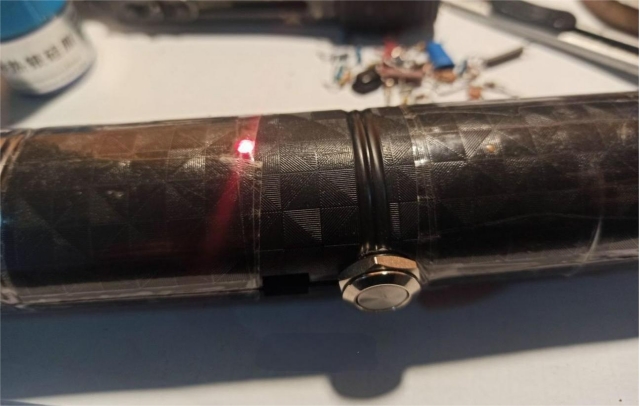
Here's a simple circuit diagram: two resistors and one MOSFET added. The push button controls the gate of the MOSFET, reducing the current through the button from 0.8A to just a few milliamps. Even if the button slightly oxidizes over time, the circuit will still work reliably.
Done!


