
If you're interested in DIY projects involving 18650 lithium batteries, especially modifying them with pointed-tip protection boards, this article is worth a look.
These days, many small gadgets like USB fans and micro speaker systems are switching to 18650 lithium batteries to improve battery life. A lot of these devices use replaceable pointed-head 18650 batteries, but most people only have flat-head 18650 batteries without built-in protection circuits. If you happen to have some pointed-head battery protection boards, you can simply take a flat-head 18650 battery, attach the board, wrap it with PVC heat shrink tubing, and you'll have a working battery with a pointed-head and protection circuit—ready to use.

For this project, you'll need: a salvaged flat-head 18650 battery with nickel tabs, a pointed-head protection board, and some PVC heat shrink tubing.
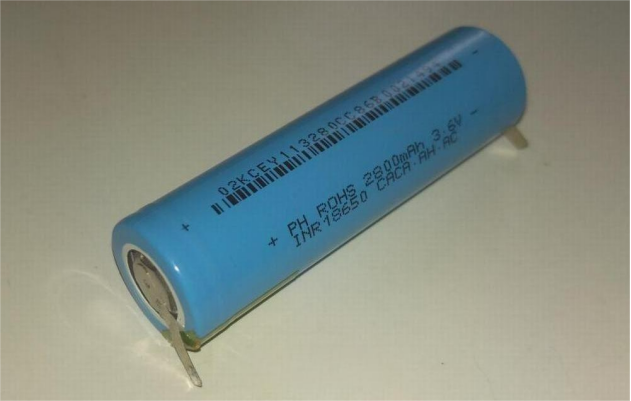
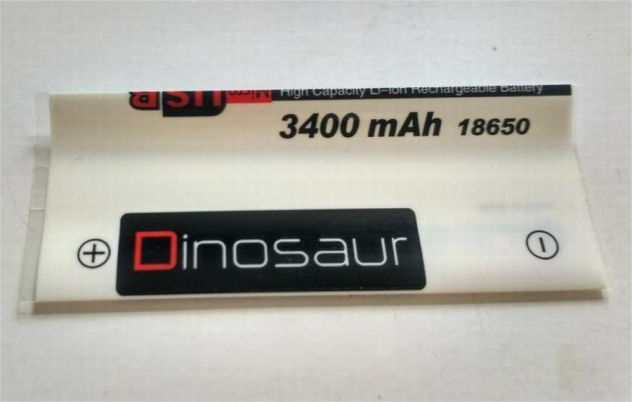
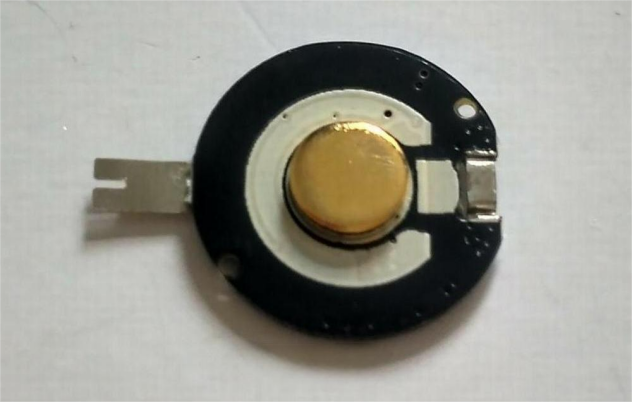
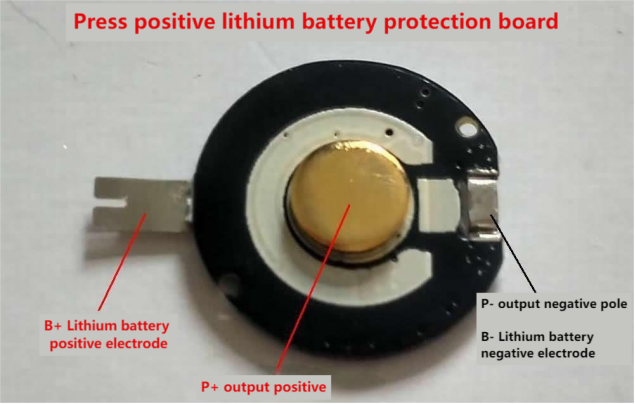
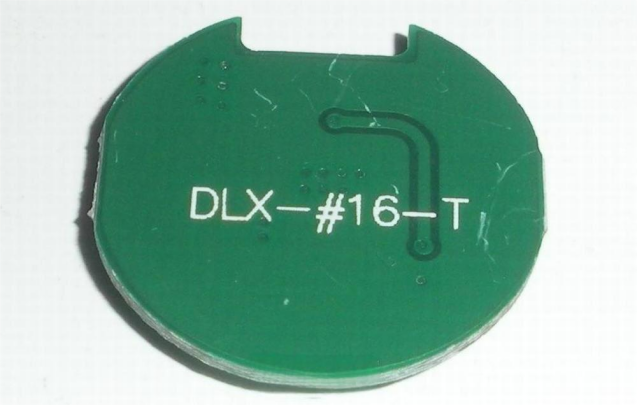
Start with a flat-head 18650 lithium battery that still has its nickel strips intact from a previous teardown. That makes soldering easier during assembly. The pointed-head protection board usually features a six-pin battery protection IC and two MOSFET chips. It's about 17.3mm in diameter and 2.7mm thick. Once connected, it needs to be activated before it outputs any voltage.
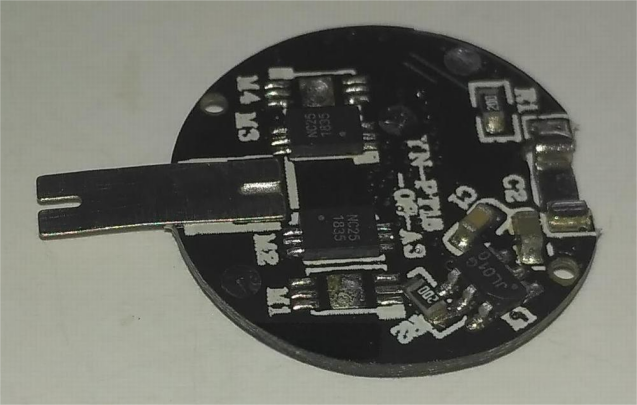


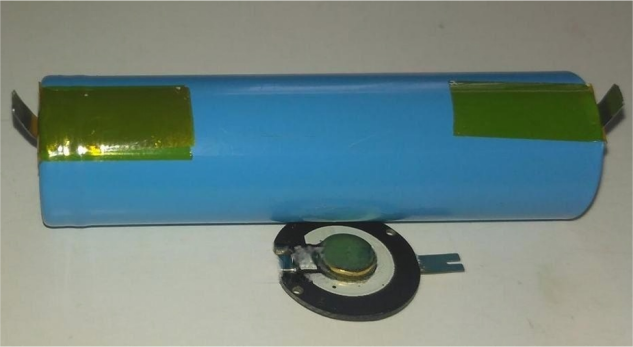
Here's how the assembly goes:
First, solder the positive end of the battery to the positive terminal of the protection board.
Then, attach a nickel tab to the battery's negative terminal.
After that, solder this tab to the negative terminal of the protection board.
Once everything's confirmed to be functioning correctly, wrap the assembly in PVC heat shrink tubing.
Before soldering, it's best to tin the contacts for a smoother connection.

After soldering the nickel strip from the battery's positive terminal to the board's positive contact, use high-temperature tape to ensure proper insulation.
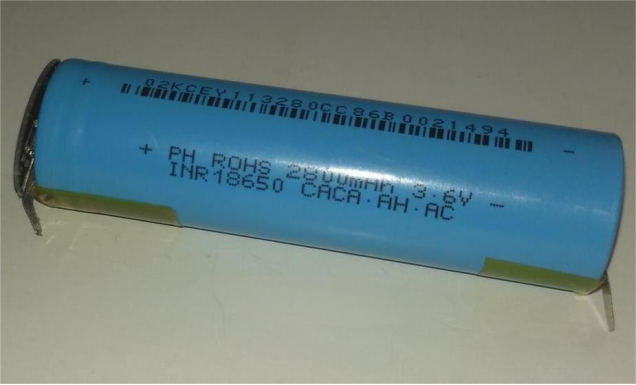
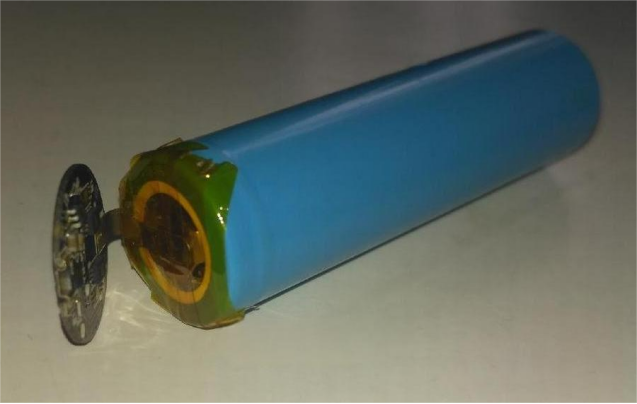
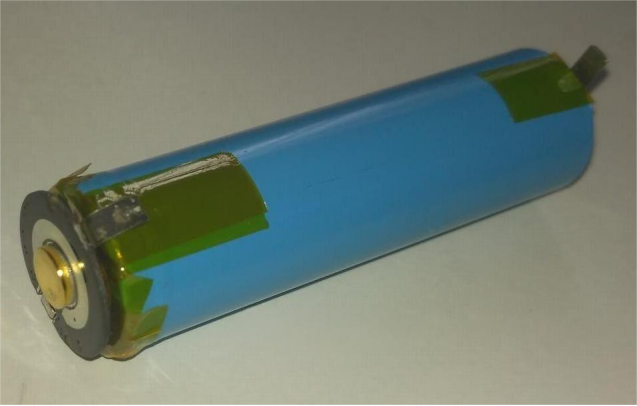
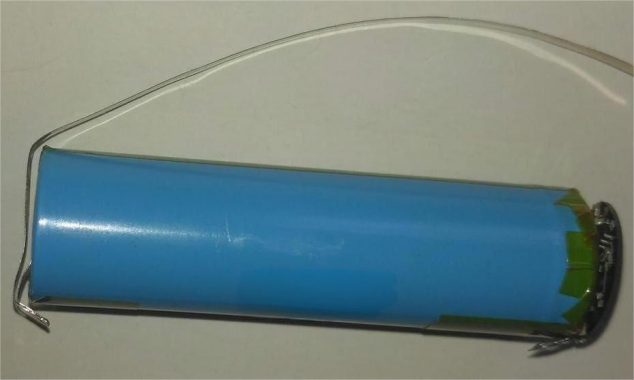
For the negative terminal, also solder the nickel tab in place—clean it with a dry cloth beforehand—and then reinforce the connection with high-temperature tape.
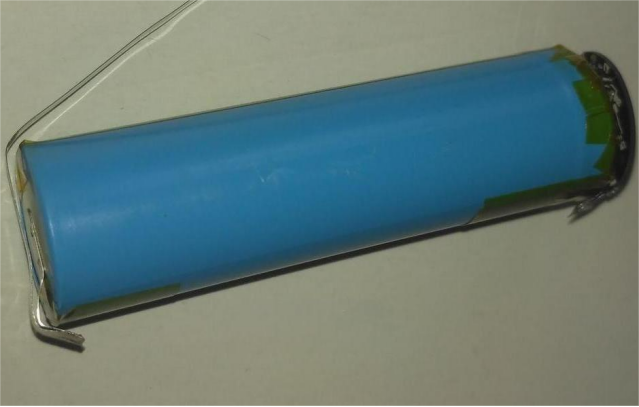

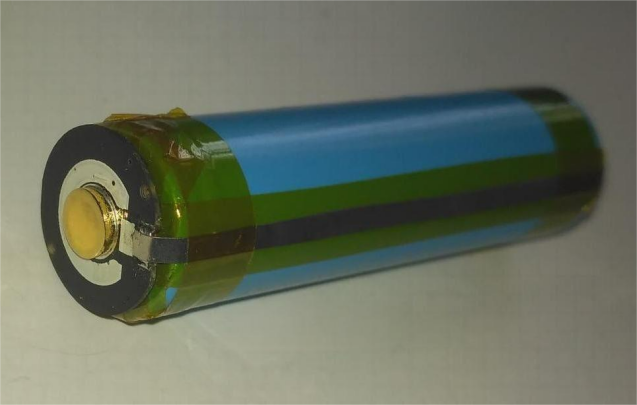
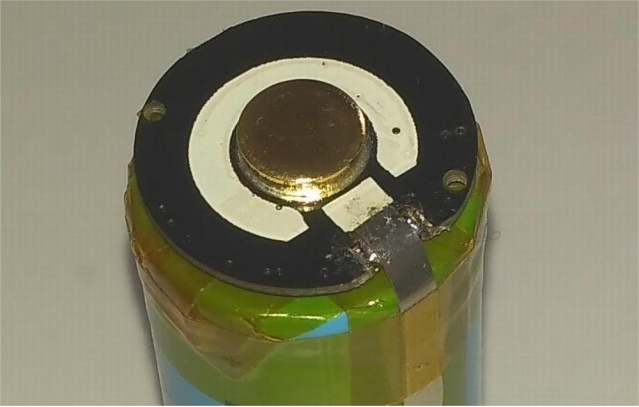
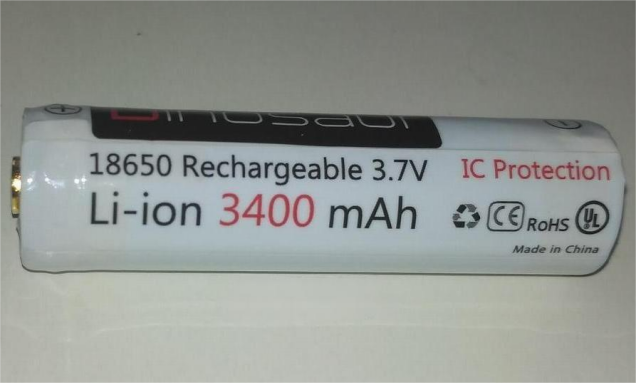
Once all the soldering is done, test the charging and output. If all works well, finish it off with the heat shrink tube.
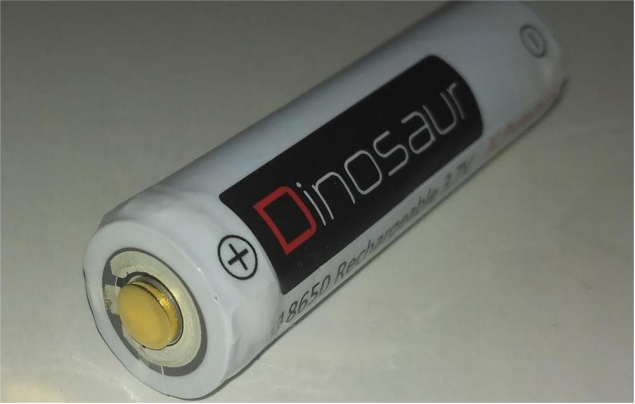
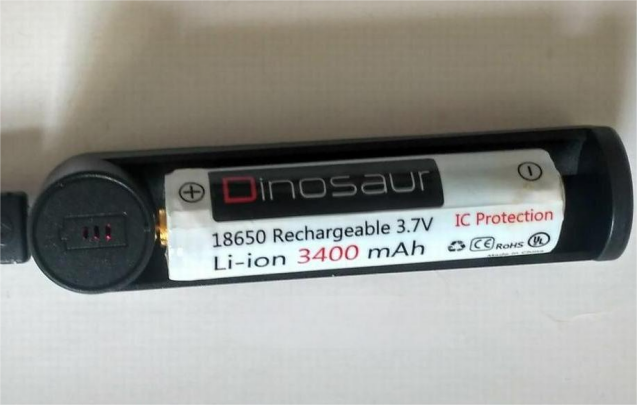
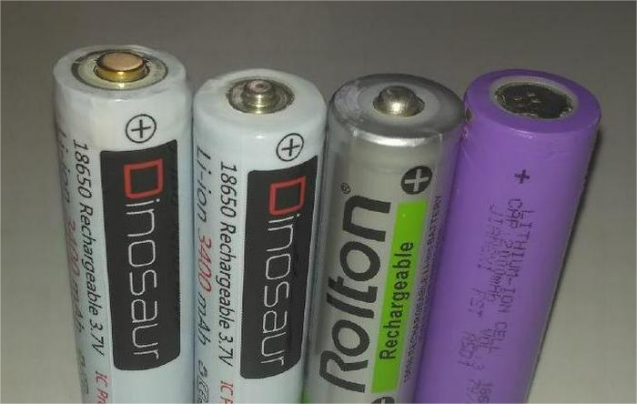
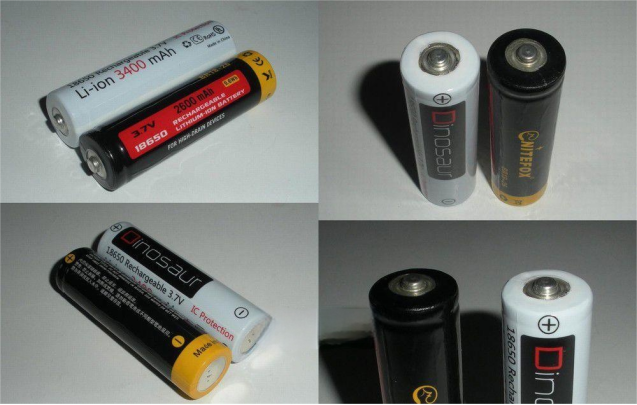
For comparison, from left to right you'll see:
· a DIY 18650 battery with a pointed-head protection board (about 68.7mm, a bit longer),
· a modified pointed-head 18650 battery (67mm),
· a standard pointed-head 18650 battery (67mm),
· and a flat-head 18650 battery (65mm).
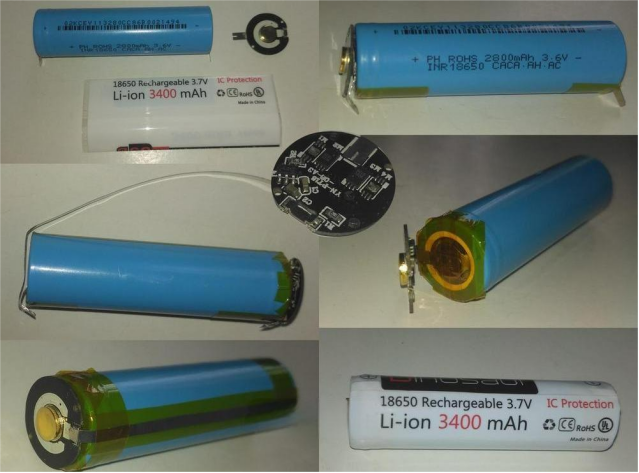
To quickly identify and activate your battery protection board, here's what you need to know: Protection boards are generally either positive-controlled or negative-controlled. Positive-controlled means the protection circuitry is on the battery's positive end, with the output also coming from the positive terminal—both terminals share a common ground. Negative-controlled means the circuitry is on the battery's negative side, and the output comes from the negative terminal—both terminals share a common positive.
There are two main ways to activate these protection boards: charging or shorting. You can wake up the board by simply connecting it to a charger. Alternatively, shorting can do the trick—just briefly connect the battery's terminal (positive or negative, depending on the type) to its corresponding terminal on the protection board.
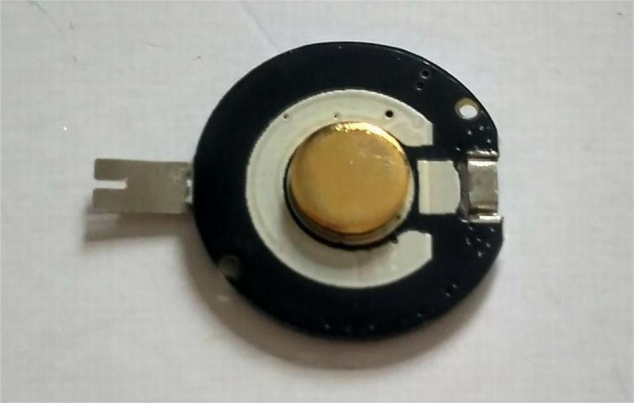
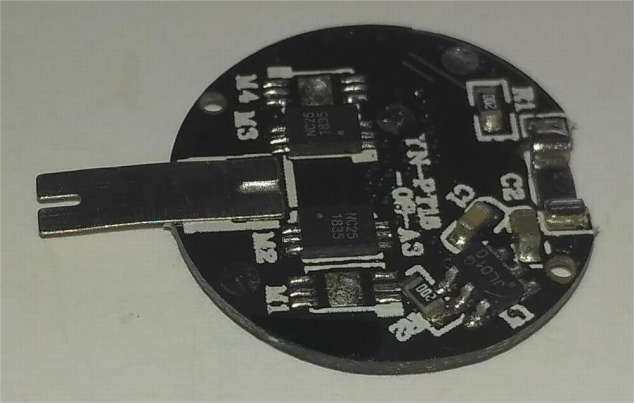


And that's it—you've now successfully upgraded your flat-head 18650 battery into a protected, pointed-head version ready for safe and extended use in your gadgets.


