
If you're interested in building your own DIY 2S charger, this article is worth a read.
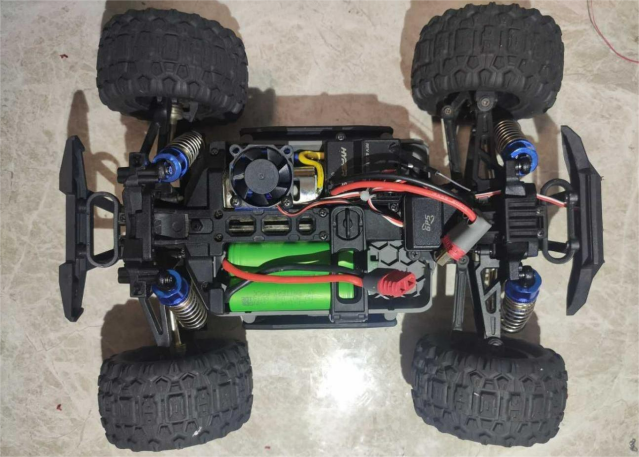
The toy car's built-in 1000mAh battery just doesn't cut it. Replacing it with a Sony VTC6 pack gives a much better performance—but charging becomes a hassle. Using a TP4056 to charge each cell individually is too inconvenient. So let's build a better solution together.
After some research, the TP5100 lithium battery charging management module turned out to be a solid choice.
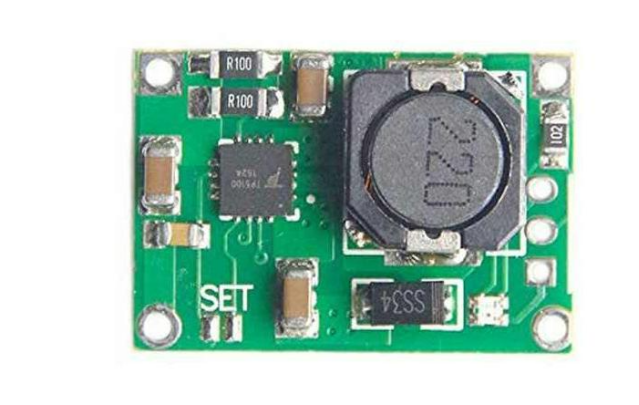
Module Specifications:
· Input Voltage: 5–18V DC (5–12V recommended for stable operation)
· Charging Status Indicators: Blue LED: Fully charged or no load, Red LED: Charging in progress
· Voltage Setting: Only change settings when the module is powered off. If you're adding a toggle switch, make sure the input is disconnected before switching.
· Other Use: Can also be configured as a constant current driver for white LEDs—single cell mode for one LED, dual cell mode for two LEDs in series.
· Note: Input voltage must be higher than the output voltage!
Pin configuration is shown below:
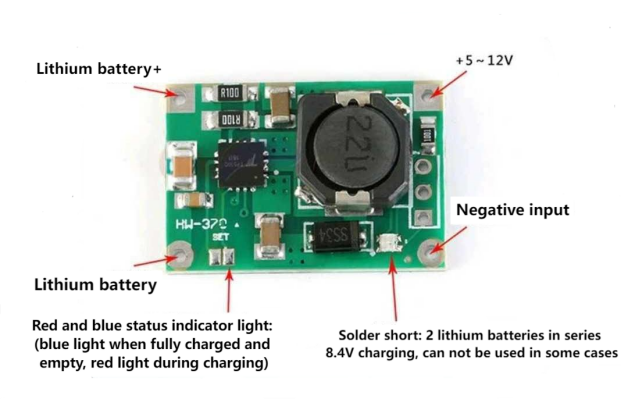
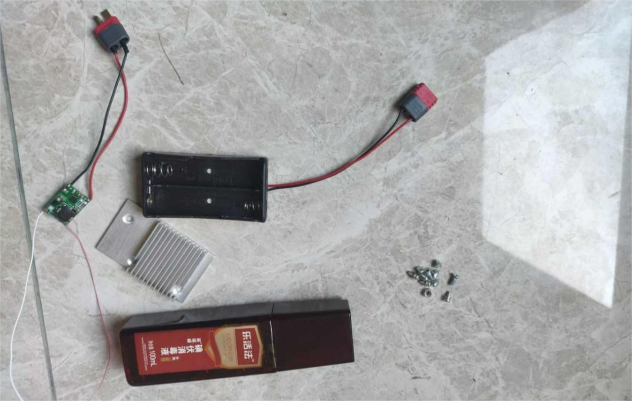
To configure voltage mode, you'll need to short specific solder pads. You'll also need a battery holder, a Type-C trigger module, and some iodine for prepping connections.
Voltage Mode Shorting Examples:
(1) 9V Shorting Diagram
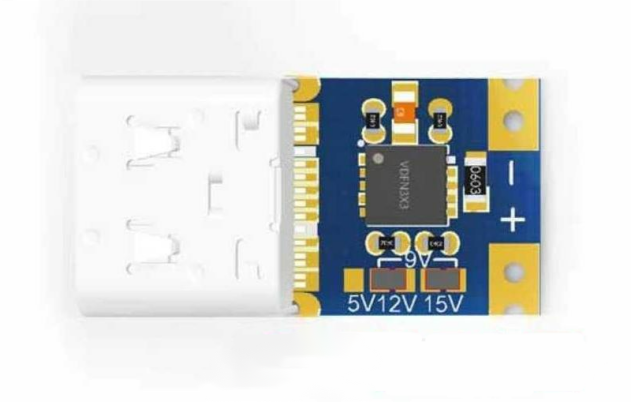
(2) Alternate 9V Shorting Diagram
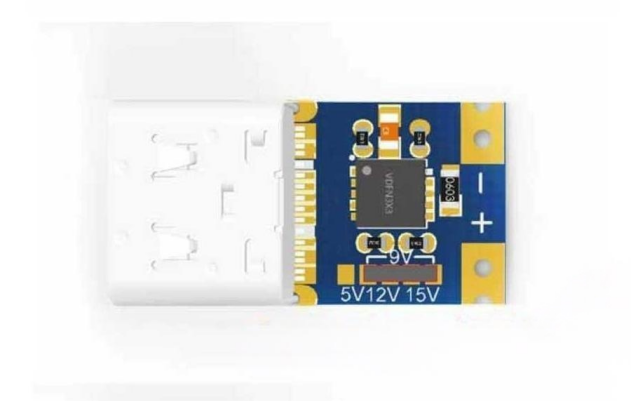
(3) 12V Shorting Diagram
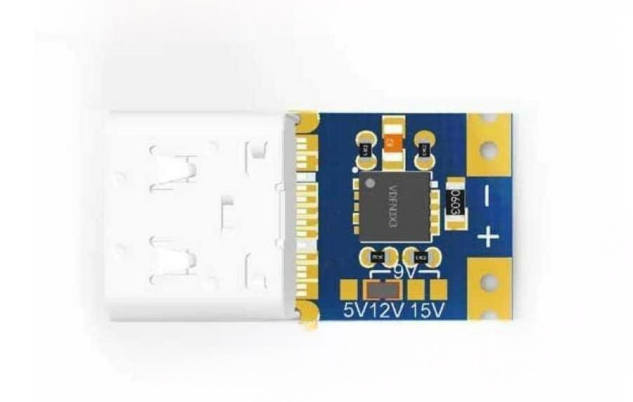
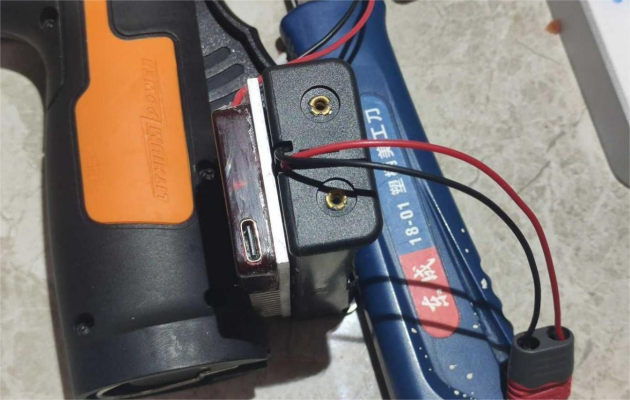
Set the trigger module to 12V output. You'll also need to do a bit of physical modification: drill mounting holes for the heatsink, apply thermal pads, and mount the module securely.
Before Assembly:
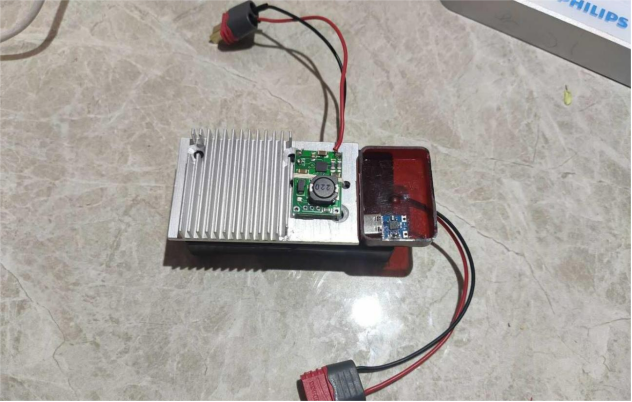
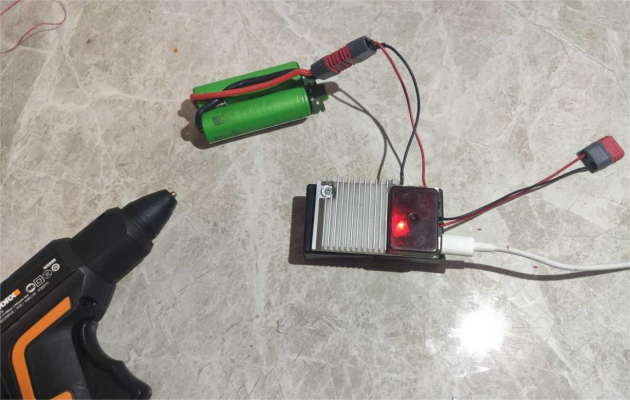
After Assembly. Charging power remains steady at 19.5W. As the battery pack approaches 8V, the power draw begins to taper off.
Side View Detail:
Charging 18650 cells:
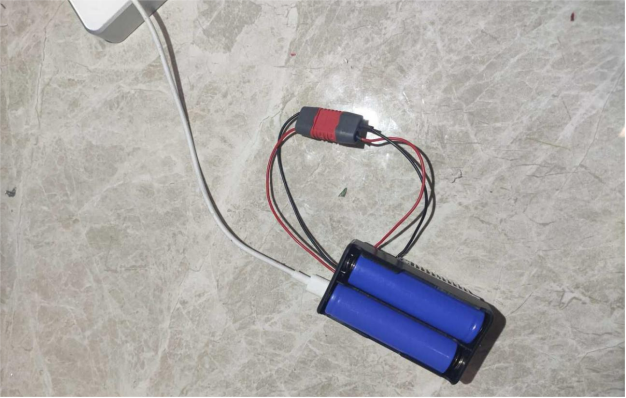
Done.


