If you're interested in adding a backlight to a DIY timer, this article is worth a read.
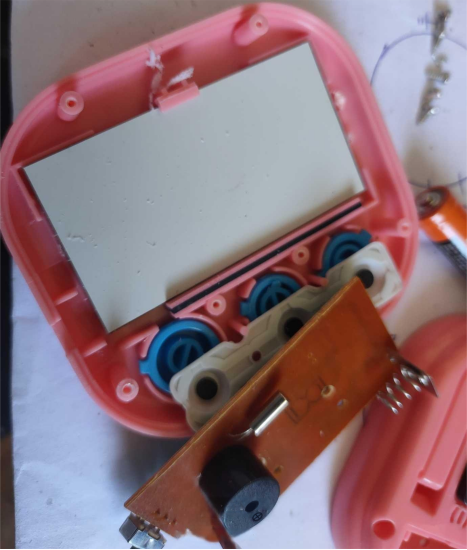
The countdown timer, as shown in the image, originally runs on a single 1.5V battery and doesn't have a backlight. The side switch is also quite small and hard to press. It's a great tool for learning time management.

Before you begin, you'll need to open the timer's casing. If there's nothing covering the back of the LCD screen, the modification will be fairly easy.

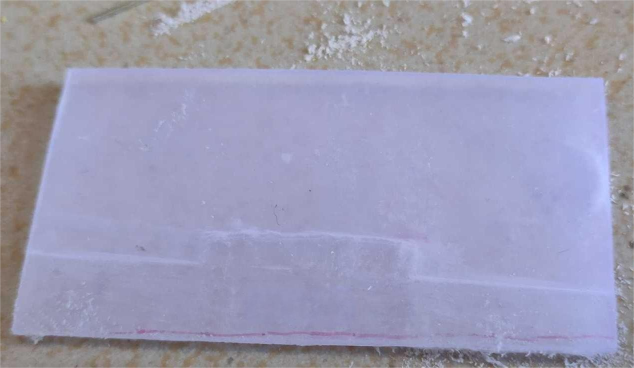
Next, prepare a plastic sheet from a component box and cut it to match the size of the LCD screen—this will act as your backlight panel. Since there are protrusions underneath, you'll need to sand them down a bit to make everything fit properly.

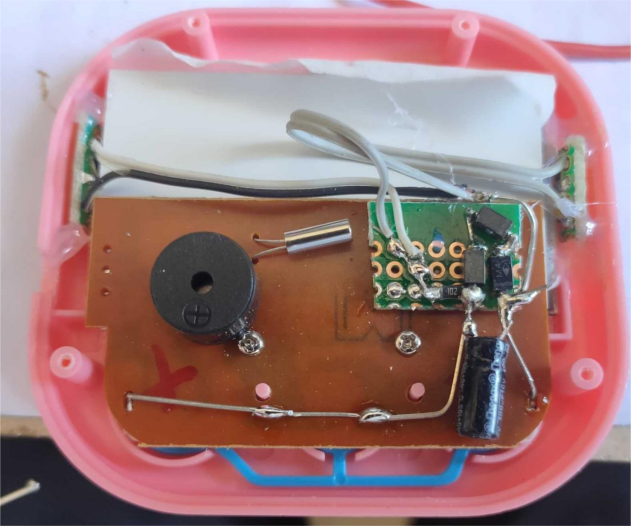
Carefully peel off the original reflective film from the back of the LCD and attach it to your backlight panel. You'll also need to place a layer of translucent paper between the glass and the backlight panel. This can be as simple as a thin tissue, though it may give a slightly grainy look.

Finally, attach a pair of SMD LEDs on each side, solder some leads, and secure everything in place. If the original power supply doesn't include a voltage regulator, you can use two IN4007 diodes in parallel for voltage drop—each drops about 0.7V, so together that's 1.4V. Add a 510-ohm resistor in series at the front. You can skip the original switch and just route a few wires directly.

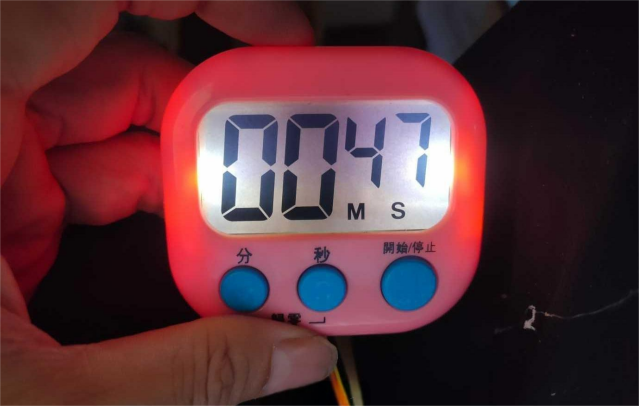
Once reassembled, the final result looks like the image. The light diffusion isn't perfect due to the quality of the light panel, but it's still readable. If you're not fully satisfied, you can always upgrade to better materials.

Done.


