
If you're interested in repurposing your smartphone's eMMC to create a DIY USB flash drive, this article is for you.
We started by tearing down a water-damaged Huawei Nova smartphone. Although the PCB was heavily corroded in several areas, the 64GB flash storage chip was still intact and perfect for this DIY project.
Using a custom-made PTC heating platform along with a hot air gun, gently heat the chip for a while before carefully prying it off the board. Be aware—there's adhesive under the chip.
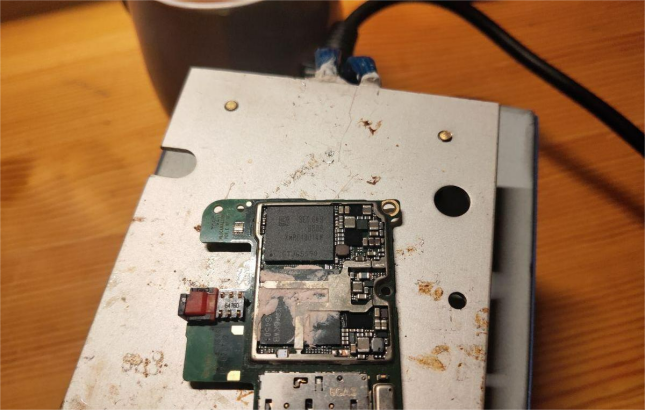
Set the hot air gun to around 200°C to gradually soften the glue on the chip. Since it's a BGA211 package, reballing requires precision—this part is easy to mess up. When applying solder paste, use tweezers to firmly press the stencil against the chip. If there's a gap between them, too much solder will accumulate, creating oversized solder balls that may get the chip stuck in the stencil.
While heating, keep the stencil pressed firmly to prevent warping. Don't set the temperature too high or let the solder paste boil. In this tutorial, we used the ATTEN 858D hot air station at 260°C.
Once reballing is done, you're more than halfway there. Set your hot air gun to 320°C with a moderate airflow, and heat the chip for about 30 to 40 seconds. Then gently push the chip with tweezers—if it snaps back into position, you're good to go.
You don't necessarily need to buy a USB 3.0 board—many say it overheats and can be unstable. A USB 2.0 board should work just fine.
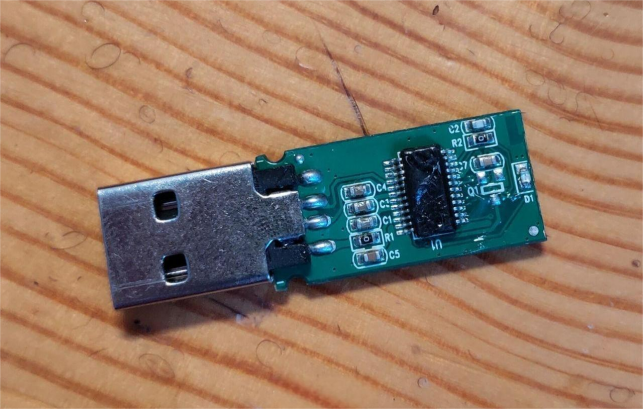
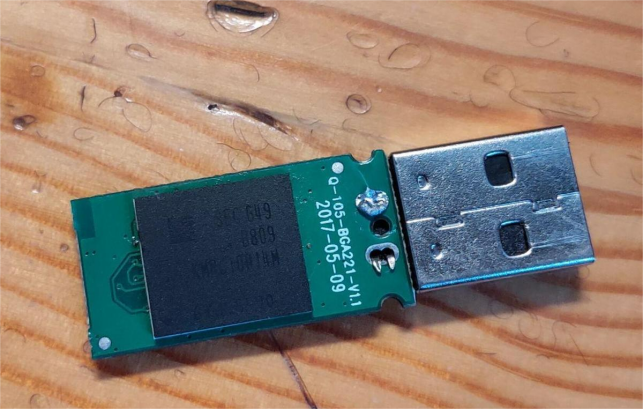
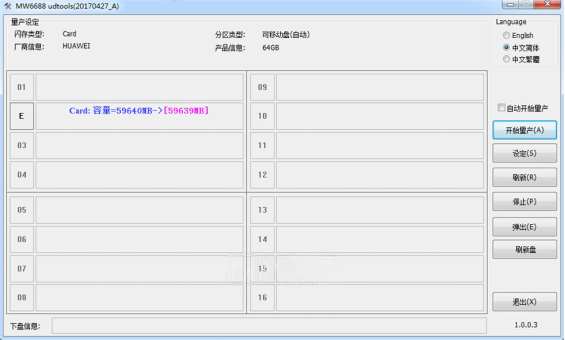
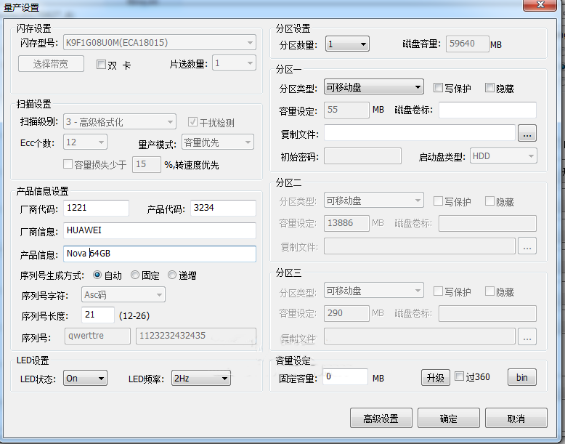
Next, use the MW6688 production software—just a few simple configuration steps, and you're ready for flashing.
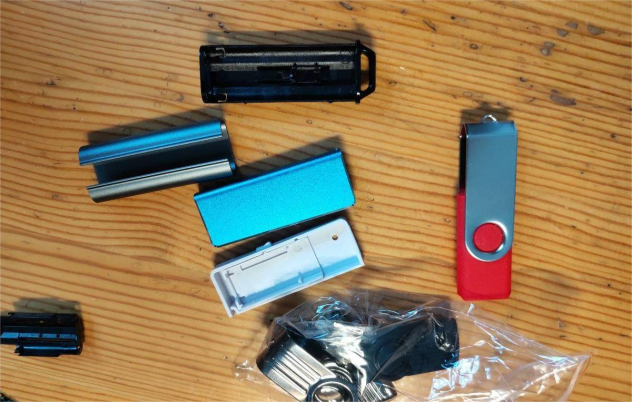
You'll also need a suitable case. Make sure to measure dimensions in advance—something like the one shown below should do the trick.
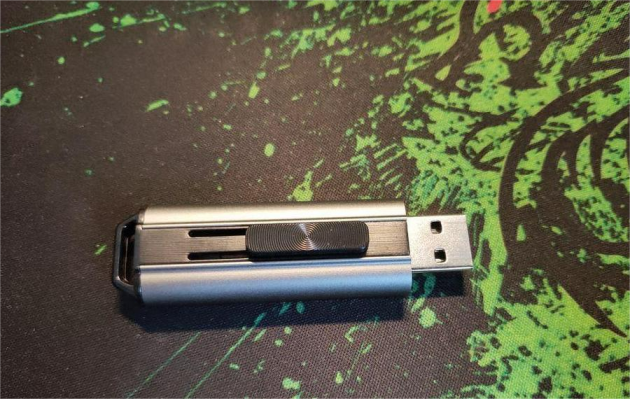
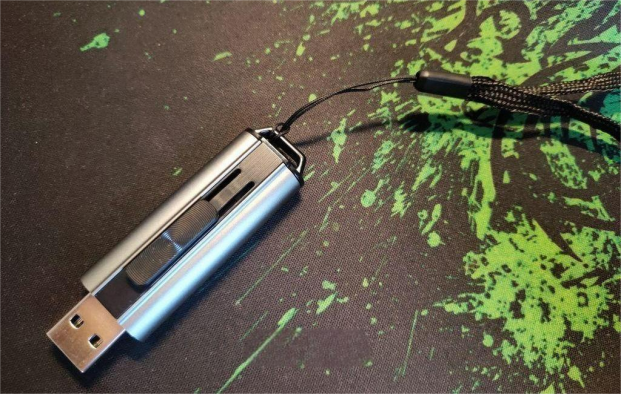
Once everything is assembled, it'll look like this:
Now it's time to run some tests!
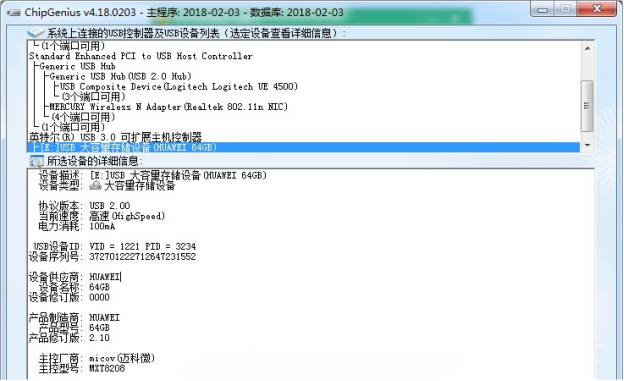
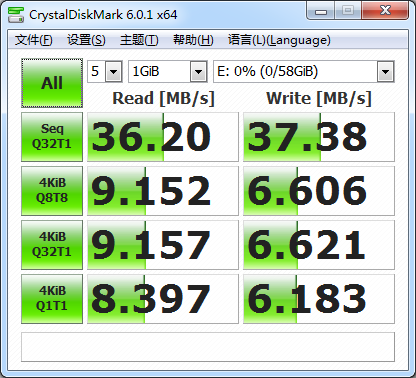
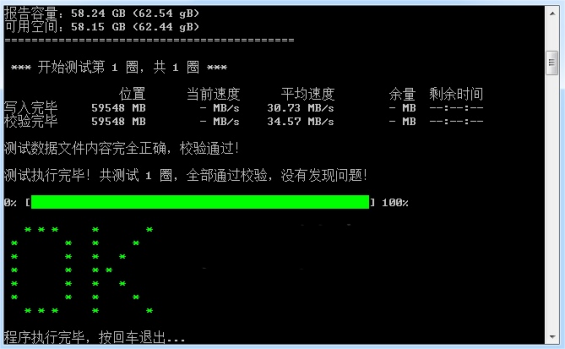
There's a bit of heat during operation, but nothing serious. For a USB 2.0 board, these performance results are actually quite impressive.
Project complete!


