
If you happen to have an idle Lmlava high-torque cordless impact wrench, you can follow this guide to DIY a work light using a Makita-style battery. If you're interested, keep reading!
The accessories can be 3D printed. You can use Fusion 360 to create the 3D models. For the battery connector part, just design and print an additional extension piece.
The three screws used are M3 hex socket self-tapping screws. If your threaded holes are 3.5mm, then you don't necessarily need to use M4 flat-head screws—M3 self-tapping screws should be tight enough.
For the switch, you can use a 10x15mm mini switch—either 2-wire or 3-wire versions are fine. With the 3-wire version, you can have two brightness modes: high and low. If you're using the 2-wire version, you'll need to drill a hole for a DC output—the first position for the light, and the second for the DC output.
Use 2.5mm wall thickness, and make sure to add internal reinforcements. Print with 100% infill as shown in the image below:
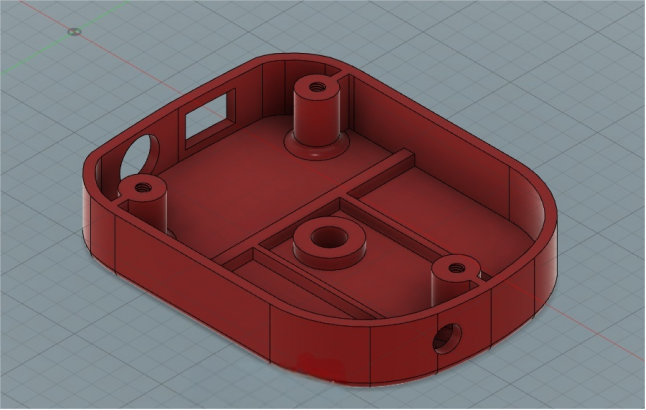
3D render view, the bottom section can be printed with 40% infill.
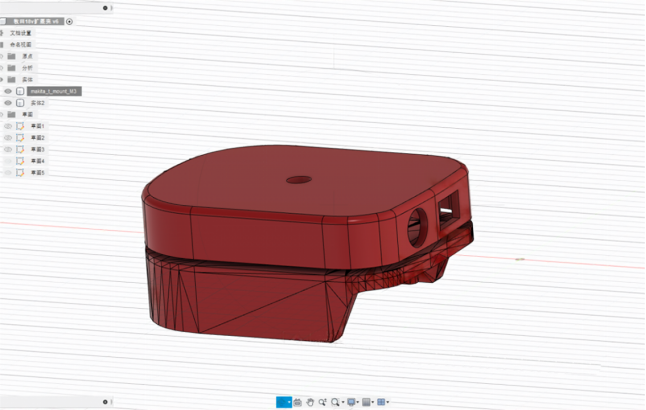
Completed print preview shown below:
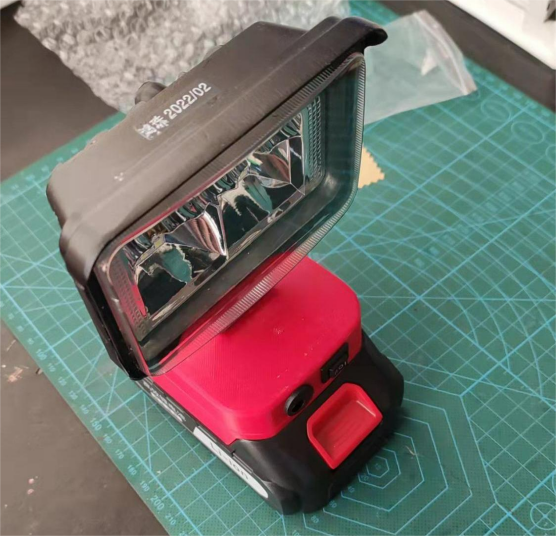
The connector pins are made using copper strips from a power socket, and you can push them in with a soldering iron.
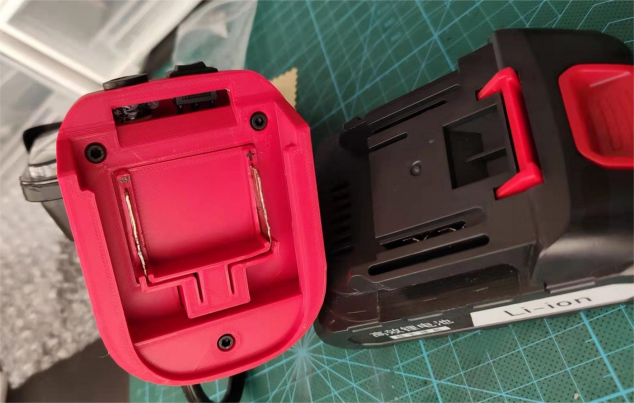
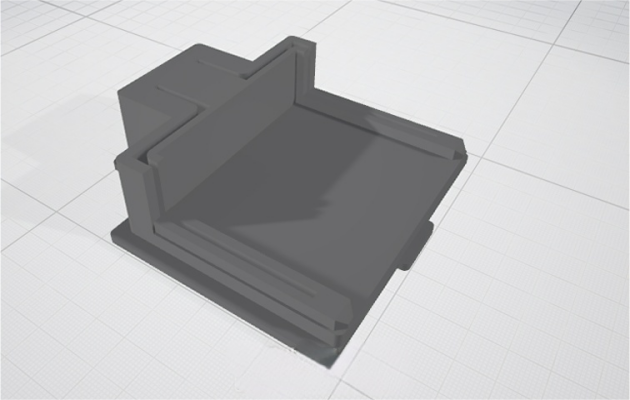
Be careful during slicing—enable a skirt to prevent warping on the sides.
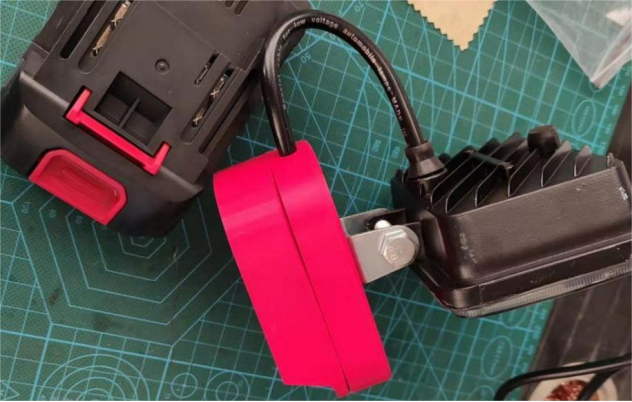
And that's it—DIY complete!


