
For those interested in DIY modifications of an 8-outlet power strip with dual switches, this article offers a practical guide.
The power strip featured here is a model from Huntkey. One of its built-in neon indicator lights occasionally fails to illuminate. Upon inspection, a slight looseness was found near the spring. Additionally, each neon light consumes about 0.25W, meaning two of them draw 0.5W in total. If your unit behaves similarly, it might be worth considering a DIY upgrade.
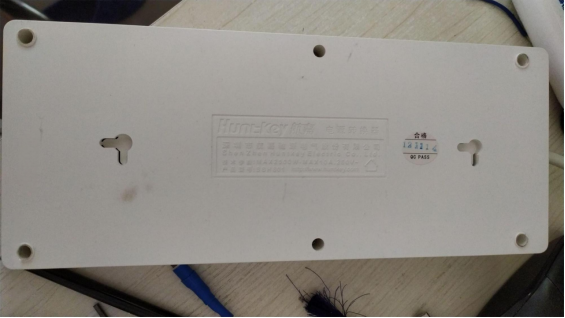
Here's a look at the back of the power strip:
The internal wiring uses full copper components, as shown in the image below:
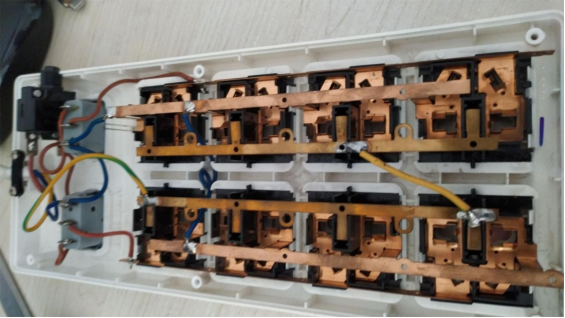
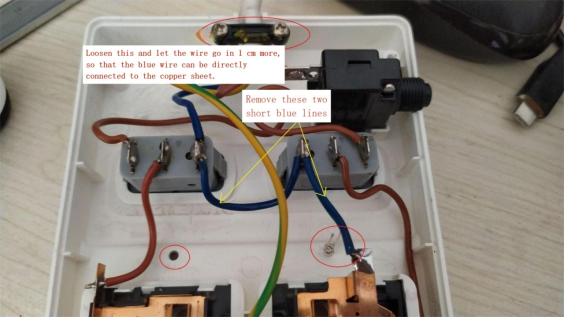
Originally, the neon indicators were integrated into the switches. However, due to their power consumption and heat generation, they've been replaced with two LEDs installed elsewhere on the device. Using a 2.8mm drill bit, two holes were manually drilled. One side was left unoccupied, while a 3mm transparent red LED was tested on the other side—and it fit perfectly. The LED mainly serves as a light guide.
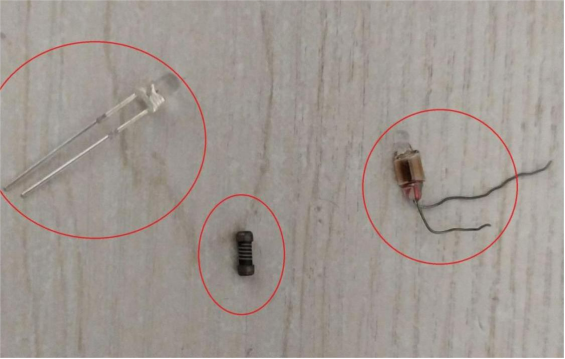
The LED functions as an optical light pipe. The two components on the right are the original neon bulb and the 150Ω resistor removed from the switch. The resistor was identified as the main source of heat.
To complete the mod, two high-brightness red 0603 LEDs were installed in reverse polarity at the base, as shown in the photo. This configuration allows them to act as clamping diodes for each other's reverse voltage, preventing breakdown.
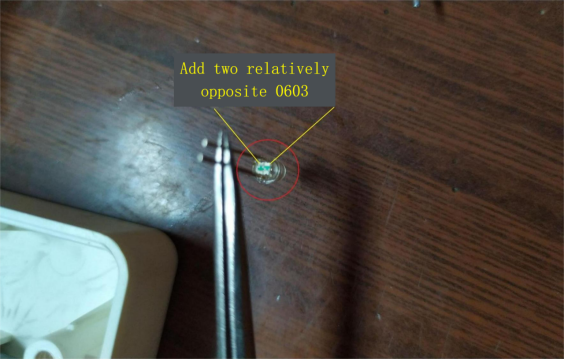
The two blue wires originally powering the switch's indicator lights were also removed.
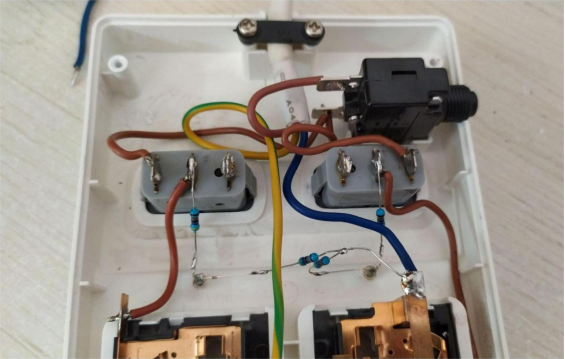
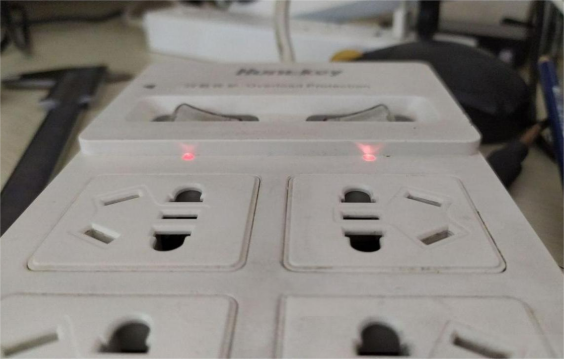
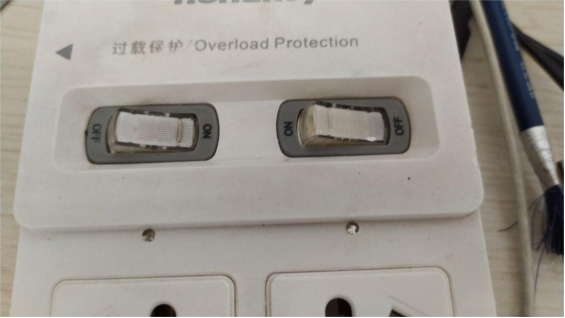
Below is an image showing the power strip after both switches have been modified and turned on:
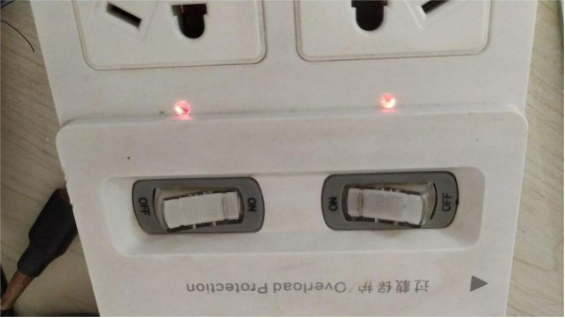
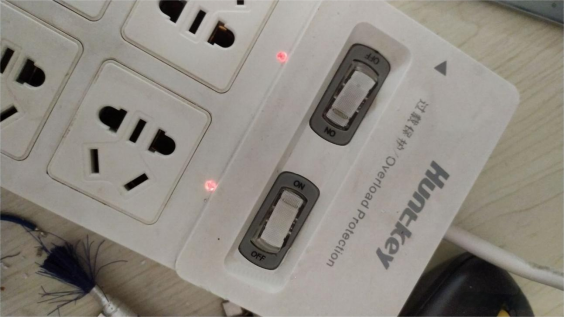
Quick Summary:
If using two 470K resistors makes the LEDs too bright, consider using 1MΩ resistors instead. Add them one by one until the brightness reaches a suitable level. In this case, a single LED was paired with three 1MΩ resistors, resulting in comfortable visibility even during the daytime. The modification successfully reduced power consumption to roughly 1/20 to 1/16 of the original level. Before the modification, each neon light consumed around 250mW. Afterward, testing with a T8 meter could not detect significant draw, but calculations estimate it to be about 16mW.
Modification complete.


