
In the previous DIY post DIY: Philips Shaver Lithium Battery Mod, we showed how to modify a Philips shaver to use a lithium battery. In this post, we'll walk through another Philips shaver mod: converting the Philips HQ30 to lithium power.
If you modify the HQ30 with a tail-style USB plug, you'll still need a charger, and it's not convenient to use on the go. Using two 1.5V Ni-X rechargeable batteries isn't ideal either — the capacity is low, and charging is slow.
So, how should we upgrade it? If you have the same model, you can go with two 14500 lithium batteries.
Since the HQ30 runs on 3V, you'll need to modify the circuit. The original battery setup is in series, but you'll want to convert it to a parallel configuration. Then add a 1N4007 diode to drop the voltage from 4.2V to roughly 3.5V — that's just right.
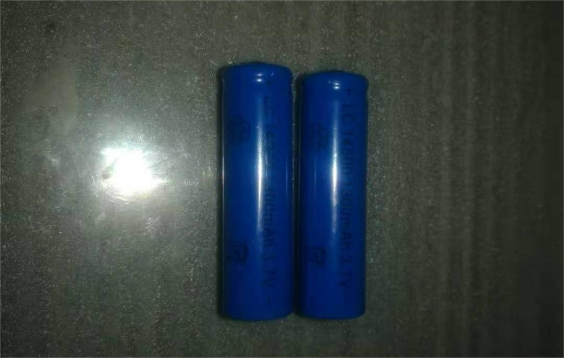
For charging, you'll still use the TP4056 charging board with needle connectors. The two 14500 batteries rated at 1300mAh combined — realistically, each battery provides around 500mAh to 650mAh, but you can test this yourself.
Here's a look at the two 14500 cells installed, totaling approximately 1300mAh:
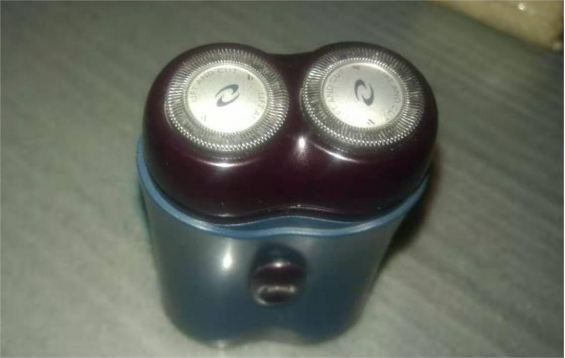
Below is the Philips HQ30 shaver:
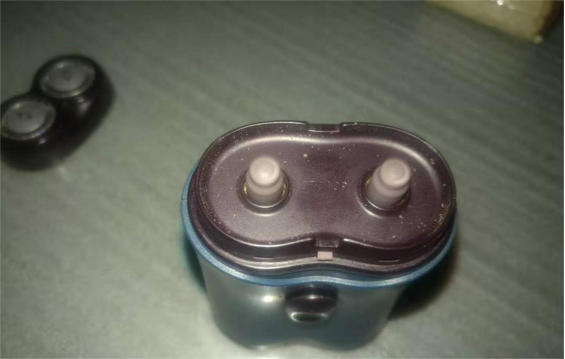
And here is the main body section:
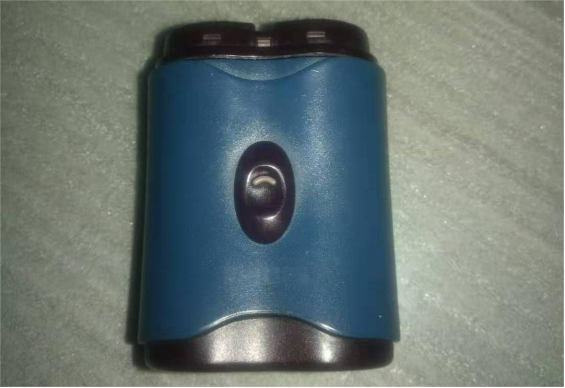
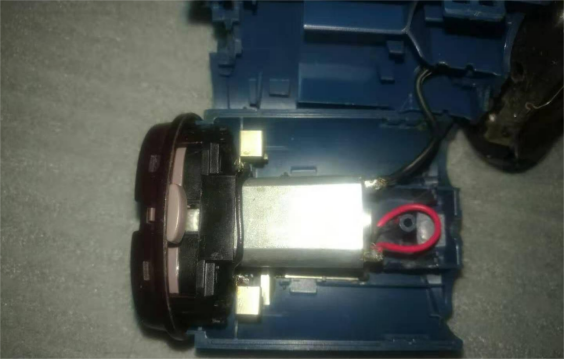
You'll need to solder a 1N4007 diode in series with the power switch leading to the positive terminal of the motor.
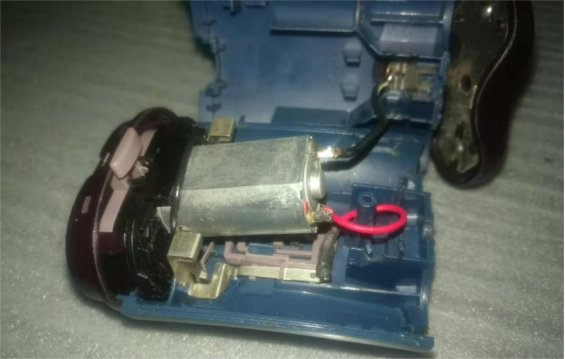
For the negative wire of the lithium battery, solder it to the metal contact inside the shaver that originally connected to the negative end of the AA batteries. Be sure to sand the contact point slightly before soldering to ensure good adhesion.
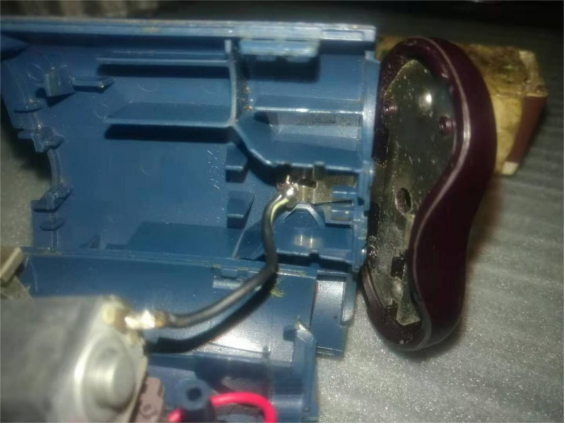
Connect the two positive terminals together with a wire in parallel.
Then proceed with battery installation:
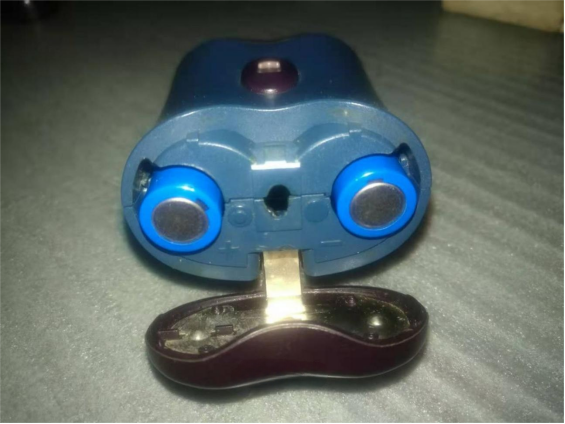
Once the switch is flipped, the shaver head spins up as expected.
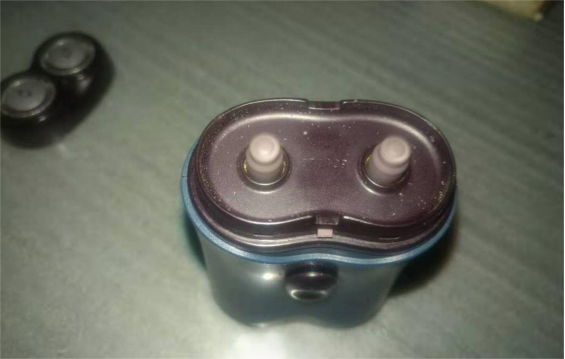
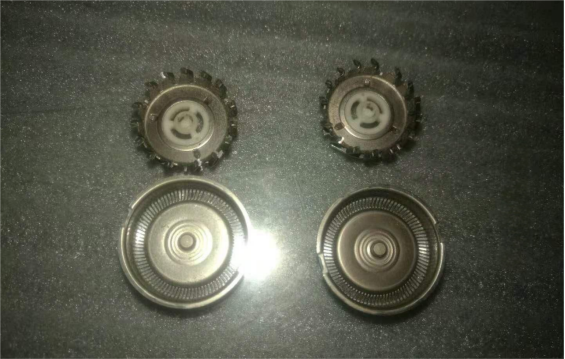
The shaver head and foil are still in good condition:
And that completes the entire DIY conversion project.


