
If you're into DIY projects and curious about modifying the Kerde timer, this article will walk you through how to turn it into a working clock.
This Kerde timer's battery runs out pretty frequently, and its timekeeping can drift by 2–3 hours per year. So how do we upgrade it?
First, let's take a look at the timer. Here's what it looks like from the outside:

After opening it up, the internal structure looks like this:
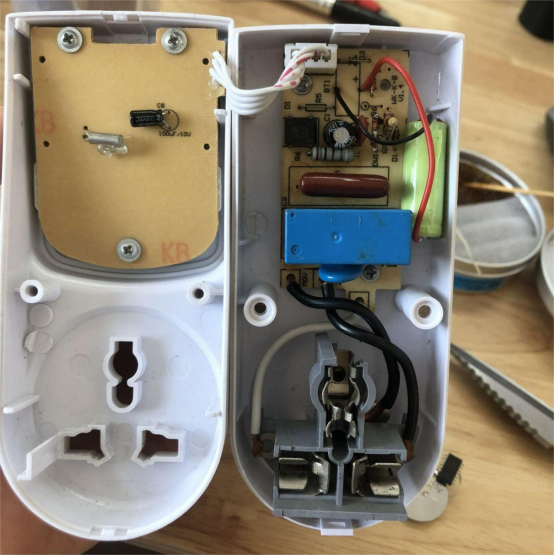
Here's the original 32.768kHz crystal oscillator from the factory. If you cut it off, the screen goes completely blank:


This is how the screen looks after cutting the oscillator:
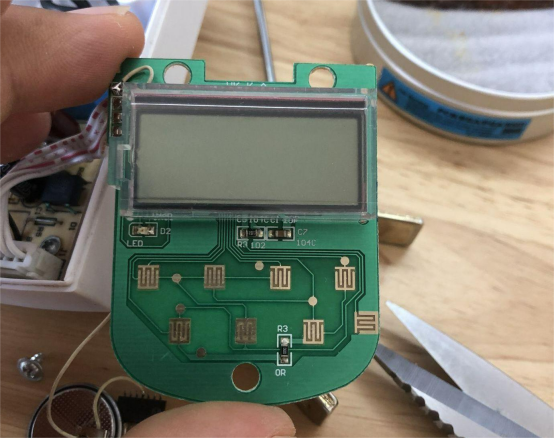
Now, you can get yourself a used 8025T chip. The original 1.2V battery isn't enough to power the 8025T, so you'll need to hook up an external battery. You can use a CR2032 battery—even one measuring around 3.2V works fine.
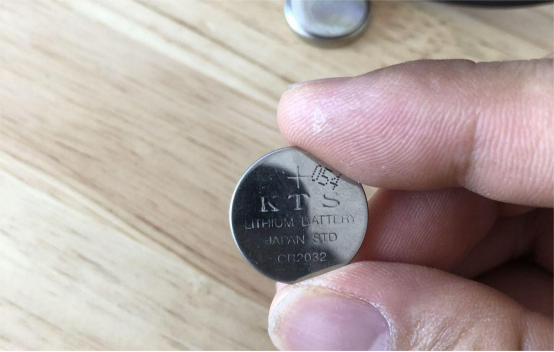
To power the chip, you just need to solder the positive wire directly to the nickel tab, and then spot-solder it onto the battery's positive terminal. For the negative terminal, you also need to solder it to a small piece of nickel tab first which makes wiring easier and safer. You need to avoid soldering directly onto the battery to prevent heat damage, because it could reduce its lifespan.
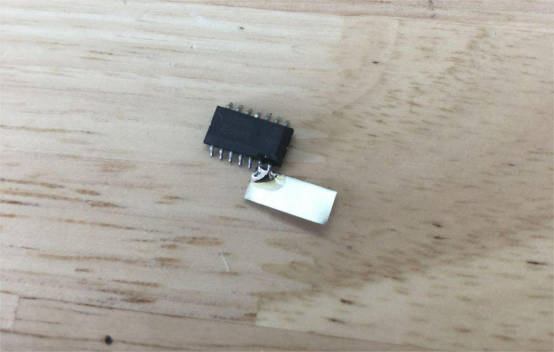
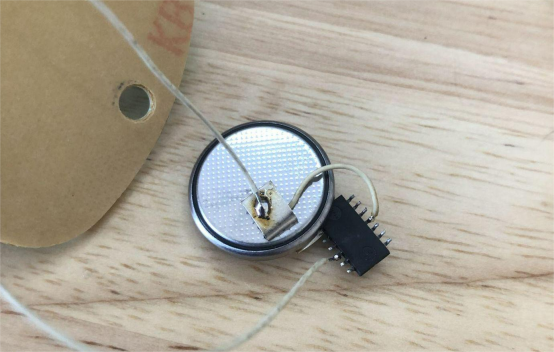
If you think the clock signal needs a complete circuit, go ahead and connect the negative side of the external battery to the timer's ground. Either pin of the oscillator works for signal flow, so you just need to solder to whichever one is more convenient. And it'll start running immediately.

Here's the wiring diagram for reference:

You can find a good spot inside the case and use some double-sided tape to secure both the battery and the components.
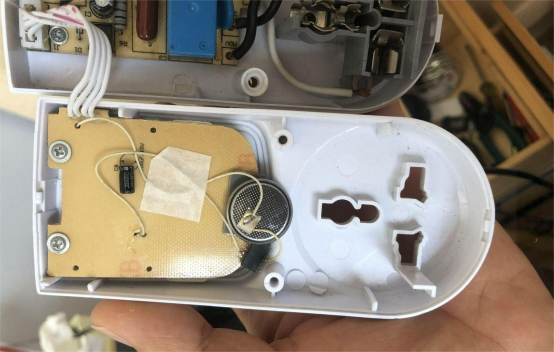
Once everything's connected properly, the display should come back on.
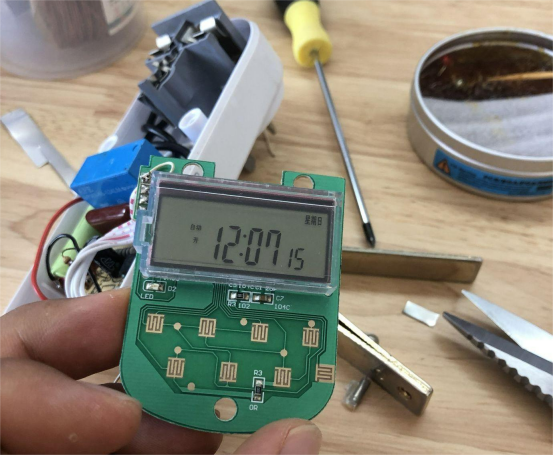
And that's it. The mod is complete! All that's left is to reassemble the unit, and you've got yourself a working DIY clock.


