
If the security camera at your home breaks down due to the same reason covered here—a faulty capacitor—this guide will show how to fix that issue step by step. To get started, you'll need to gather some electronic components, and it's even possible to switch to solar power to make your setup more energy-efficient.
As shown in the picture, if the capacitor inside your camera looks swollen or bulging like this, it's a clear sign that all the damaged capacitors should be replaced to restore proper function.
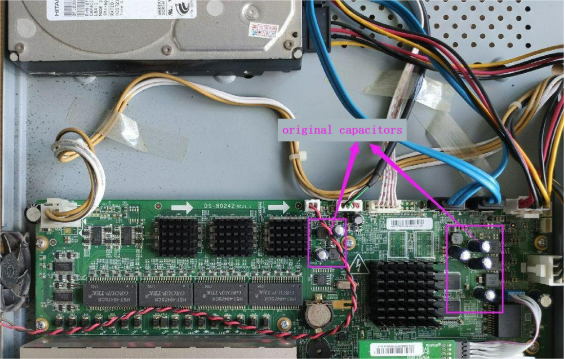
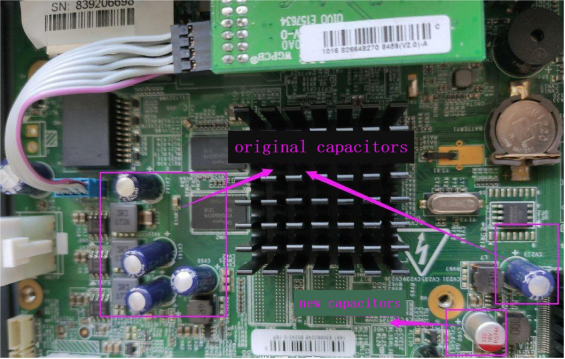
If the wires for the cooling fan inside the camera are too thin or worn out, it's a good idea to re-solder them to ensure a solid connection and prevent future problems.
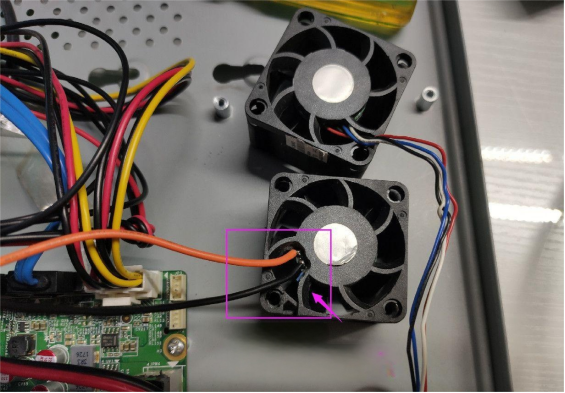
After the modifications, here's what the upgraded camera looks like in the photos below.
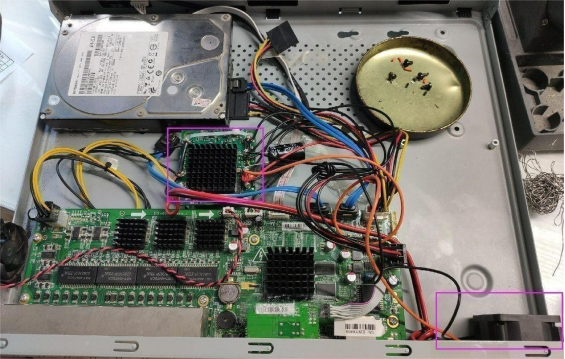
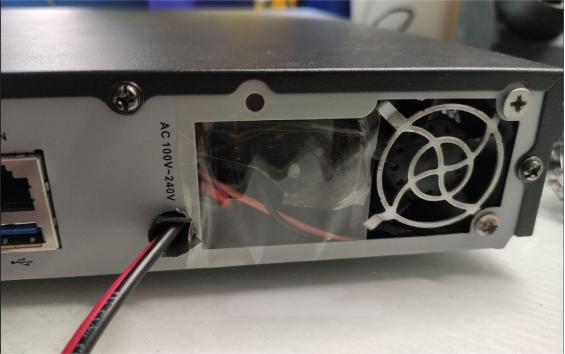
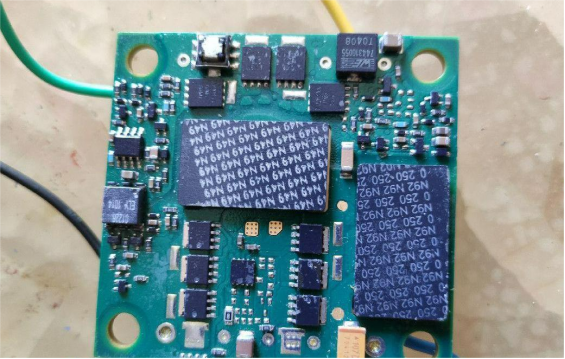
The original camera uses a Murata isolation DC-DC power module from Japan, which accepts an input voltage range of 36V to 75V and outputs a stable 12V power at up to 360W.
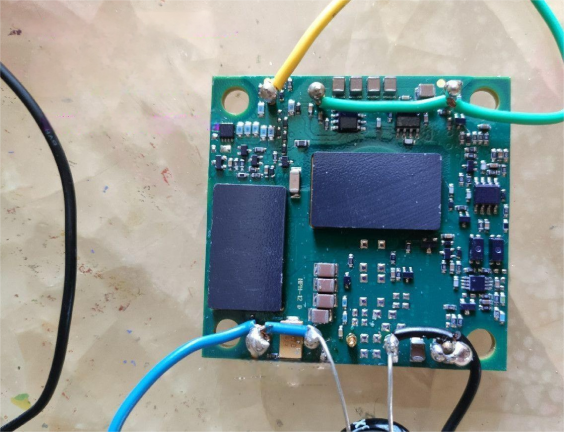
On the backside, the module is protected with waterproof glue, which helps keep it safe from moisture and dust.
Here's a picture of the camera mounted on the rack after the upgrade.
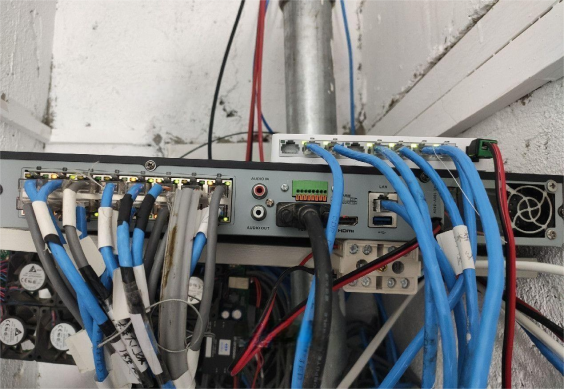
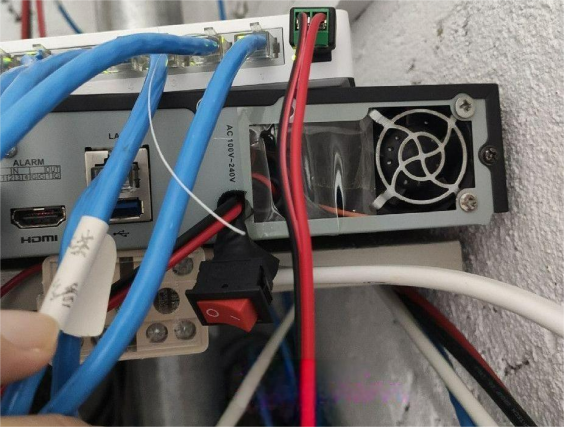
If the original cooling fan sounds too noisy, it's possible to add a fan switch, giving control over when the fan runs and making the system quieter when needed.
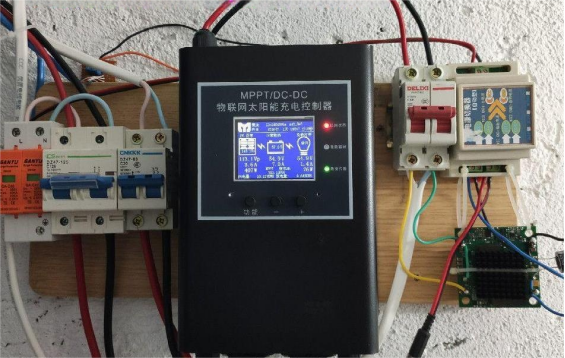
For powering the setup sustainably, a small solar power system can be used exclusively for the security camera and the network devices it connects to.
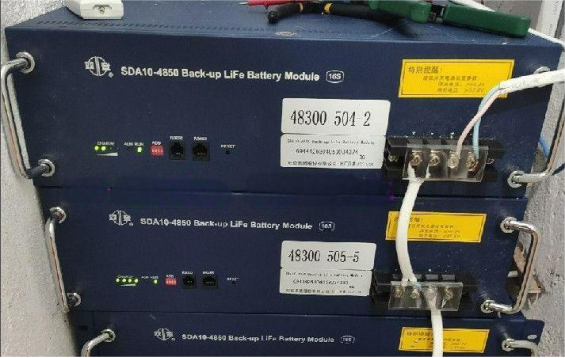
One option is to use three 4852 batteries in combination, which can provide roughly 7.5 kWh of electricity, giving the system plenty of energy to run continuously.
That's the full process to fix the camera and upgrade its power supply—mission accomplished.


