
In the previous DIY post, DIY Timer Calibration with RX8025 Chip, we explained how to improve the accuracy of the 8025AC from being off by 3–4 seconds per day to just 1.5 seconds over four days. This time, we'll continue by talking about modifying a temperature and humidity meter.
Before modification, this temperature and humidity meter was fast by two or three seconds per day and powered by a single AAA battery. So, how can we improve its accuracy? It's simple: you need to desolder the crystal and the two load capacitors, then connect the 8025AC. If it doesn't display anything when powered on, just try swapping the connection to the other pin of the original crystal, and it should work.
According to actual current measurements, on the 200µA range, the meter drew 12.5µA before modification and 48µA when reading temperature and humidity every ten seconds. After modification, these numbers changed to 13.9µA and 58µA. In absolute terms, the increase is only 1.4µA, which isn't much, but proportionally, that's 1.4/12.5 = 11%. This means the battery life drops to about 90% of the original. For example, if the battery lasted a year before, it would now last just over ten months. This is just an estimate for reference.
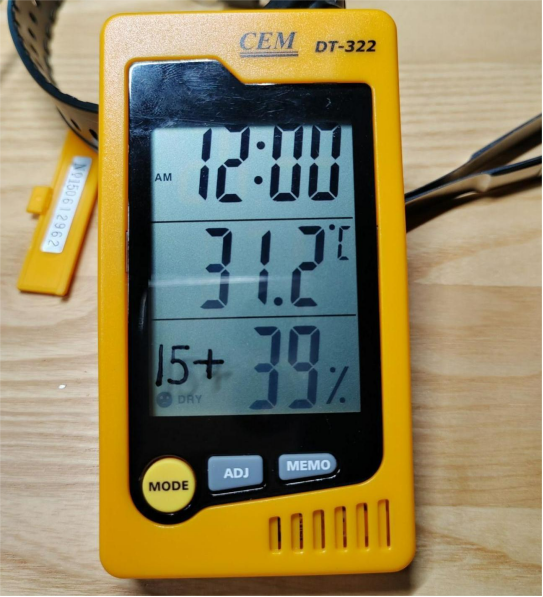
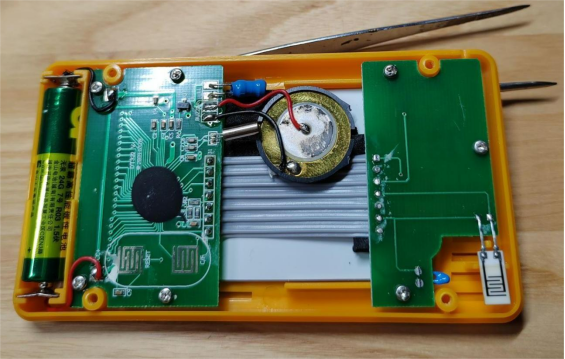
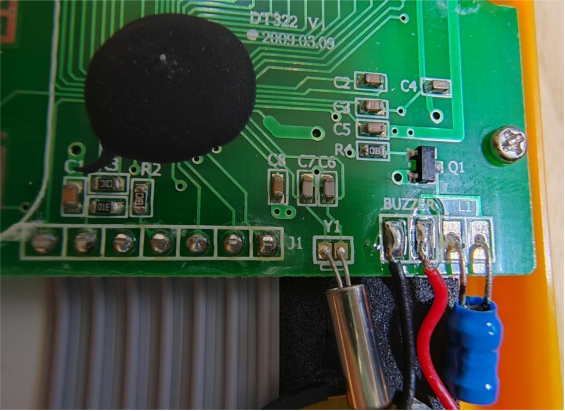
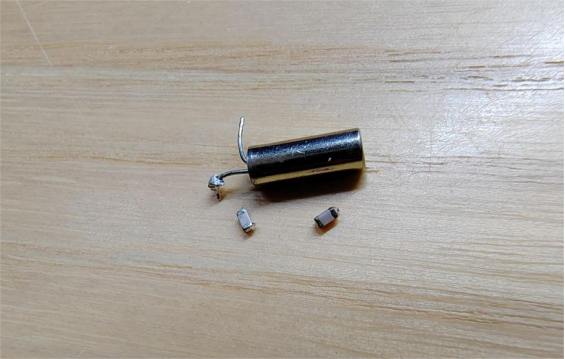
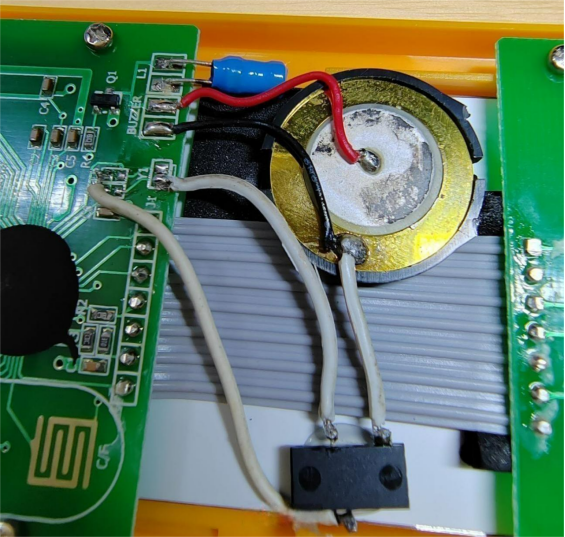
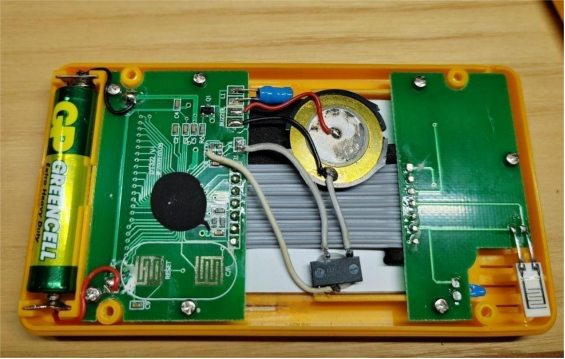
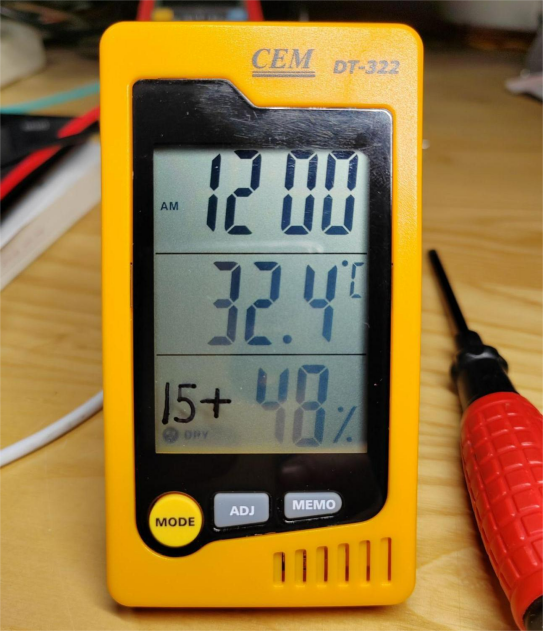
Also, because the 8025AC works on a single battery voltage, you can only use it in AC mode.
You might wonder how to estimate this accuracy, especially since the device doesn't display seconds. How do you compare it to a successful radio-controlled clock? It's simple: use your phone's "slow-motion" video feature. Record a short video, then adjust the video speed in the editor. Here's the key: set the video speed to 0.1×! Then export the video and play it. Pause the video at the exact moment the clock just jumps to, say, second A, and note the player's timestamp as T1. Keep playing and watch the radio-controlled clock. When it also jumps to second A, pause again and note the player's timestamp as T2. Then, (T2–T1)/10 gives you how many seconds your clock is ahead of the radio-controlled clock. Since the video is slowed by ten times, it's easy to find T1 and T2 accurately.


