
If you live in a place where the power goes out often and you're interested in DIY flashlights, why not check out this guide and make one yourself?
First, let's go over the main materials you'll need. You'll need two 18650 batteries, a dual-series balanced battery protection board, a voltmeter, a 4x4 fan-cooled heatsink, a DC-DC boost module, a 12V 15W high-brightness white LED, and a flashlight push-button switch.
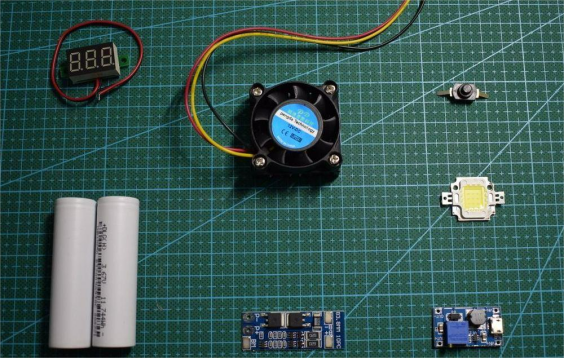
Let's start with choosing the LED. Online, you'll see people making 30W, 50W, or even 100W high-brightness portable LED flashlights. These are pretty flashy, and the brightness is insane, but there are a few trade-offs: first, the size and weight are huge. High-power LEDs generate a lot of heat, so you'll need a massive tower-style heatsink. Add in a high-capacity battery pack and boost module, and the whole thing is far from compact. Second, the cost is high. Both the heatsink and high-rate lithium battery packs are expensive. Third, the runtime is short. For example, a 50W LED module powered by a 3S 3000mAh battery pack only lasts about half an hour. Because of these drawbacks, such flashlights aren't really practical for home use. If all you need is enough light to illuminate a small room, a 12V 15W LED module is a much better choice.
Next, let's talk about driving and powering the LED. Ideally, LEDs should use a constant current driver, but boost-type constant current drivers are hard to find. If this isn't meant for long-term use, you can just use two series lithium batteries and a DC-DC boost module. You'll still need some cooling. Keeping the LED at around 10W will give you enough brightness for most purposes while protecting the LED's lifespan.
For the lithium batteries, you can use 18650 cells. In this guide, we're using 3200mAh cells. Since we're using a balanced protection board, charging is no problem at all.
Now you can start the build. First, modify the heatsink: place the LED on the heatsink and mark its position.
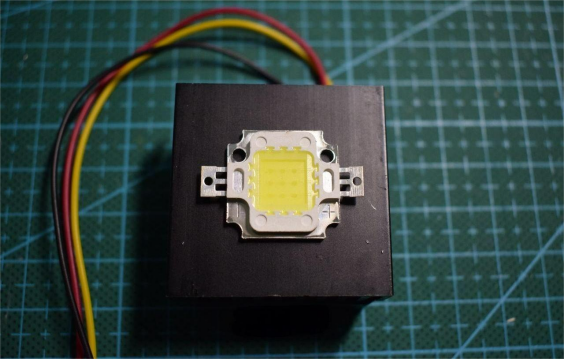
Then, drill the holes.
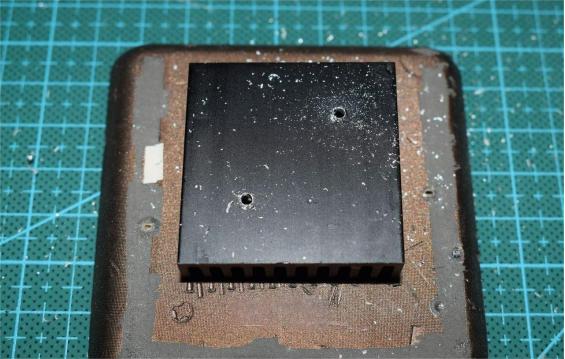
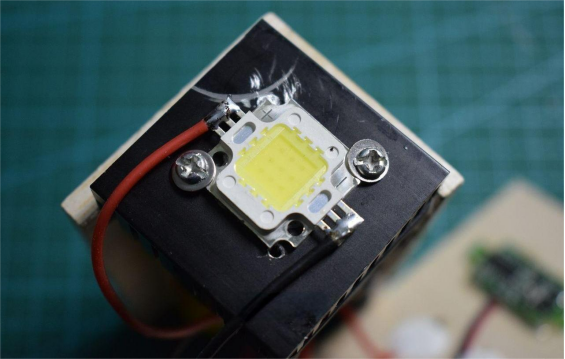
You can use slightly thicker self-tapping screws to secure the LED to the heatsink. Before fixing it, apply some thermal paste; otherwise, heat transfer will be much less efficient.
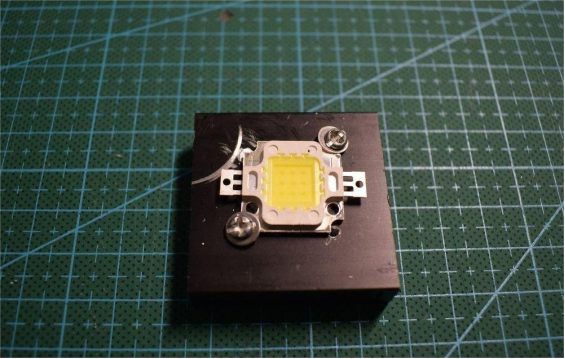
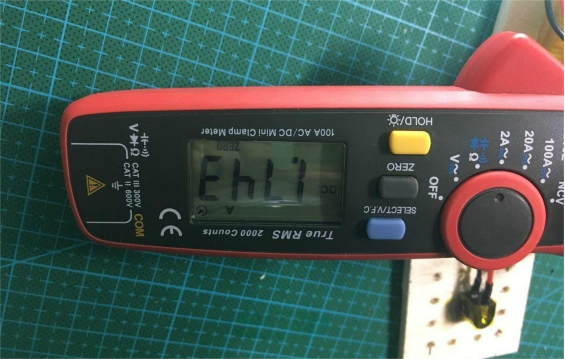
After powering it up for a test, at 9.28V, the LED is already near 10W, and the brightness is intense. The digital display might not fully show the value due to refresh rate issues, but that's normal.
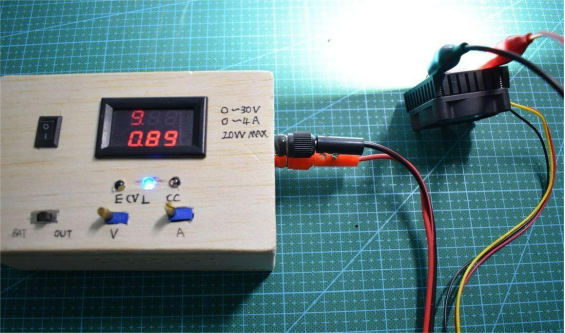
You can then adjust the DC-DC module to match the voltage you just tested.
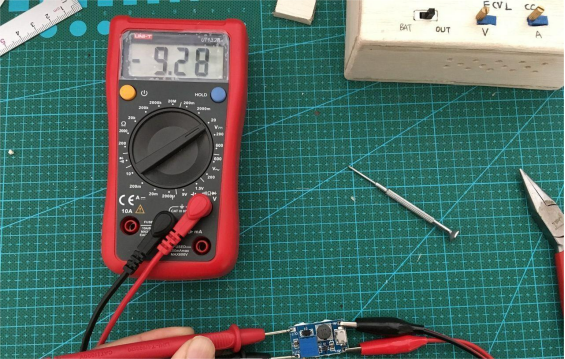
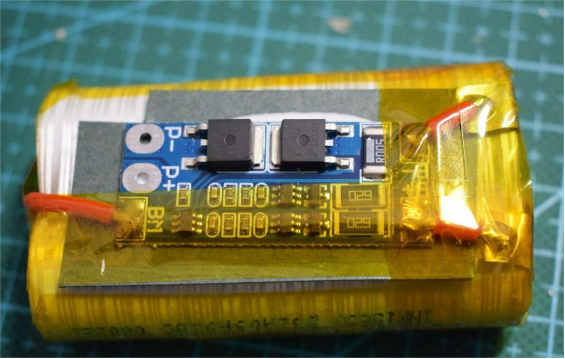
Next, you need to prepare the battery and do some soldering, as shown in the photos.
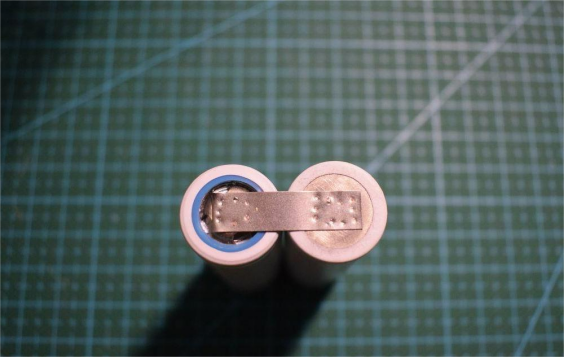
Then, solder on the protection board.
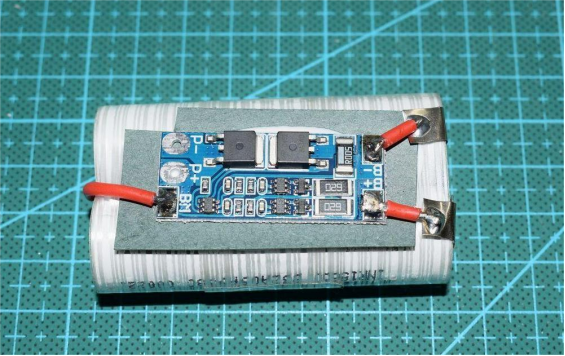
After that, wrap everything with high-temperature tape to insulate it, and the battery section is done.
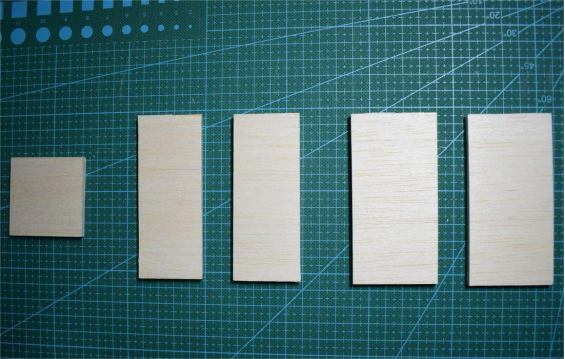
Next is the enclosure. Start with a 100x500x5mm piece of balsa wood. This material is lightweight, soft, and easy to work with. Cut it into one 50x50mm piece, two 40x100mm pieces, and two 50x100mm pieces.
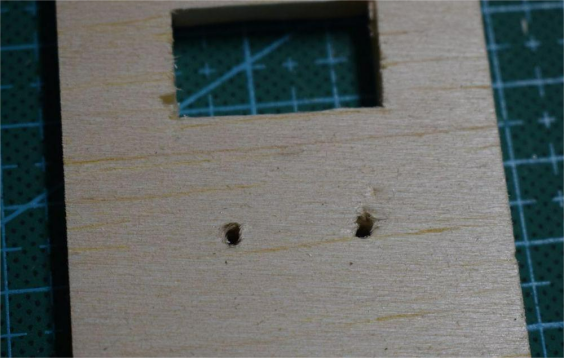
Some panels need extra work. Take a 50x100mm piece, use a voltmeter to mark the positions, and then drill the holes.
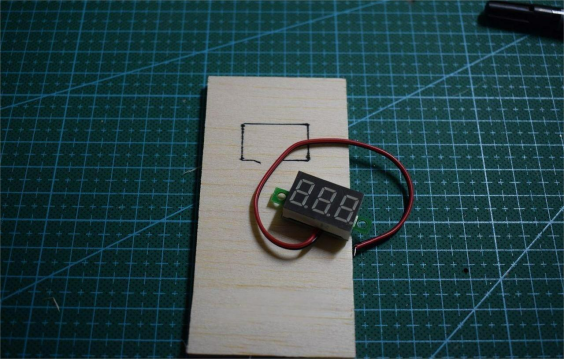
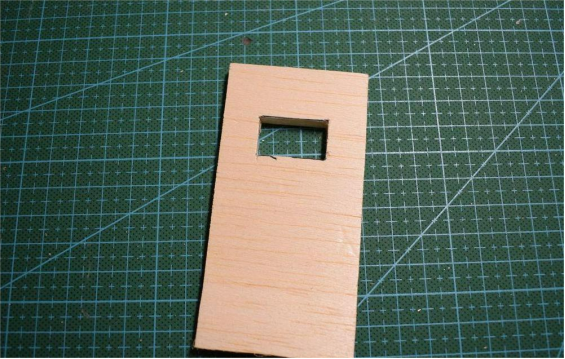
You'll also need to drill two holes in this piece for the switch pins.
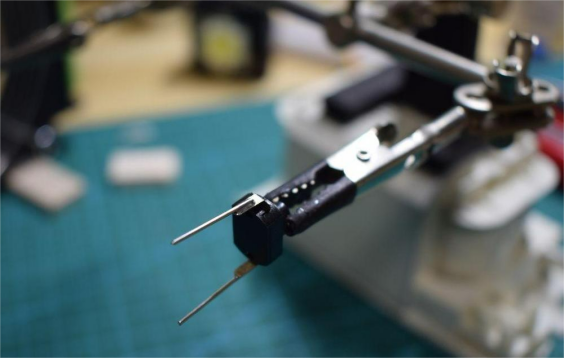
Modify the switch by extending its pins so it can go through the wood.
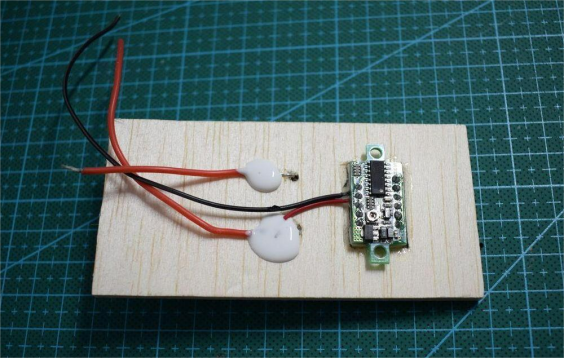
Glue the voltmeter and switch in place, as shown.
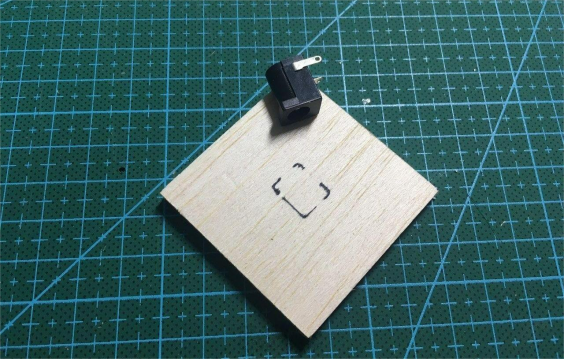
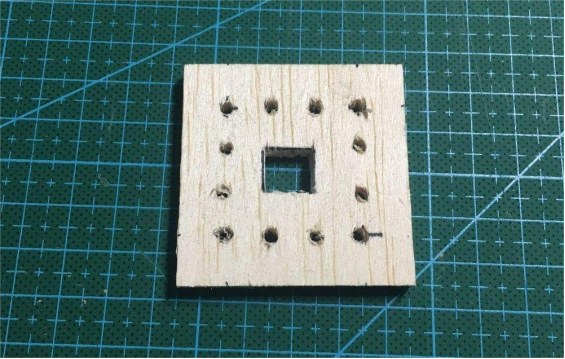
Next, take the 50x50mm piece for the rear of the flashlight, mark where the charging DC port will go, and drill holes. The surrounding holes are for airflow, so air enters from the rear and exits through the front to help cool the components.
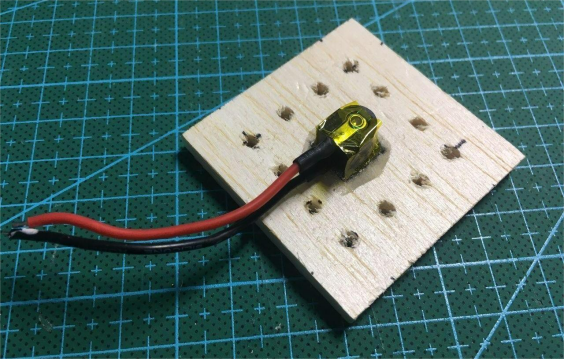
Glue the DC port in place and insulate it with high-temperature tape and heat-shrink tubing.
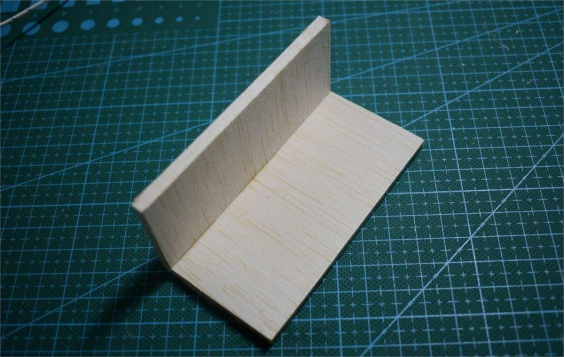
At this point, all the parts that need separate preparation are done. Now it's time to assemble. Take the large and small wooden pieces, glue them together with hot glue, ensuring an internal space of 40x40mm.
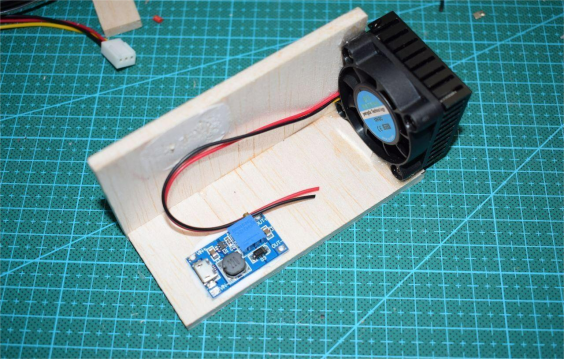
Next, attach the fan with strong AB glue, as shown, and also glue the DC-DC module. Make sure the fan's airflow faces outward but is fully enclosed in the case. The heatsink should stick out so that the airflow cools efficiently.
Then, solder wires to the battery pack and secure it with 704 silicone.
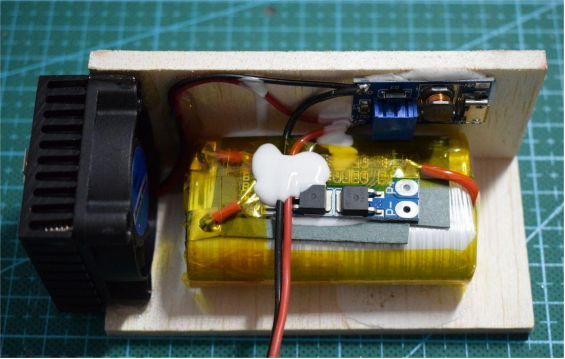
Solder all other wires as well, making sure the fan and LED are wired in parallel.
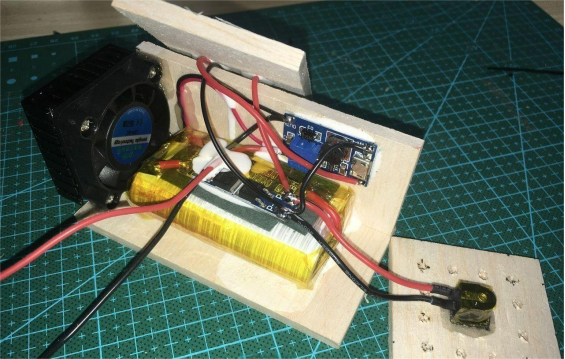
Next, solder the LED module.
Before sealing everything up, test the setup to make sure it works.
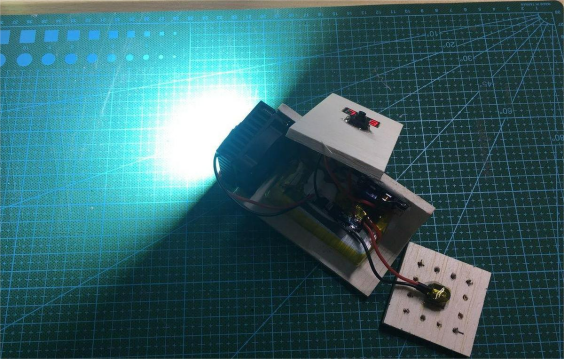
As shown, with the battery at about 6.8V, the output current is around 1.7A.
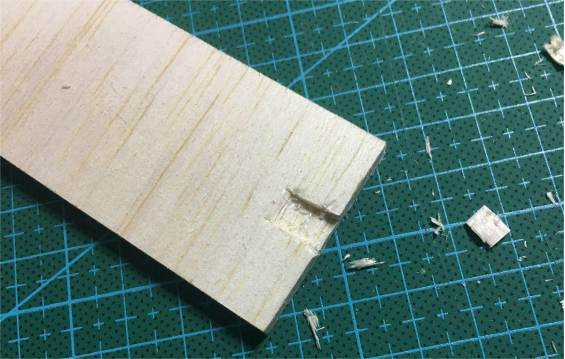
Take the last piece of wood and cut a shallow groove in it.
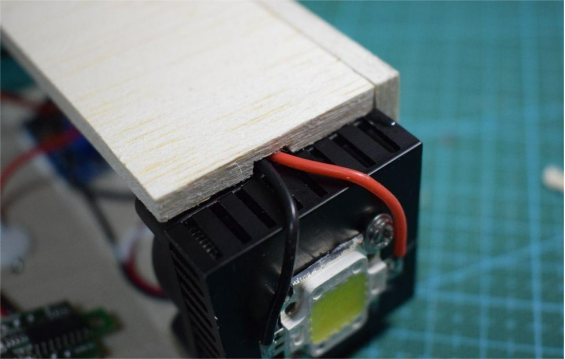
Pass the LED wires through the groove and glue this wood piece in place. Apply glue around the fan contact areas to make it airtight.
Finally, use hot glue to secure all the components together.
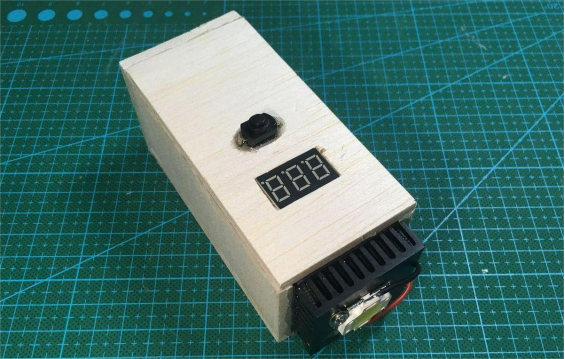
Sand down the edges and corners for a smoother finish and better feel.
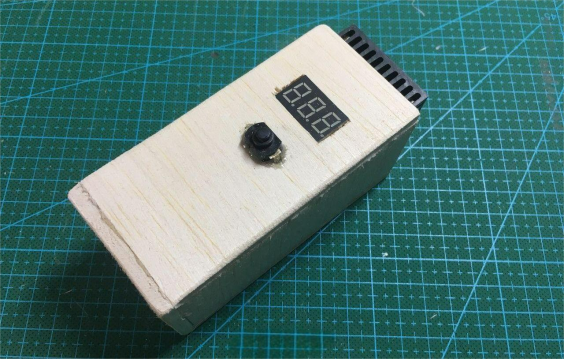
Fully charged, this flashlight can run for about two hours, enough to get through summer power outages. With active cooling, the LED only gets warm even after extended use. Thanks to the airflow design, air enters from the rear and exits through the front heatsink, cooling both the LED and internal components, which helps extend the lifespan of everything inside.
And that's it—it's all done!


