
If you're interested in DIY power banks, you might want to check out this article.
When you're outdoors, a power source is a must. Out in the mountains or wilderness, you definitely can't rely on the grid. That's why high-capacity batteries are the best option. Large lithium batteries have big capacity, light weight (compared to lead-acid ones), and are basically the ideal choice. But the ready-made ones on the market are either overpriced or have fake capacity ratings. If you happen to have some high-quality lithium iron phosphate cells from a big brand, you can definitely use them to build your own power bank.
You'll need a 12V 50Ah lithium iron phosphate pack, and then you can start making your own DIY power bank, like in the picture below.
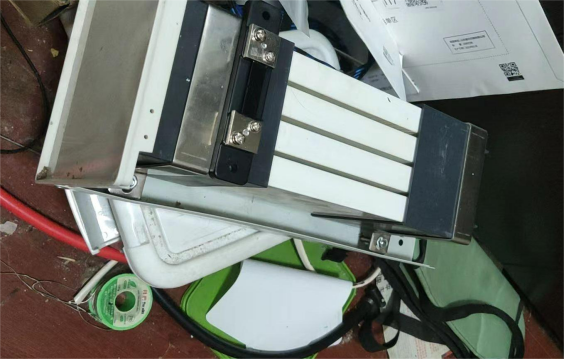
You'll also need a case. If you've got an old chassis, you can use it as the outer shell, and then secure the battery with two square tube clamps.
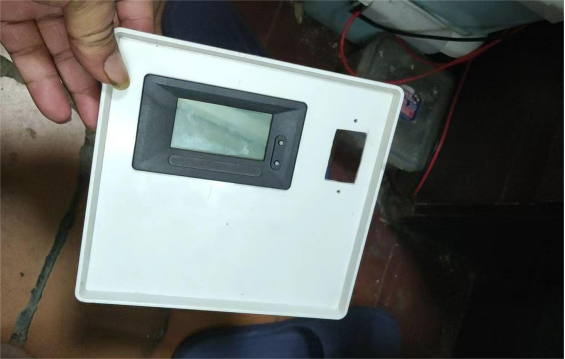
Next, you'll need to cut holes in the front panel. Use a 3x6 rotary file to make the hole, then carefully smooth it with a wood file, and that's it—like the picture shows.
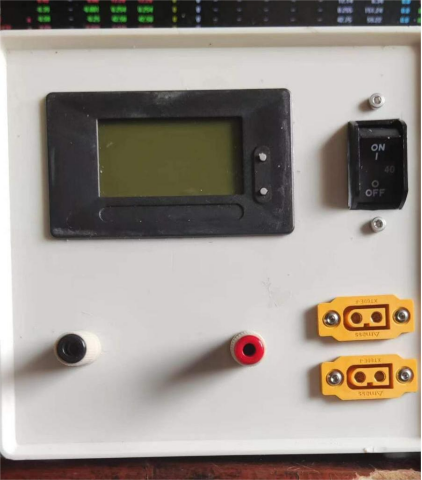
If you prefer using XT60 connectors, then a 13.8V radio can run with XT60. For 24V, you can use XT90. Of course, since you're making your own power bank, you should build it in the way that feels most convenient for you.
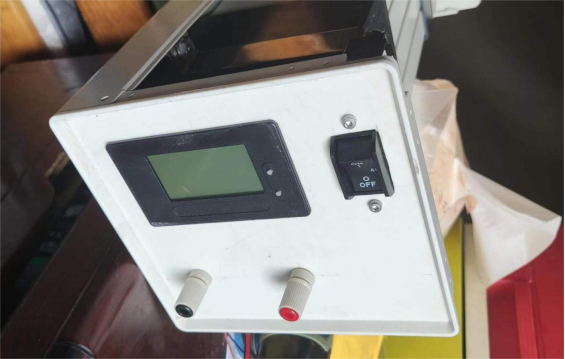
To make it easier to use, you should also add a pair of binding posts.
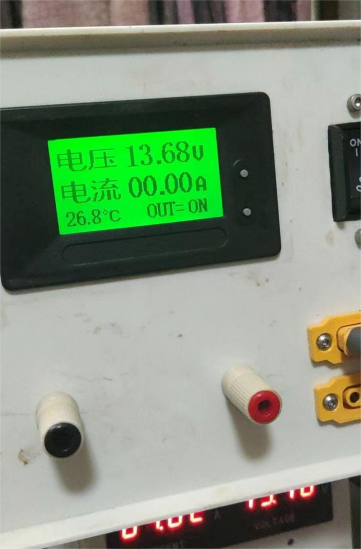
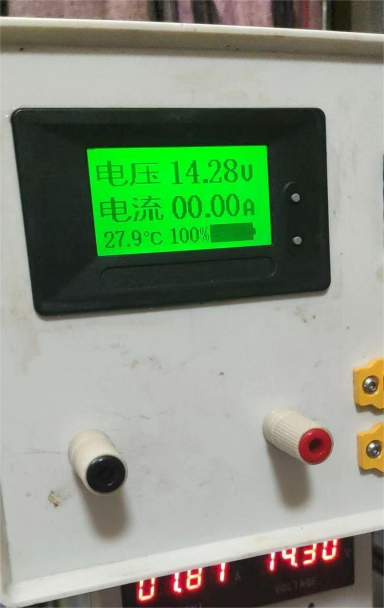
You'll also need to install a lithium battery protection board with balancing. Once you've connected the switch, shunt, and display, you can power it on for testing! As shown in the picture, the display has two modes, and after several charge/discharge cycles, it can even estimate the battery's capacity.
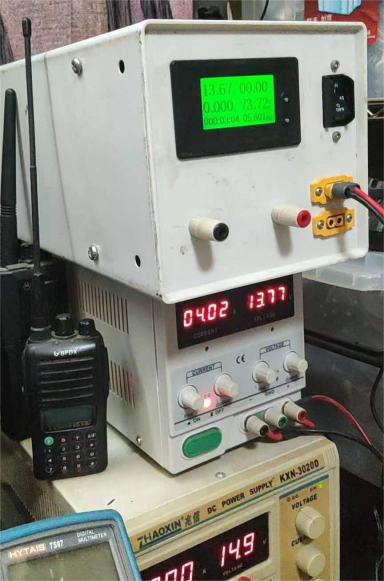
When charging, you can charge directly from the output port, which saves you from having to add a separate 5.5 DC connector.
Done.


