
If you're interested in DIY-ing a budget-friendly white-light T12 adjustable soldering iron, you might want to check out this article.
For this DIY project, you'll need a 907 handle + T12 stand + silicone wire + 616 control board + 3cm small pill box. The result looks pretty decent, but it does require an external power supply.
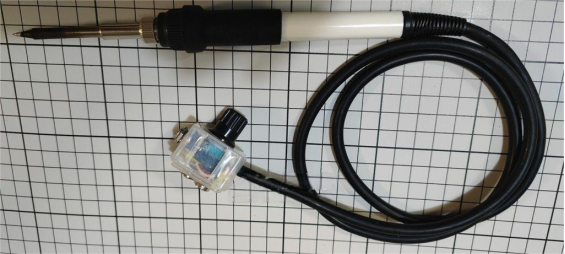
If you think the Tiger power supply is too big, you can move the controller into a mint candy box. The DC jack, handle, and knob can all come out through openings at the bottom of the box. The layout is a bit cramped, there's no space to mark the temperature scale, and the appearance is just okay.
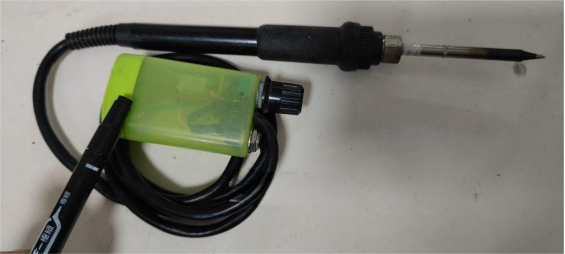
You can prepare a 3cm combo pill box with a wall thickness of 1mm. If you're not happy with the handle's inner tube or the silicone wire, you can replace both.
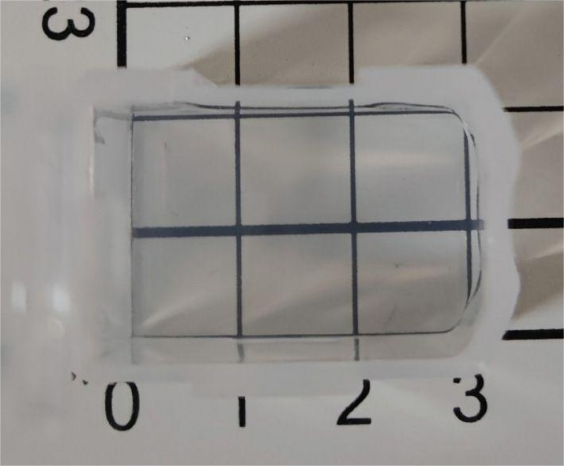
The box has six sides in total. You can install a magnet on the lid for grounding, use the left and right sides for joint slots, place the knob on the largest bottom side for easier temperature marking, and use the two smallest sides for the DC socket on one and the handle wire on the other. Then you'll need to drill a hole in the middle, but be careful with PP material—it can crack if processed roughly, as shown below.
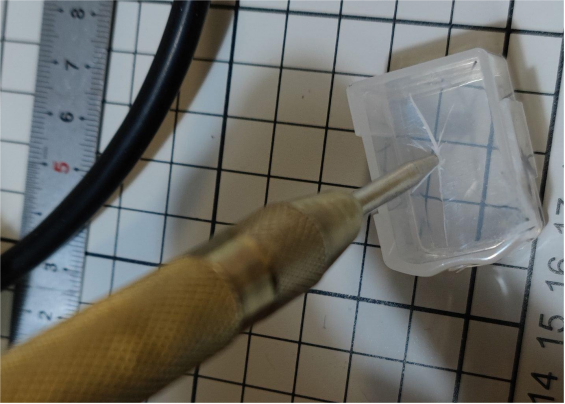
If it cracks, you can take the broken piece, split it into two blocks, and use them as a positioning clamp. Then carefully drill the intact part from the inside, as shown in the picture.
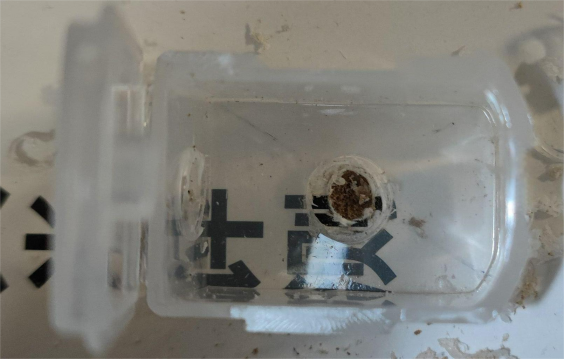
For wiring, you can choose the cheaper 936 soldering wire.
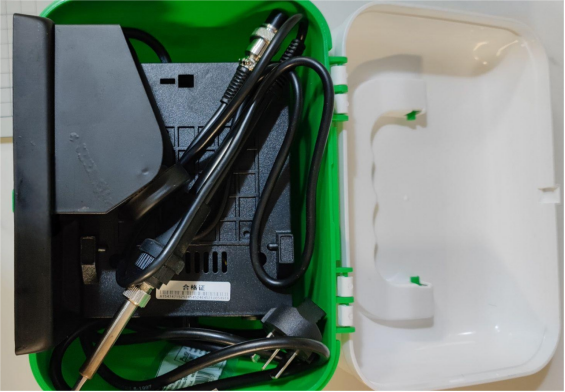
When it comes to grounding, you can solder it yourself and test it at the same time.
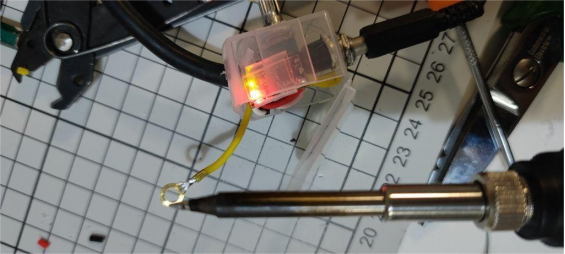
For the wiring part, you can follow the 616 board instructions, which lets you skip the aviation connector. You can turn the DC jack, potentiometer, and 616 board into a pill-style controller. For the magnet, you can connect it to the handle ground wire using a screw.
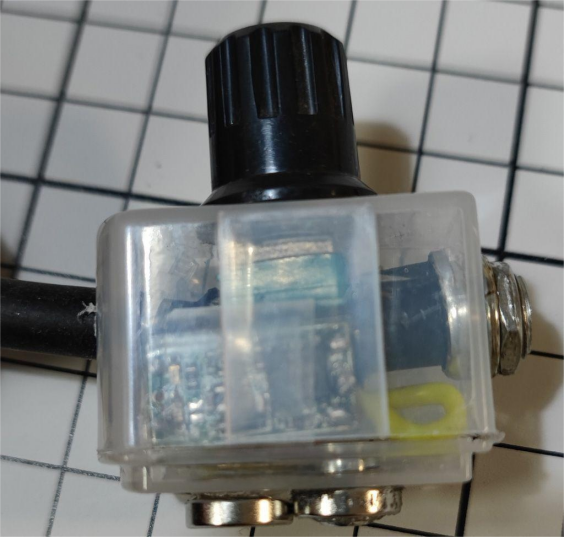
The finished product looks like this. It can fit into a 24cm chopstick box. If the lid is a bit warped, you can adjust it—for example, remove the potentiometer knob or the soldering iron tip to flatten the lid, or swap the positions of the DC input and potentiometer for easier installation. But note that this will reduce the space available for marking the temperature scale.

Finished.


