
DIY Test Lead for LED Repair


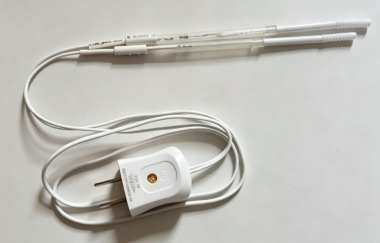
If you are interested in DIY test leads, you may want to check out this article.
If you are often troubled by damaged LED lights at home, especially when only some individual LED beads fail, you may know that they can usually continue working after a simple short-circuit repair. However, when more LED beads fail, you need to spend time locating the faults, which can be very frustrating. At this point, you may come up with the idea of making your own LED bead repair test lead.
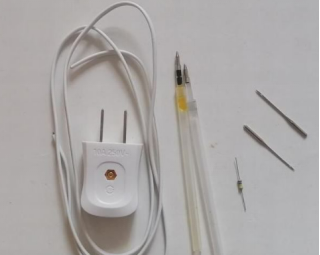
If you happen to have the following materials: a 2-pin plug, a 0.5mm² two-core parallel wire, an empty thick round ballpoint pen refill tube, an old sewing machine needle (if unavailable, you can use a 2mm diameter metal conductor), a 680KΩ 0.25W color-band resistor, and auxiliary materials including a single-core copper wire, one F3 straw hat LED, and two sections of boxed milk straws, you can start making it.
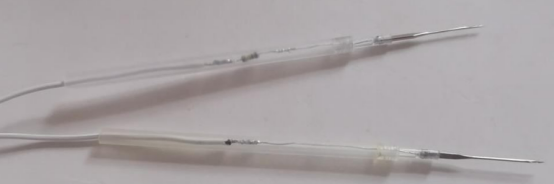
Connect all components in series by soldering. Use a single-core copper wire to connect the parallel wire and the sewing machine needle. (The parallel wire used cannot pass through the opening of the thick ballpoint pen tube.) One wire is directly connected, while the other wire is connected in series with a 680KΩ color-band resistor. This design works for testing LED beads with open-circuit failures caused by breakdown. If the fault is a short circuit, you need to add a 3mm straw hat LED indicator light in series. The LED’s brim needs to be removed; otherwise, it cannot fit into the ballpoint pen tube.
This is the initial test version without the 3mm straw hat LED indicator light connected in series. It operates on 220V AC power. For safety reasons, it is recommended that you use the version with the 3mm straw hat LED indicator light connected in series.
The sewing machine needle is soldered last. First, pass the fully soldered single-core copper wire through the top of the ballpoint pen tube, and then solder it to the sewing machine needle. After soldering, insert the needle into the top of the ballpoint pen tube. The connection is very secure.
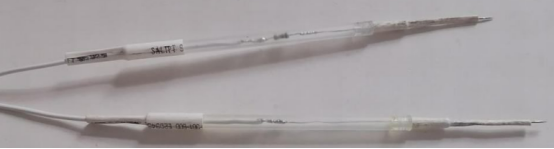
Because the test lead is connected to 220V AC power, both ends need additional insulation protection. A white heat-shrink tube is used here. After heating, one end fixes the pen tube while the other end tightly clamps the connecting wire. After shrinking, the connection cannot be pulled apart. If you still feel it is not secure enough, you can add a cable tie for extra fixation.
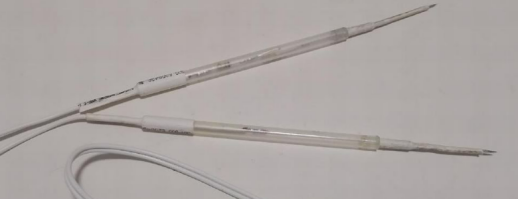
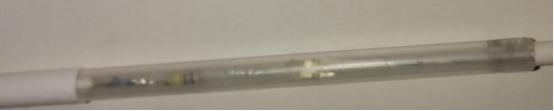
This is the version with the 3mm straw hat LED indicator light connected in series. Since it works with 220V AC power, using the version with the 3mm straw hat LED indicator light is recommended from a safety perspective.
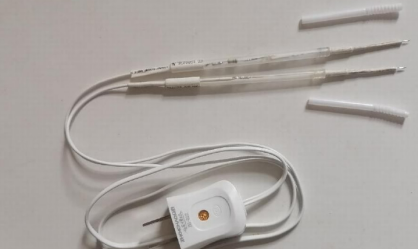
The sewing machine needle is quite sharp, so you can use two sections of boxed milk straws as protective covers. This makes storage more convenient when the test lead is not in use.
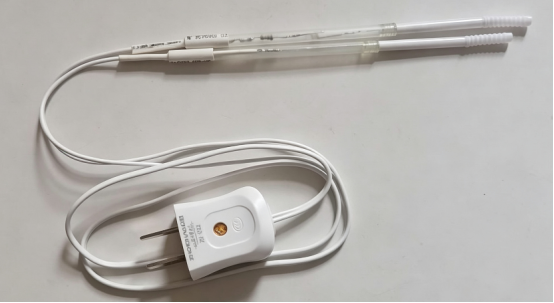
Finished.
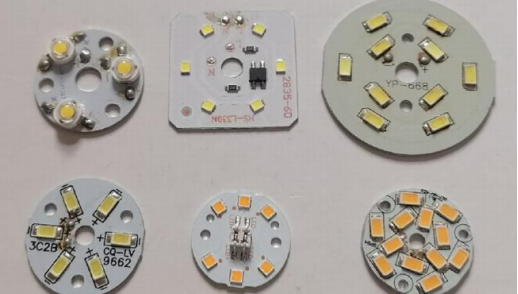
Tested LED light board.


