DIY Ozone Generator: Simple Build Guide


If you are interested in making a DIY ozone generator, you might want to check out this article.
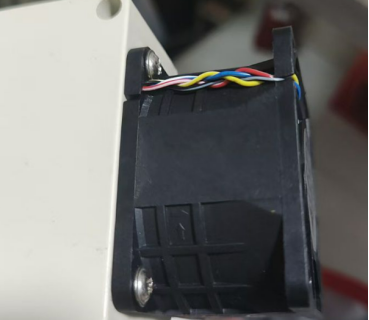
If you happen to have a high-frequency transformer, you may suddenly get the idea of making an ozone generator. It can not only remove unpleasant odors but also help sterilize the air. After some research, you find that this device requires around 12V 5A power, which is not very high. However, since it seems to generate ozone through high-voltage excitation during operation, you still need to install a protective enclosure for safety reasons. To speed up ozone diffusion, a powerful fan is also essential.
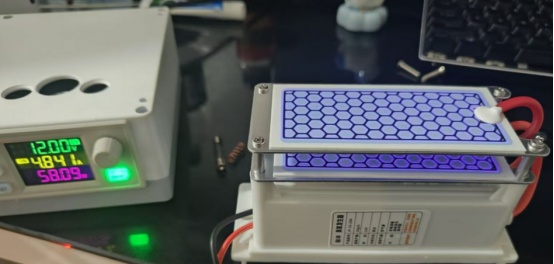
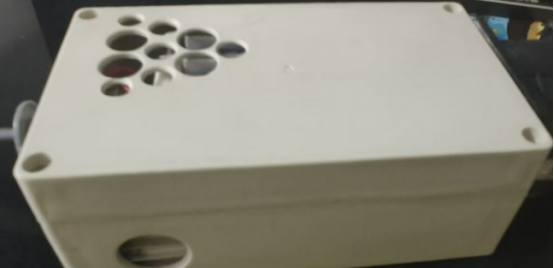
You can make a housing for the device and install all the components inside. After measuring the dimensions, you find that a waterproof box fits perfectly.
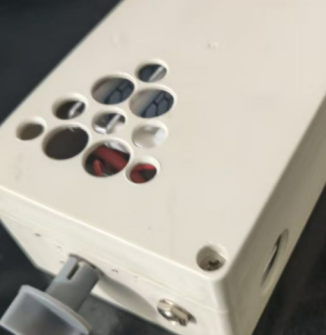
You can add a fan, a speed controller, and several decorative LED lights. After powering on, the fan starts running immediately, while the ozone generator and LED lights require turning the timer switch to activate.
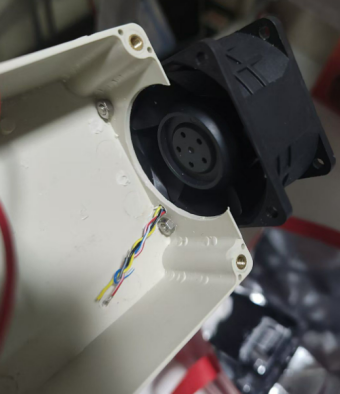
Coincidentally, you have a fan with a startup current of 3.3A and a continuous output power of 16W, which should be sufficient.
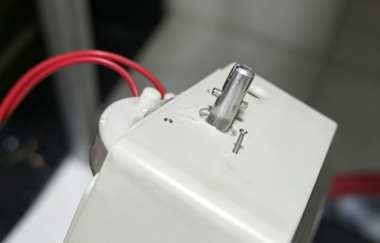
You use a mechanical timer set for 45 minutes and drill small holes to secure it with 1mm screws.
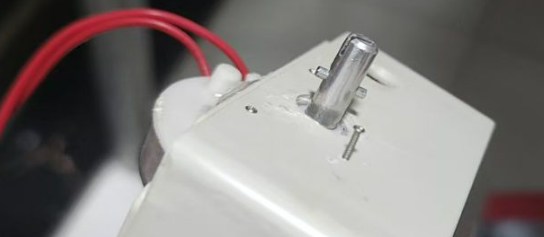
Since it is a fully mechanical timer, you can drill holes in different positions as needed, as long as the normal operation is not affected.
After trying several positions, you finally fix it securely.
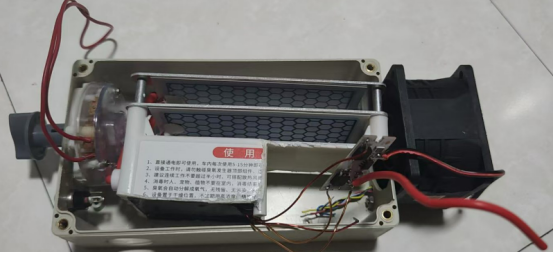
You test-fit all the parts, and everything looks good. You trim any areas that need adjustment with scissors.
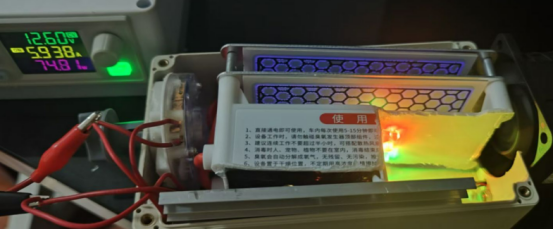
After connecting the wires, you run a test, and all functions work perfectly.
Finally, you install the 5525 female DC jack, close the cover, and the DIY ozone generator is ready for normal use. The project is complete.