
DIY Backlight Lamp for Timer


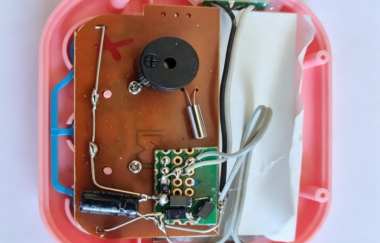
If you are interested in DIY backlight modifications, you might want to check out this article.
Suppose you happen to have a timer. It originally runs on a single 1.5V battery, has no backlight, and the switch on the side is very small and difficult to press. At this moment, you suddenly come up with the idea of adding a backlight to this timer.
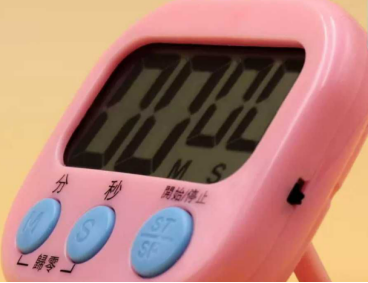
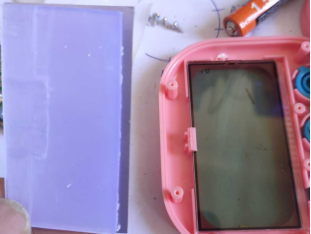
First, you disassemble the timer and find that there is nothing covering the back of the LCD screen, which makes it relatively easy to modify.
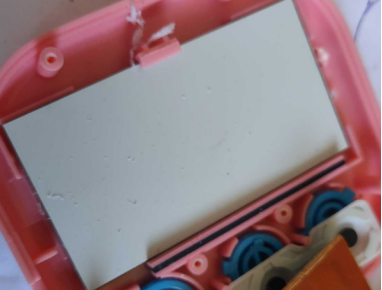
You happen to have a piece of plastic film from a parts storage box. You cut it to the same size as the LCD screen and use it as the backlight panel. Since there are some raised parts underneath, you need to polish them slightly so that the panel can fit in properly.
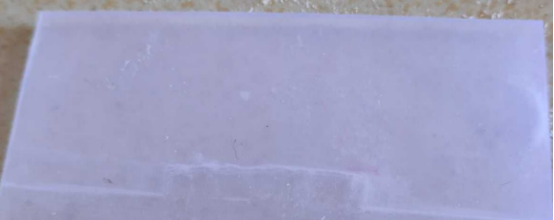
Then, you carefully peel off the original LCD backlight film and attach it to the backlight panel. Next, you find a layer of semi-transparent paper and place it between the glass and the backlight panel. The semi-transparent paper can simply be a thin tissue paper, although it will create a slightly grainy lighting effect.
Finally, you add SMD LEDs on both sides, connect the wires, and seal the package neatly. Since you cannot find a voltage regulator for the original power supply, you use two 1N4007 diodes connected in parallel for voltage regulation. Each diode has a voltage drop of about 0.7V, so two diodes provide a total drop of about 1.4V. You then add a 510Ω resistor in series at the front, remove the original switch, and lead out several wires.
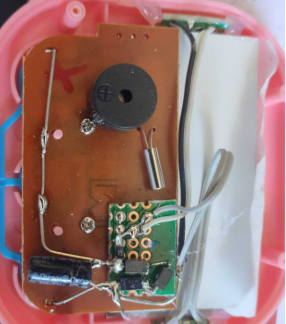
After installing everything back into the casing, you can see the final result. Due to the uneven light distribution caused by the diffusion panel, the brightness is not completely uniform, but the display is still clearly visible.
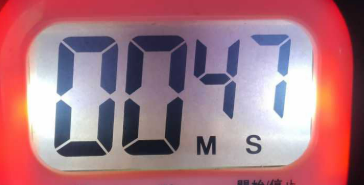
Finished.


