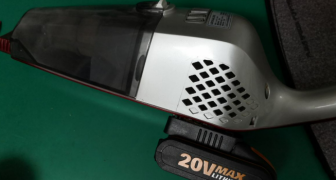
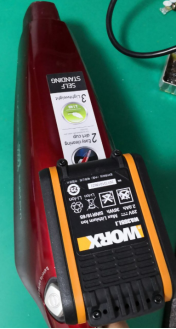
DIY Repairing a Vacuum Cleaner with a 20V WORX Battery


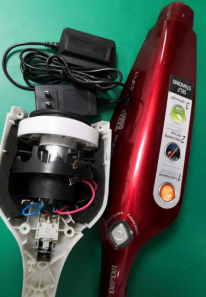
Suppose you happen to have a vacuum cleaner, but its battery completely fails after only a few years of use. If you also happen to have several 20V WORX tool batteries on hand, you might suddenly get the idea of modifying the vacuum cleaner to use them. This is what the vacuum cleaner looks like after you take it apart.
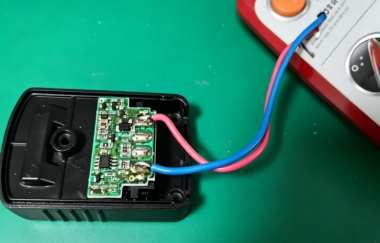
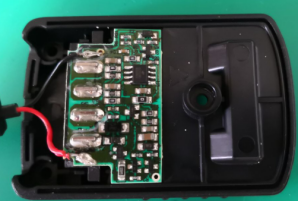
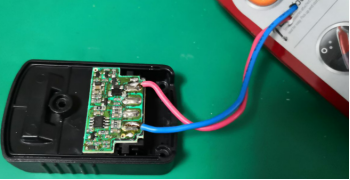
For the WORX charger, you only need to use the rear half. This is the circuit board inside after you take it apart.
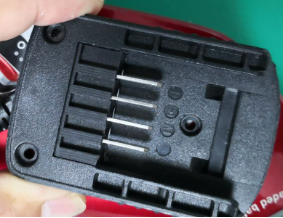
You need to use the battery connection interface on the other side.
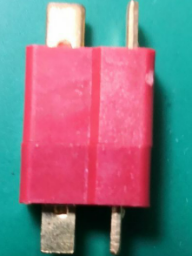
You can add a connector to make it easier to take apart the vacuum cleaner again in the future.
You need to drill several holes of different sizes in the vacuum cleaner housing. You can use the larger holes to install the studs, while the smaller holes only need to be large enough for the screws to pass through.
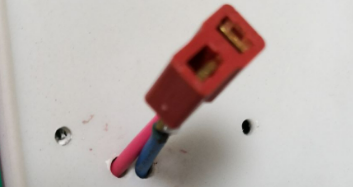
You can then connect it to the battery holder.
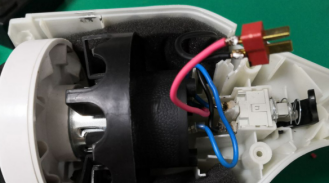
For the internal wiring, you only need to connect the motor through the switch and remove everything else.
You can only install it this way because there is a large opening. You can fill the opening with hot glue to seal it.
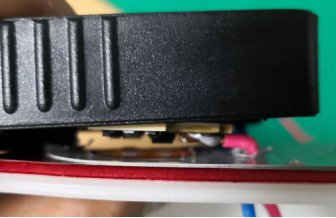
Here is the completed vacuum cleaner.