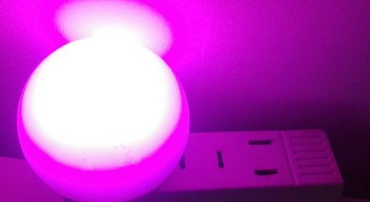
DIY Night Light: How to Make a Warm LED Night Light


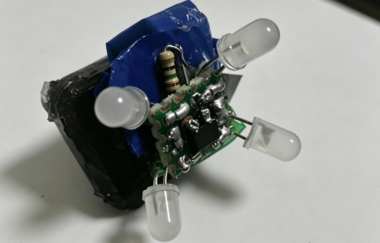
Suppose you often need to go to the bathroom at night, but the lighting is so poor that you have to fumble around in the dark to find the switch every time. If this inconvenience bothers you, you might suddenly come up with the idea of DIYing a warm and cozy night light yourself.
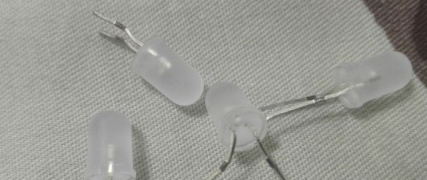
Suppose you happen to have several pink LEDs.
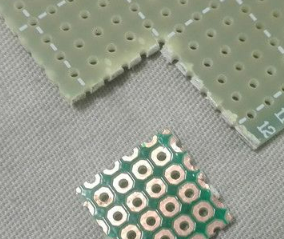
First, cut off a small piece of perfboard.
Then insert the first LED into one corner of the perfboard and solder its leads.
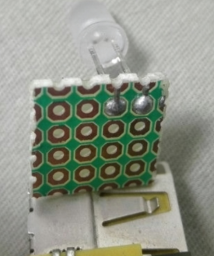
Now all four LEDs are installed. Connect them in pairs in series, and pay attention to the positive and negative terminals.
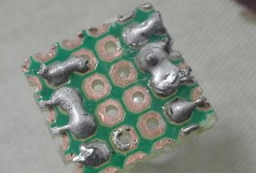
It looks fairly neat.
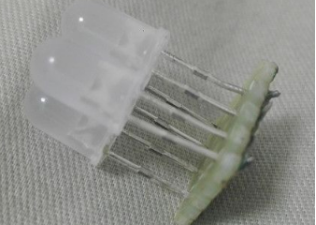
Then add a 47 μF capacitor and a 15 Ω resistor.
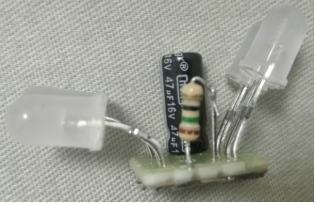
You can salvage a miniature bridge rectifier from an old LED light strip.
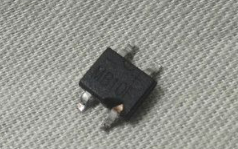
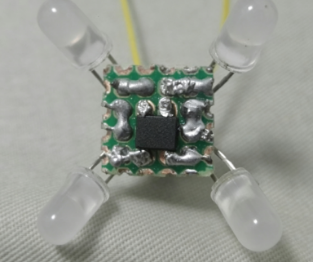
Connect the AC-side wires and integrate the bridge rectifier onto the perfboard as well.
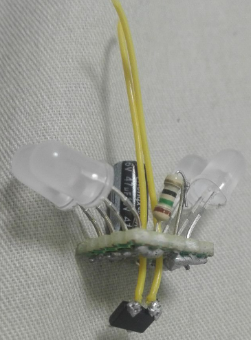
Carefully solder the bridge rectifier onto the pads connected to the two leads of the filter capacitor, so that you can make full use of the unused pads on the perfboard.
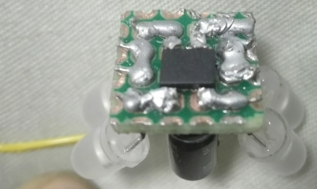
From the side, you can see that the components are packed quite tightly together.
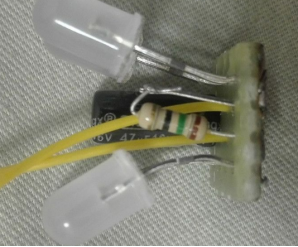
This is what the completed light board looks like.
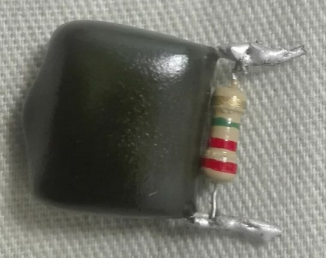
Suppose you happen to have a 0.1 μF 400 V CBB capacitor. Connect it with a 2.2 MΩ resistor in parallel to form a capacitive dropper circuit.
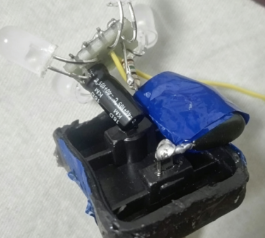
Then saw off the plug section from a charger casing. Connect one wire from the light board in series with the capacitive dropper components and connect it to one AC plug pin. Pay close attention to insulation.
Next, cut a piece of insulating paper.
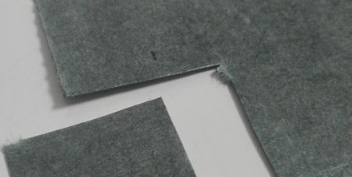
Place a piece of insulating paper in the gap between the plug pins and the light board. Connect the other AC plug pin to the other wire of the light board through a 10 Ω resistor. Then use universal glue to secure the light board in place. Make sure you maintain proper insulation to prevent short circuits.
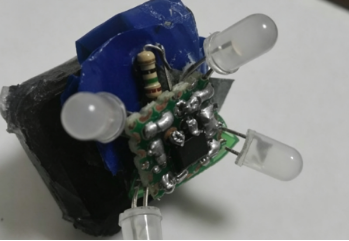
Then tear off a strip of white adhesive tape and use it to hold the light board against the plug. Apply a drop of 502 instant glue to both ends.
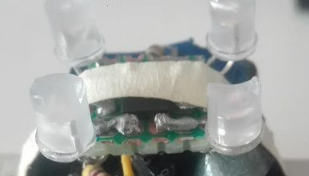
To make the LEDs diffuse the light, you can use pliers to remove the heads of the LEDs. This is because the original hat-shaped LEDs are designed to focus light.
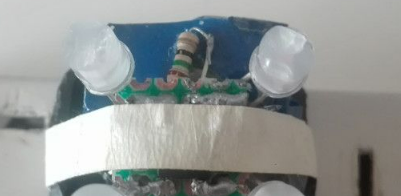
This is what the completed light core looks like.
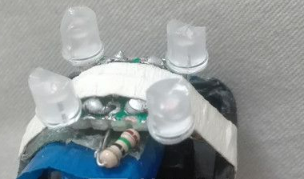
Plug it into the socket, turn on the power, and the light gives off a very warm and cozy glow.
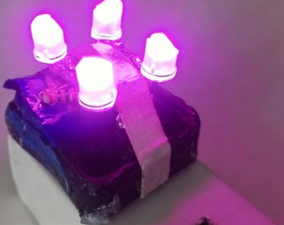
Use insulating tape around the light core to provide additional insulation protection.
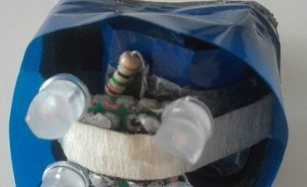
Apply a layer of plastic film as a diffuser. Since the capacitive dropper circuit generates very little heat, you do not need to consider heat dissipation.
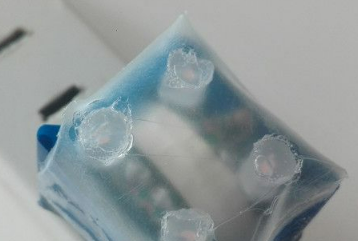
Then put a frosted plastic housing over it. Position the plug in the opening of the plastic housing and secure it firmly with strong adhesive. Your DIY night light is now complete. This is what the finished product looks like.
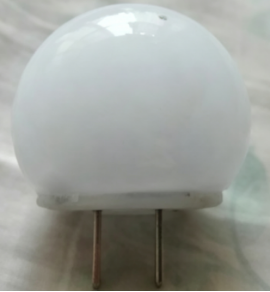
Plug it into a power strip, turn it on, and you have a very warm and cozy night light. Done.