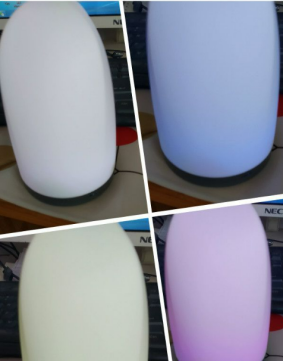
DIY Modify a Small Night Light for Battery Power


If you happen to have a small night light that needs to stay plugged in all the time to work, it can be quite inconvenient. At this point, you may suddenly get the idea of modifying the night light.
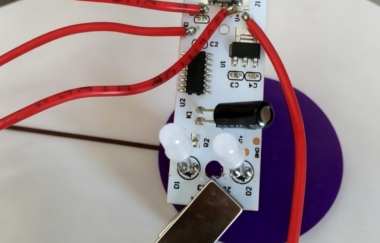
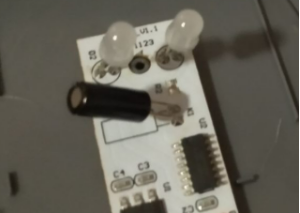
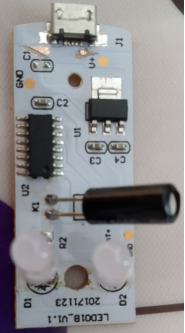
First, you need to disassemble the night light. Inside, you will find only a small circuit board.
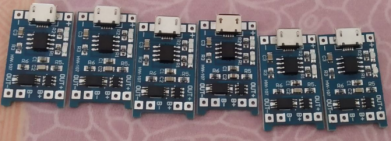
If you happen to have some charging and discharging protection boards, you can finally put them to good use.
To avoid damaging the original appearance as much as possible, you can continue using the existing micro USB port. You first need to disconnect the circuit on the PCB by making two cuts with a small knife and then scraping the area slightly.
Then, you can connect the wires to the input and output terminals of the charging board respectively.
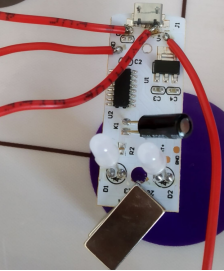
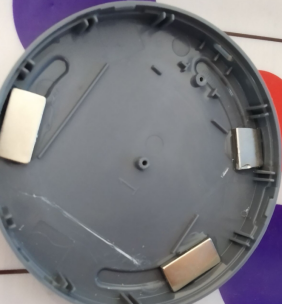
You can glue a few magnets to the base so that you can easily secure the night light during use.
Then, you can find a suitable battery and secure it with 3M adhesive tape. Since the lampshade is translucent, you can place the charging board upright with the indicator light facing outward, which also makes it easier to secure. Finally, you can add a plastic piece with some glue, and the modification is complete.
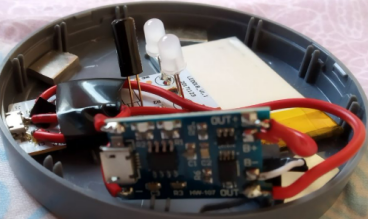
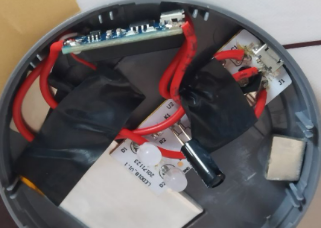
You can slightly secure the wires before reassembling the night light. Once everything is in place, you are done.
This is what it looks like while charging.
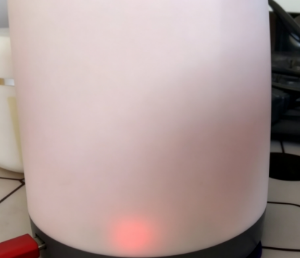
When the battery is fully charged, the red light turns off and the blue light turns on.
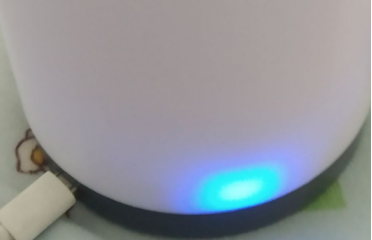
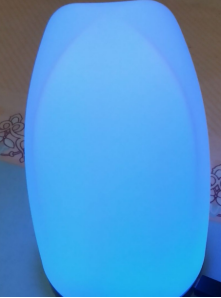
This is what the night light looks like when it is turned on.