DIY Multi-Port Fast Charger: 3-Port Design


If you are interested in DIY multi-port fast charging, you might want to take a look at this article.
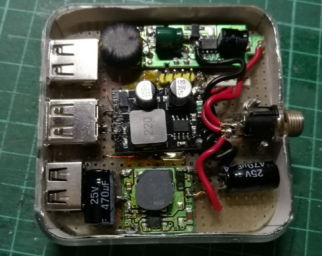
If you happen to have an FP6601Q fast-charging board with a boost converter, and you also have a 5V/3A car charger, you may suddenly get the idea of building a multi-port fast charger. You can have two fast-charging ports and one 5V port.
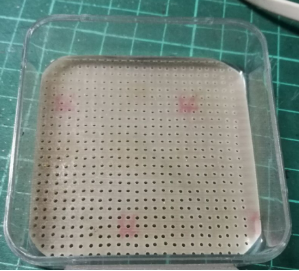
For the enclosure, you can use the packaging box from a POS machine. The size is just right for fitting the three boards, while you can use a perforated board as the mainboard.
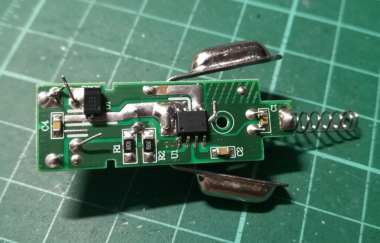
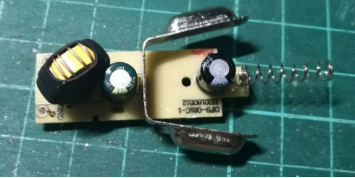
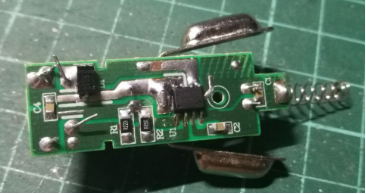
This is the car charger board. It is not very practical, but it works. According to the chip datasheet, it supports 3A. You can remove the spring and metal contact, then lay the inductor flat.
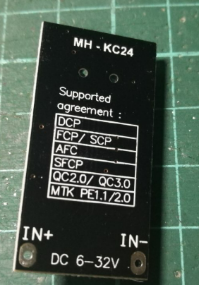
This board supports QC2.0/3.0, Huawei fast charging, and more. You can remove the USB connector at the front and cut off a section of the board.
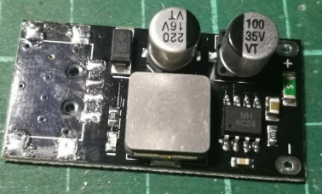
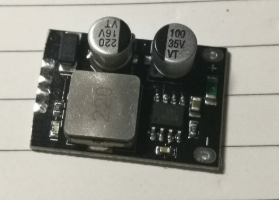
For the final output, you can use an FP6601Q with a 3R33 inductor.
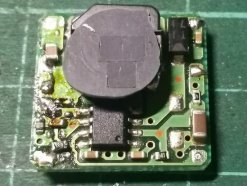
First, you can arrange the positions of the components.
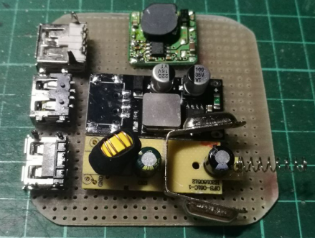
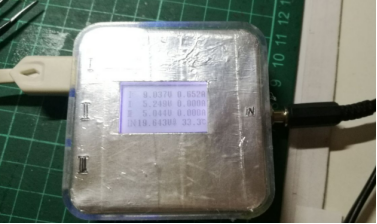
You can also cut out another section of a USB security key board and use its display to show information.
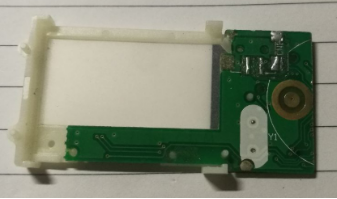
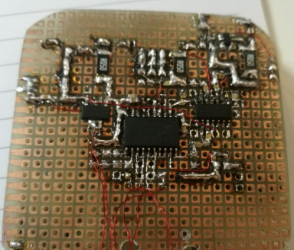
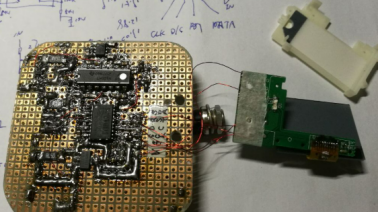
On the back of the perforated board, you can solder the MCU and current-sensing circuit. You can use an LM324 as the operational amplifier, but a single power supply is not ideal, so you can add an ICL7660. You can replace the SMD component with a through-hole version. You can connect the display to the board with wires.
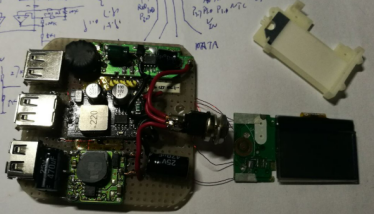
For the input, you can use a DC jack. You can solder wires to the DC connector using the car charger board you removed earlier, allowing you to use it in a vehicle. You can also use a laptop power adapter for desktop use. Of course, when you use it in a vehicle, it can only output 9V, while on a desktop, it can output up to 12V. The project is now complete.