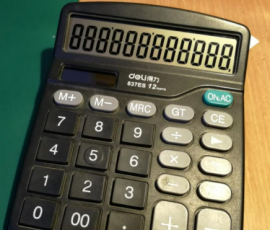
DIY Calculator Repair: Replacing a Zebra Strip


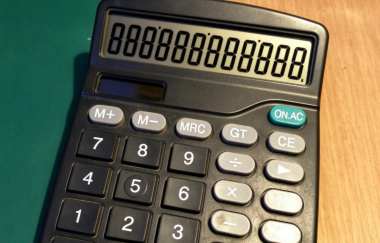
If you have an old calculator that has been sitting around for a long time, you can repair it instead of letting it go to waste.
First, take the calculator apart and remove the original zebra strip connector.
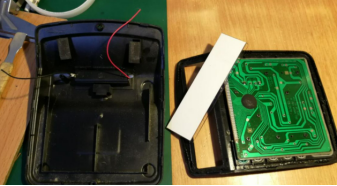
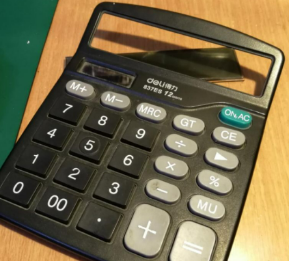
This is the back of the calculator.
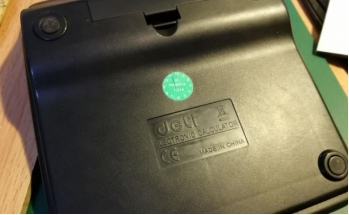
This is the front. The buttons feel soft, and their rebound is very weak.
Remove the mounting posts.
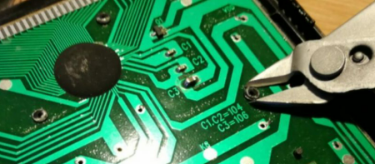
The PCB is now removed.
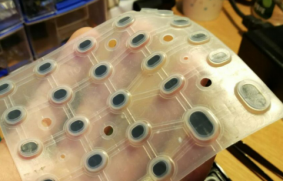
This is the conductive rubber keypad membrane. It is a little dirty.
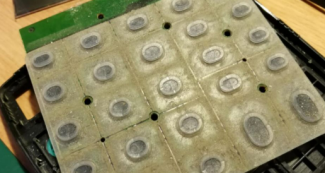
It looks much better after you clean it.
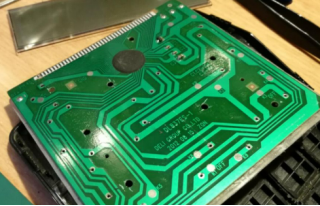
This is the front side of the PCB. The solder mask is really good.
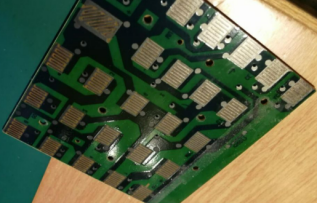
Remove the adhesive from the connector area and set it aside for later use.
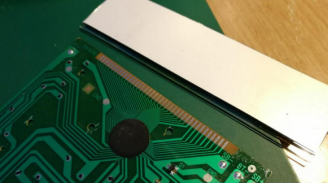
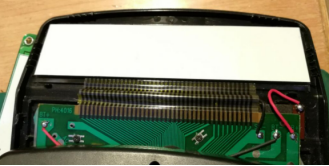
Find a matching zebra strip connector. This calculator uses a 4016 zebra strip.
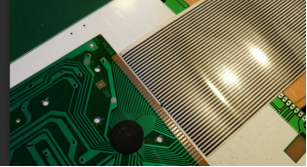
Cut it to the appropriate length.
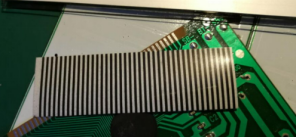
Now, start the repair.
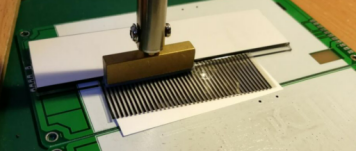
Check the back side to make sure the connection is secure and there are no defects.
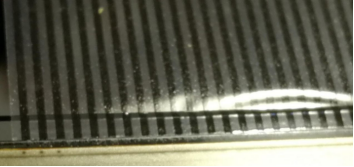
After securing both the LCD and the PCB, apply tear-resistant tape to the other side to protect the zebra strip from external forces.
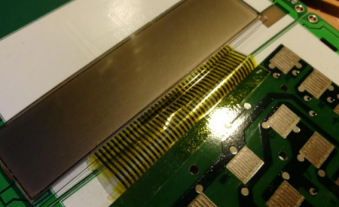
Solder the solar panel back on and turn the calculator over. The display shows some garbled characters because the calculator has been without power for a long time.
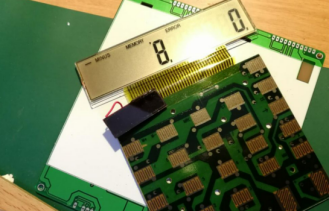
Simply reset it to zero, and everything will be fine.
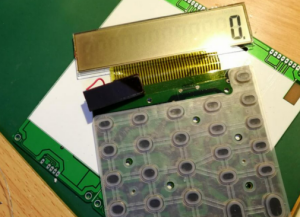
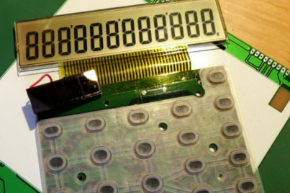
Test the display with 8888.
Reinstall the PCB. The mounting holes are hollow, so you can screw it back into place.
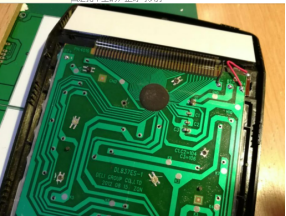
Solder the battery wires back onto the rear cover.
Put the casing back together, and the repair is complete. The calculator can now last for several more years.