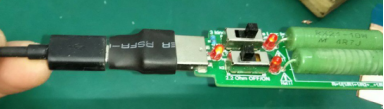
DIY Micro USB Extension Adapter


If your HiWiFi router is powered via a Micro USB cable, the supplied cable is only 1.5 meters long. However, this length may not be sufficient in certain situations. You might then come up with the idea of making an adapter to connect two 1-meter cables together.
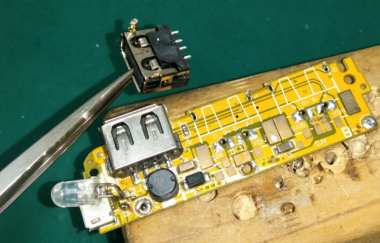
As it happens, you have a Micro USB female connector board and a power bank circuit board, so you have all the materials you need to get started.
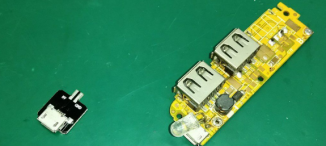
First, take a closer look at the Micro USB board. Its outer shell is made entirely of copper.
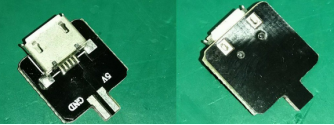
Remove the USB socket. The contacts on this female connector are made of iron, although copper contacts would be a better option.
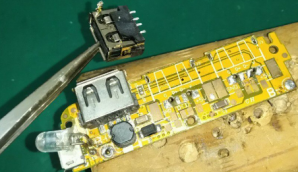
Next, start modifying the small board and reduce its overall size as much as possible. A compact design makes it easier to store, but you must ensure that all solder joints are strong and reliable.
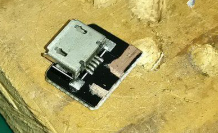
Attach a small piece of copper foil to create a soldering pad.
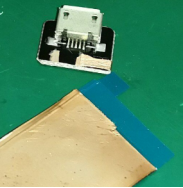
Apply high-temperature adhesive tape around the female connector for protection. You will fill the area with adhesive later to secure the connector, so this prevents glue from seeping between the contact springs and causing poor electrical connections.
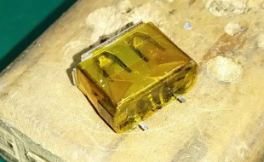
Solder the D+ and D- wires directly to the board. This allows you to use the finished adapter to charge your phone later while retaining data transmission capabilities.
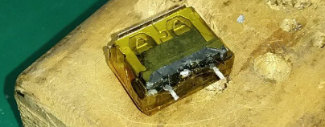
Prepare all the connection points and get ready to start soldering.
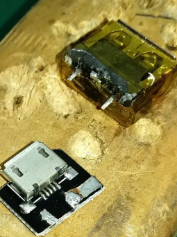
Once soldering is complete, take a look at the assembled adapter.
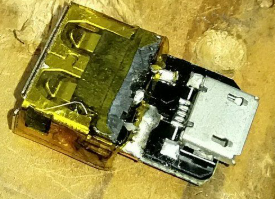
Solder the two pins of the USB-A connector directly onto the Micro USB board.
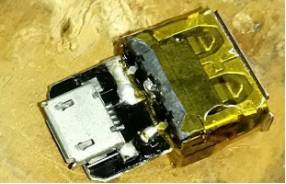
Turn the board to the side to inspect the arrangement of the solder joints.
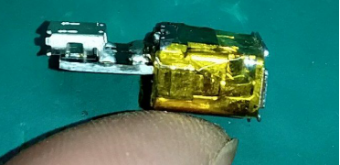
Before applying the adhesive, use a multimeter to test each connection individually. Make sure every wire has proper continuity to avoid wiring mistakes and having to redo the work.
Now, fill the area with adhesive to seal and secure the assembly. The Micro USB end also carries a risk of glue seeping into the connector, so attach copper foil beforehand to provide protection.
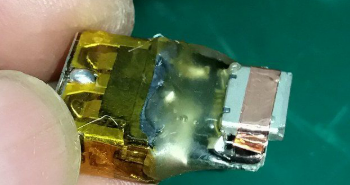
Reinforce the weak points on the side with additional solder.
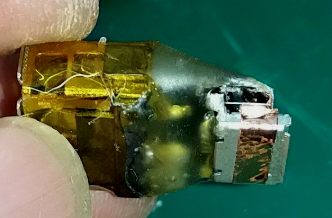
Slide heat-shrink tubing over the assembly and use a heat gun to shrink it into place.
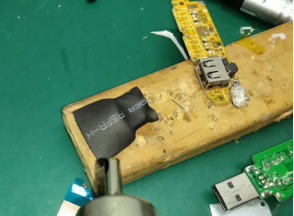
Trim away any excess heat-shrink tubing.
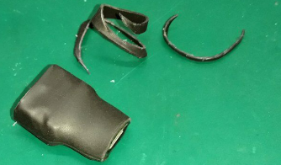
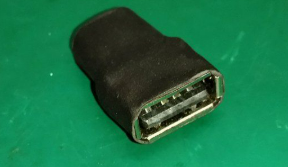
Take a closer look at the finished Micro USB end.
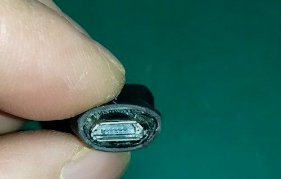
Now, take a close-up look at the USB-A end.
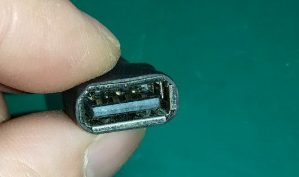
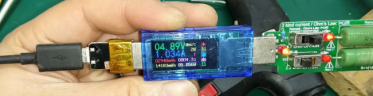
Finally, power it on and test it. Everything works properly, and the project is complete.