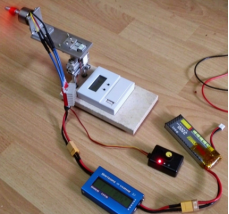
DIY Model Aircraft Thrust Stand Using an Electronic Scale


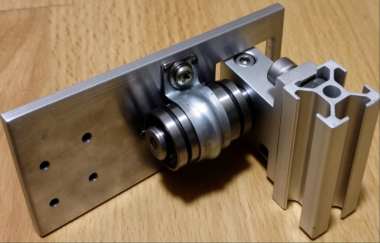
If you are interested in building a DIY model aircraft thrust stand, take a look at this project.
If you happen to have an unused electronic scale, you can put it to good use for this DIY project.
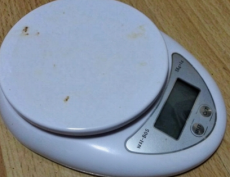
Disassemble the housing and examine the internal structure. The circuit board and load cell are the key components for this modification. You can also reuse the original housing if needed.
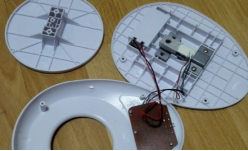
Cut out the section of the bottom plate that contains the battery compartment, and keep this part for reuse.
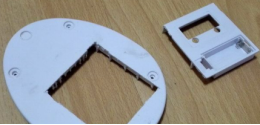
Use an ABS sheet to build an enclosure around it.
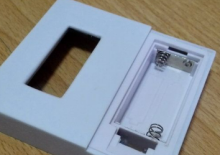
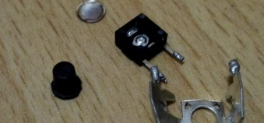
The tactile switch caps on the circuit board are too short. You can remove a cap from another tactile switch to extend them.
Use 5 mm-thick ABS sheets to make several mounting brackets inside the enclosure for securing the circuit board. Fit a 1 mm-thick transparent PVC sheet into the display window.
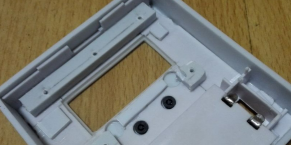
Install and secure the circuit board in place.
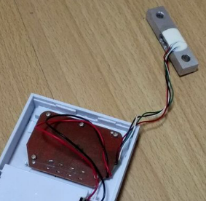
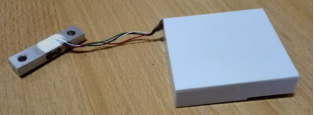
Simply glue an ABS sheet onto the bottom to seal the enclosure.
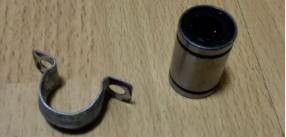
Prepare a 10 mm linear bearing and an iron clamp.
Take an aluminum plate that is 40 mm wide and 4 mm thick. Mill a groove in the middle of the plate to accommodate the linear bearing.
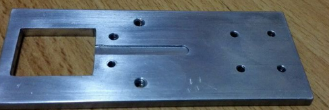
Mount the linear bearing onto the aluminum plate. The grooved design helps secure the bearing more firmly.
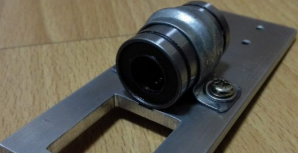
Secure the linear shaft support onto a 20 × 20 mm aluminum extrusion.
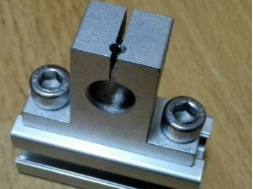
Assemble all the components together.
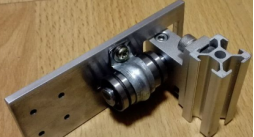
Grind the M3 brass standoff and shape its end into a rounded profile.
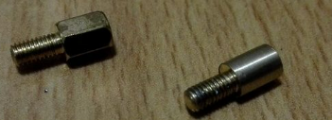
Tap an M3 thread into the gap above the linear shaft support. Screw the brass standoff into place, then add a small piece of aluminum plate as a stopper to prevent the components from rotating.
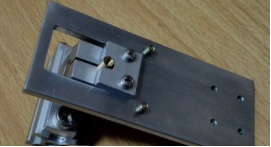
This component will serve as the base.
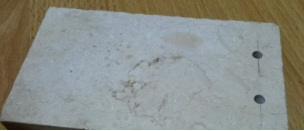
Secure it with a long M6 screw.
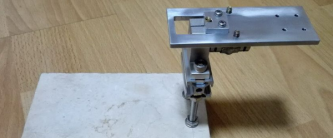
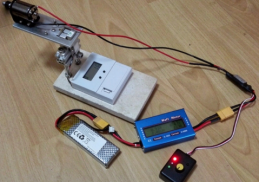
Use double-sided tape to secure the modified electronic scale enclosure. Position the battery compartment facing upward for easy battery replacement, and mount the load cell onto the aluminum extrusion. This completes the basic assembly.
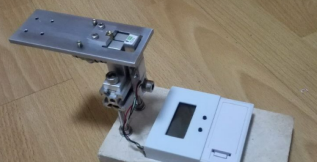
Mount the motor onto the aluminum plate using a motor bracket. Different types of motors require different mounting brackets.
This is a 370 brushed DC motor.
This is a 2212 brushless motor.