
DIY Laptop Computer Build


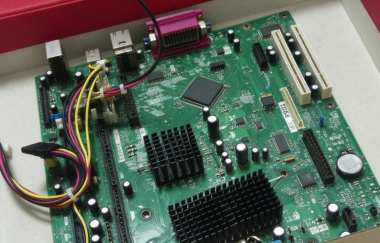
If you are interested in DIY laptop projects, take a look at this article.
In this project, you will build a laptop computer by hand using a cardboard box. The design incorporates cooling, dust protection, and radiation shielding. You can also add practical features, such as a power button.
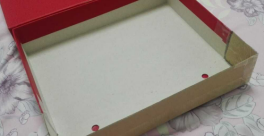
First, find a suitable cardboard box.

Next, extend and enlarge the box to achieve the appropriate dimensions.
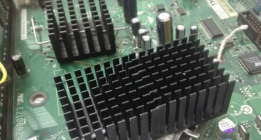
Install a CPU heatsink on the motherboard.
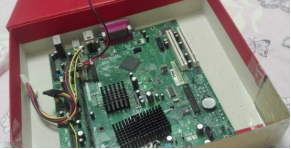
Place the computer motherboard inside the cardboard box and drill holes at the corresponding positions for the various ports.
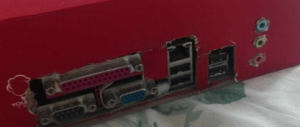
Connect the VGA signal to the built-in display controller board, and then connect the display.
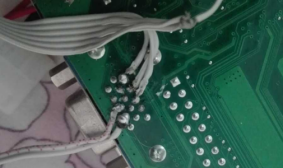
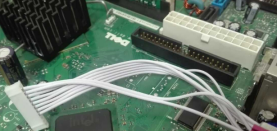
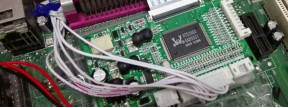
According to the correct pinout, install an internal USB port to make it easier to connect a built-in USB flash drive. Store a multiboot PE toolkit on the USB drive to boot the computer.
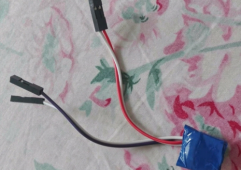
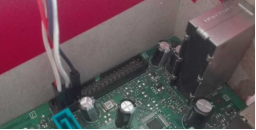
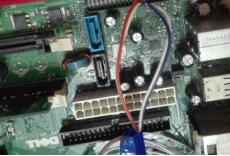
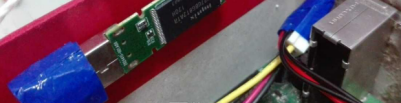
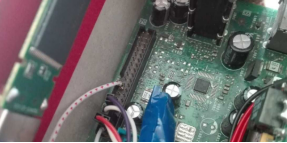
Connect a DC-to-ATX power supply module, then connect the power board and battery pack. Plug in the AC power supply, and power on the computer successfully until the desktop appears. The battery serves as a backup power source.
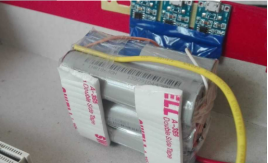
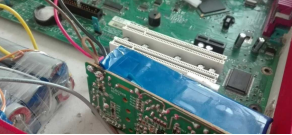
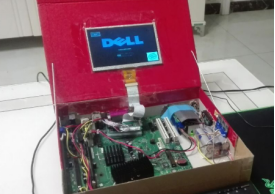
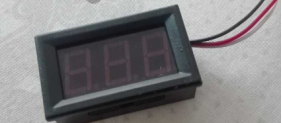
You can also install a voltmeter to monitor the power supply voltage at any time.
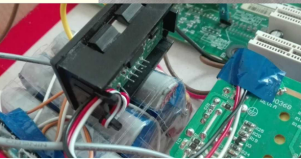
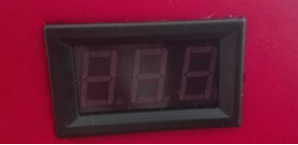
Install support cables on both sides of the laptop screen to limit its opening angle.
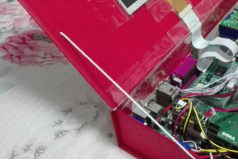
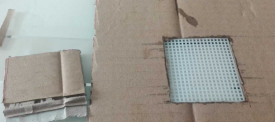
Cut another piece of cardboard to make a case cover. Cut ventilation holes in the cover and install protective mesh to improve airflow and heat dissipation.
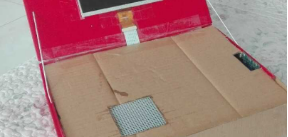
Apply a sticker to the surface for decoration.
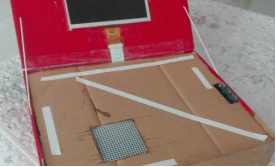
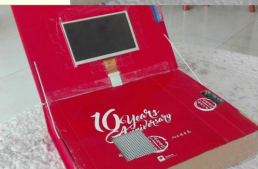
You also need to attach radiation-shielding foil to the case cover.
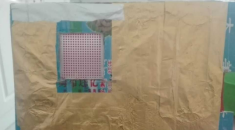
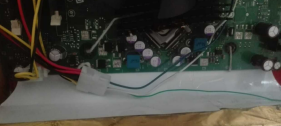
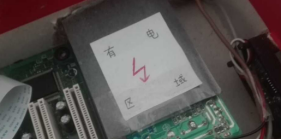
Protect the exposed power board with insulating paper to prevent electrical hazards.
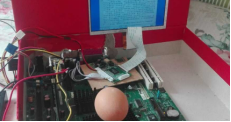
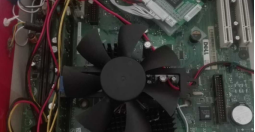
You cannot skip the CPU fan! The temperature is so high that you could practically fry an egg on it.
If you happen to have a broken induction cooker, you can remove its internal cooling fan and secure it to the memory module with strong adhesive tape.
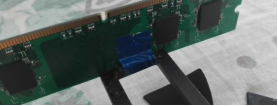
Insert the memory module. The fan blows directly into the area between the CPU and the Northbridge chipset, providing adequate cooling.
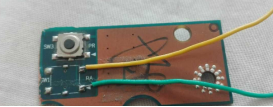
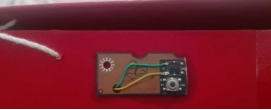
Install a power button and connect the POWER ON wires from the socket.

Your DIY laptop is now complete. Power it on and see how it works. That's it!