
How to Convert a USB Fan into a Lithium Battery-Powered Mini Fan?
Accomplished Schematic
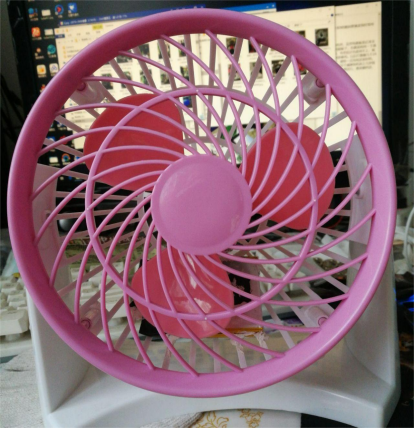
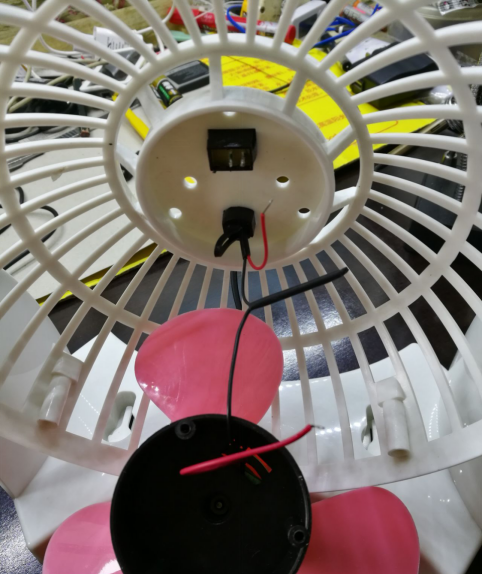
On the reverse side, the process entails the removal of the switch, leveraging the ample interior space to affix the battery and circuit board at the rear.

Ample room exists inside to accommodate the circuit board seamlessly.
Disassemble the charging port and solder it onto a compact perforated board.
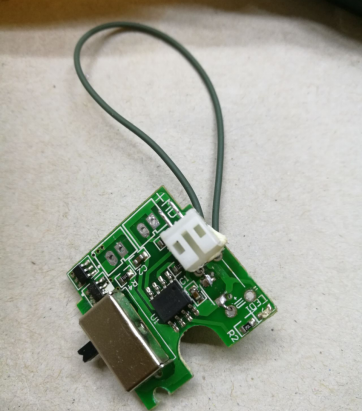
Bore a hole beneath, considering the numerous wires; identify the positive terminal with a red marker. Attach the charging port below.
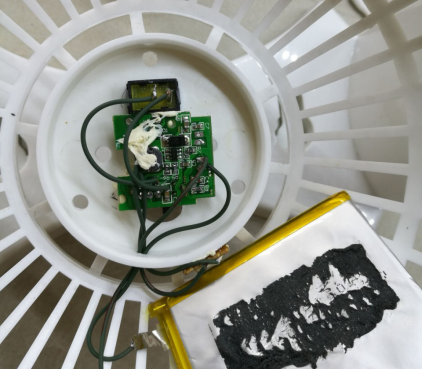
Following the application of glass glue, fashion a groove on the fan base.
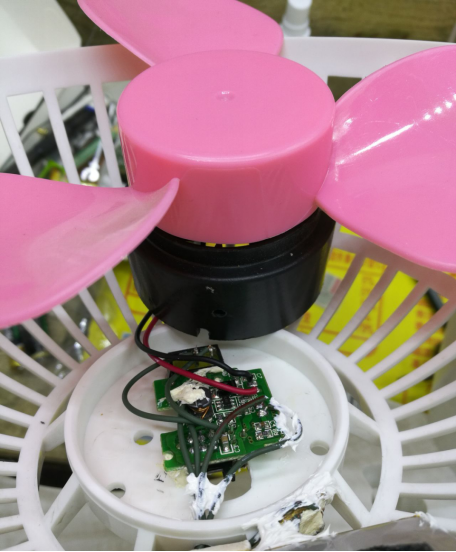
Affix the battery and, finally, engage the switch.
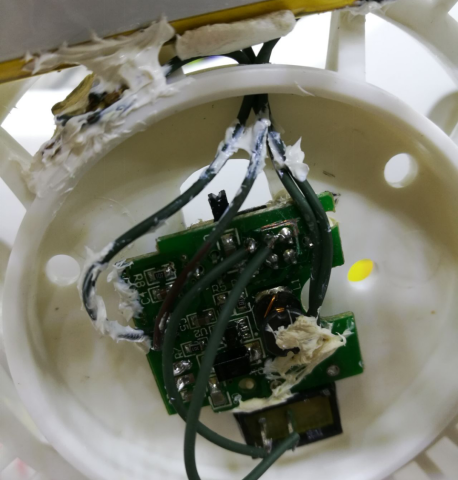
Allow three days for the glass glue to thoroughly set.
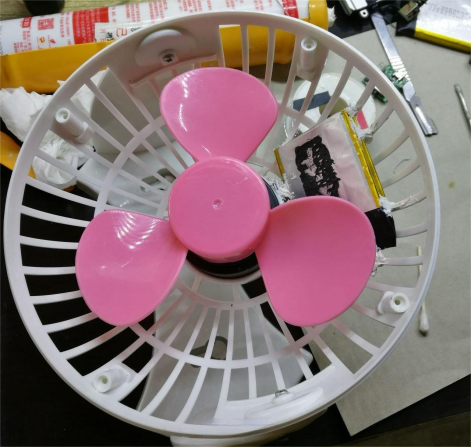
In conclusion,
Should the appearance of the glass glue dots prove aesthetically challenging, consider embellishing the battery's front with an appealing piece of paper to serve as a concealing layer.


