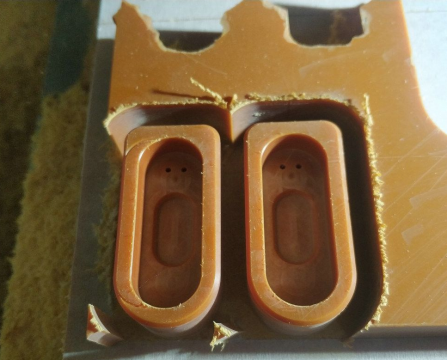
Let's Discover how to craft your own charger for the Xiaomi Mi Band 4 with this step-by-step guide.
Begin by identifying the Mi Band 4 NFC version, boasting a vibrant color screen and versatile functionalities such as attendance tracking, QR code payments, and public transit usage.
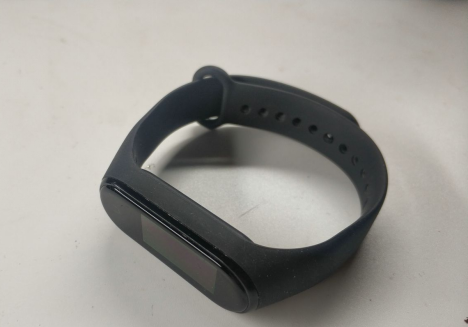
Follow these steps:
· Measure and Carve:
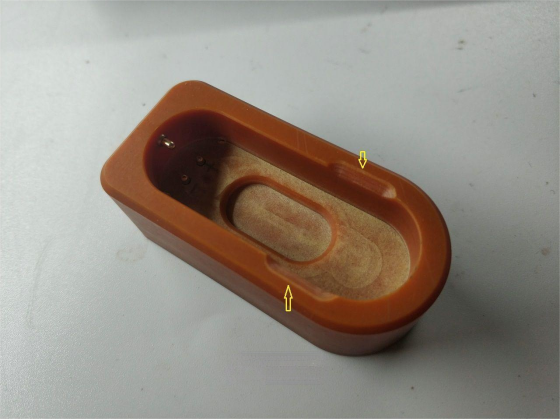
Determine the exterior dimensions and carefully carve out the shell of the Mi Band.
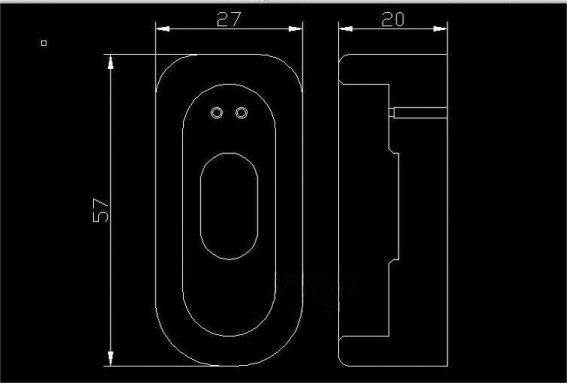
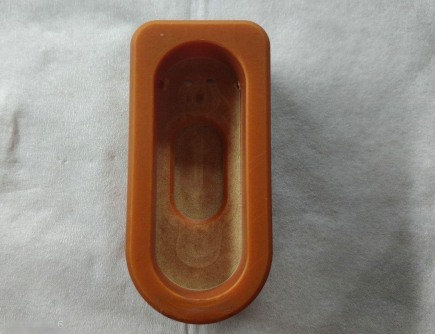
· Prepare Adapter Board:
Gather a micro USB adapter board for compatibility.
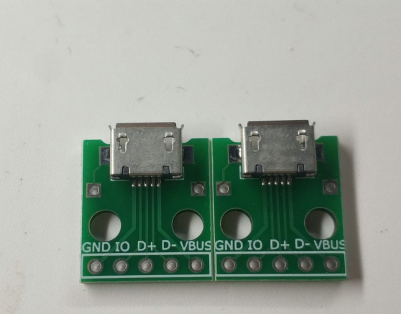
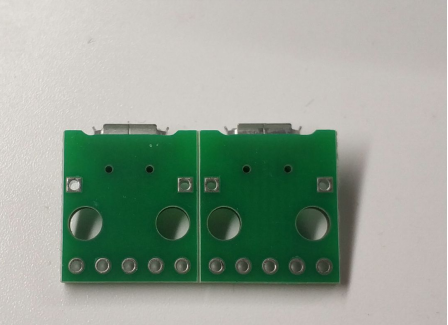
· Probe Placement:
Utilize three probes, allocating two for contacts and one for band clamping.
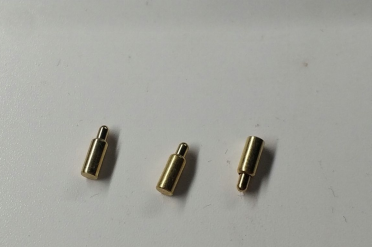
· Slot and Drill:
Create appropriate slots and drill holes, ensuring precise alignment for future components.
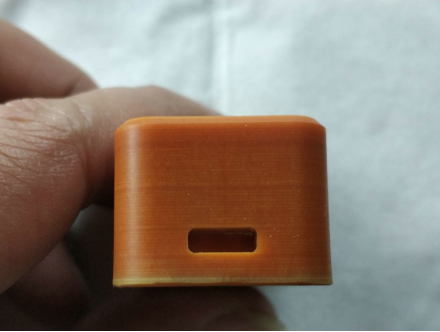
· Assembly:
Fit the micro USB port into its designated slot and open the slot for the adapter board, drill holes, tap the threads on the outer two cover plate holes, and countersink the probe position (the probes have different sizes, the small hole drilled just now is for the probe to sink in from the back).
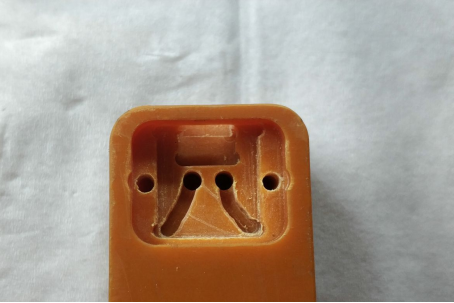
Control the depth of the countersink well, and try to keep the probe tail from being too loose.
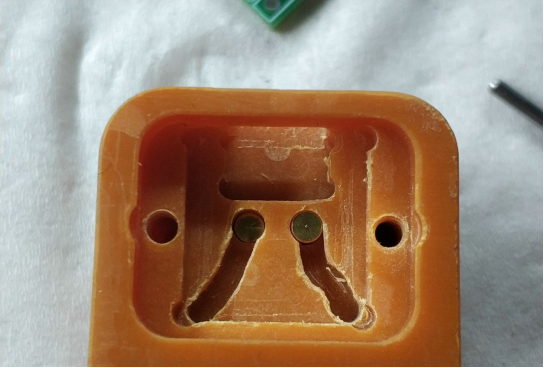
Insert the adapter board to check the fit.
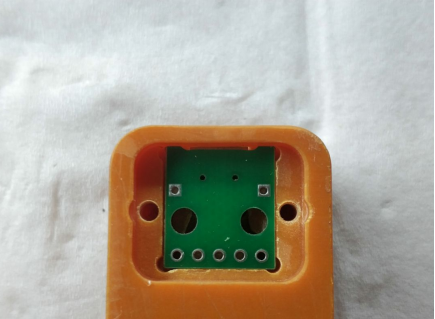
Leave a small gap at the male head position when inserting it.
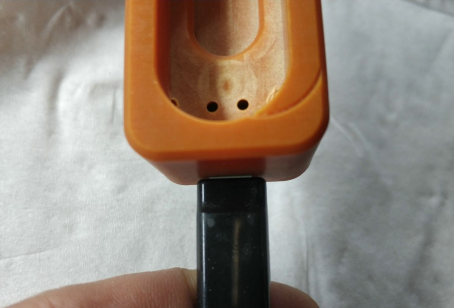
Carve and remove the cover plate.
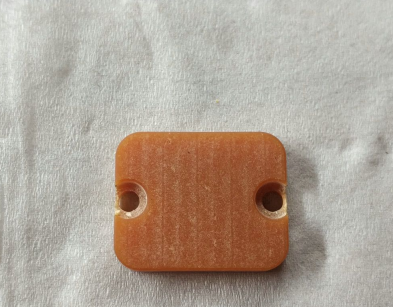
Fit it with the charging dock.
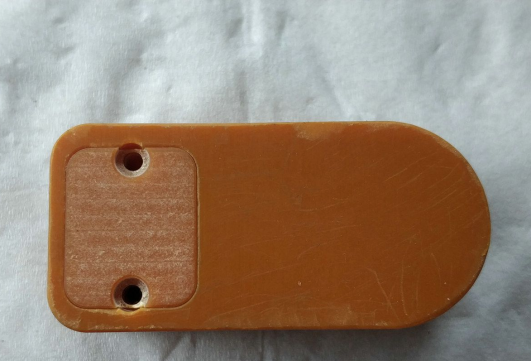
· Secure with Screws:
Use two M2.5 stainless steel screws to lock the cover plate securely.
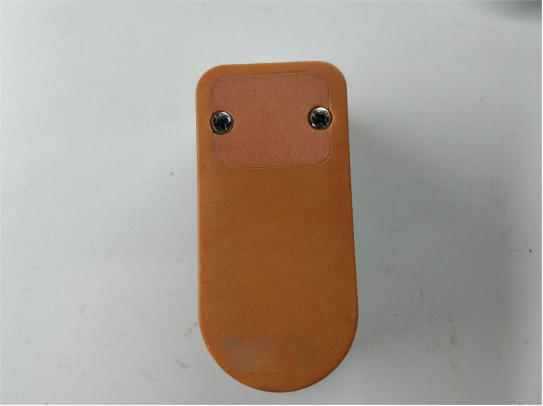
· Enhance Stability:
To prevent the band from dislodging, add a spring-loaded probe for secure fastening.
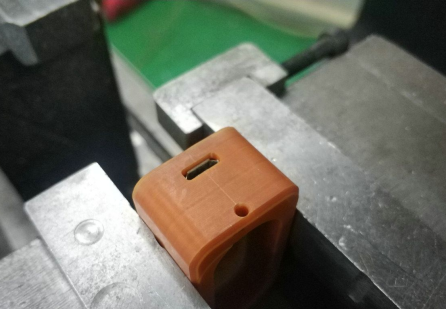
· Soldering:
Insert the probe, it needs to be snug.
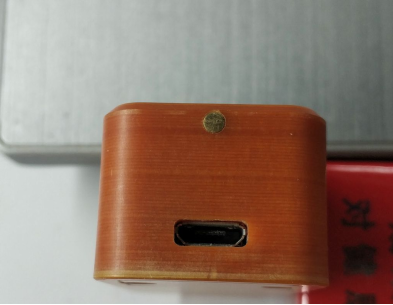
After completion, the band should be able to stay in place by itself, the probe mainly serves to spring back and won't damage the plastic shell of the band.
Solder the probe wires.
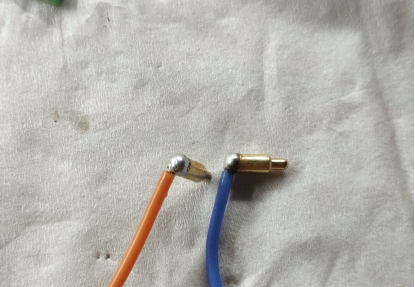
Add more solder to the probe tail, then tightly plug it in.
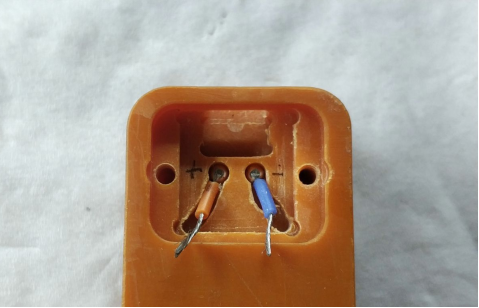
· Insulation:
Insulate the solder joints with insulating varnish to avoid contact with the adapter board.
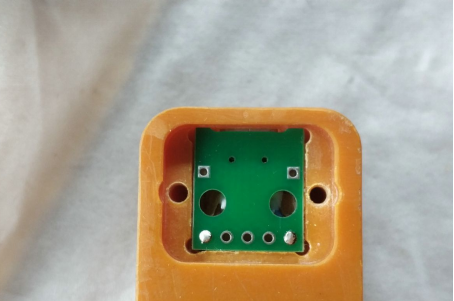
· Final Touches:
Mill the back of the shell for a smooth finish and add handles for enhanced portability.
· Testing:
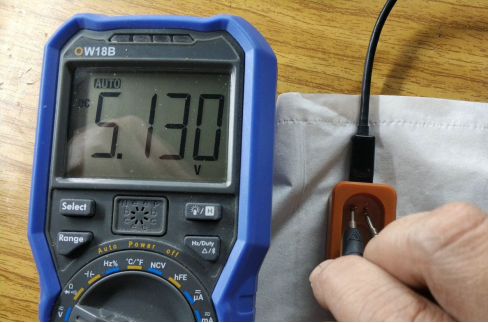
Before use, verify the voltage and test the charging process.
· Charging Process:
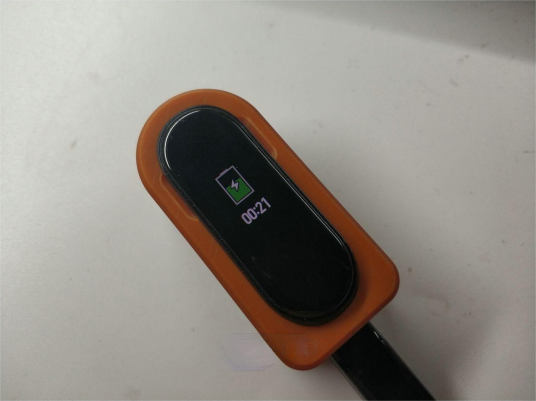
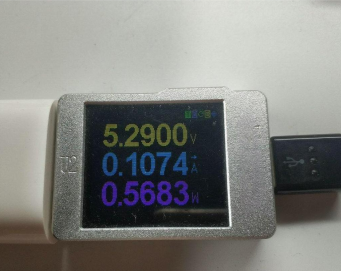
Charging current is about 100 milliamps until fully charged.
By following these detailed instructions, you can create a customized charger tailored to the Xiaomi Mi Band 4, offering convenience and functionality.

