
If you're interested in DIY electronic bells, this article might be worth checking out.
If you have a mountain bike but find the original bell too small, with a sound that's barely loud enough to be heard, then why not try making your own electronic bell?
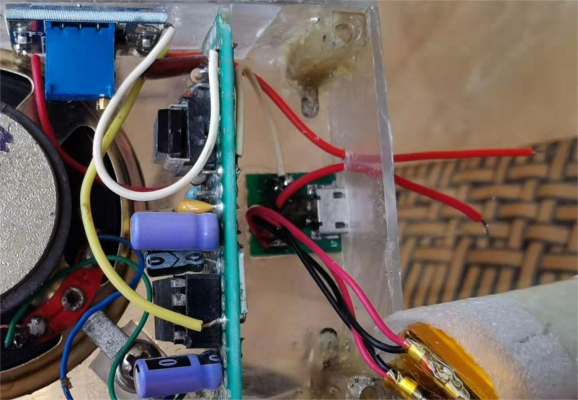
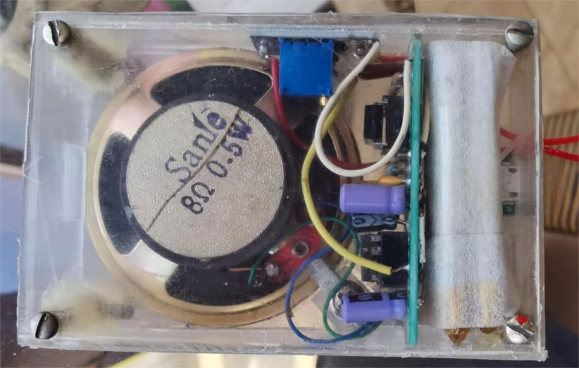
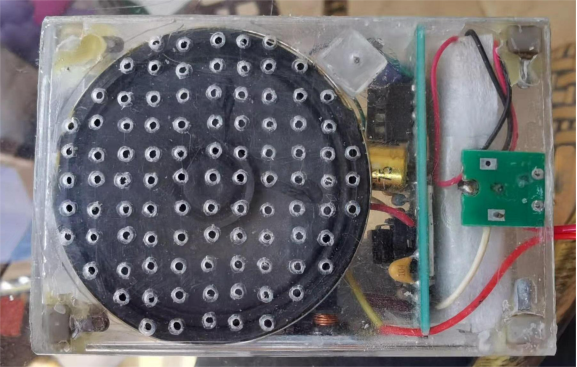
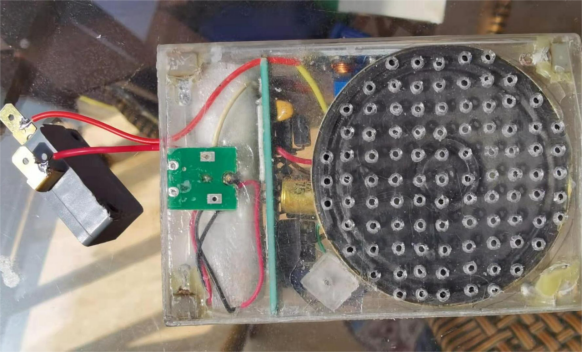
Start by using a plastic packaging box, cutting it to form a box shape. You can also glue a few old nylon terminal blocks to the four corners of the box to secure the lid. Next, cut a few small plastic pieces and glue them together to form a mounting post, which will be used to secure the speaker. Attach a plastic piece to the side of the box as another mounting point for the speaker, and drill a hole in the front of the speaker.
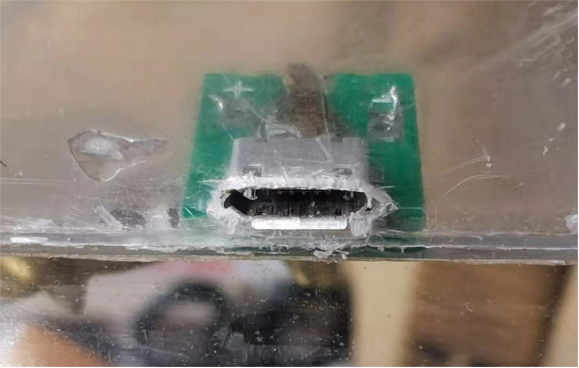
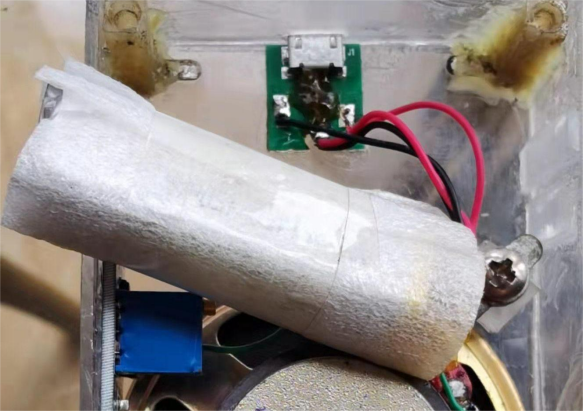
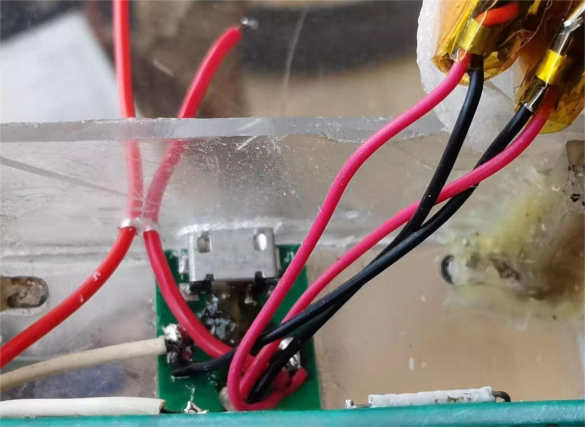
For the bottom of the box, cut a hole to install the charging port.
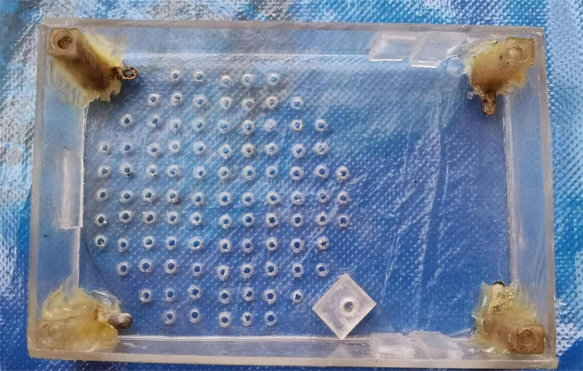
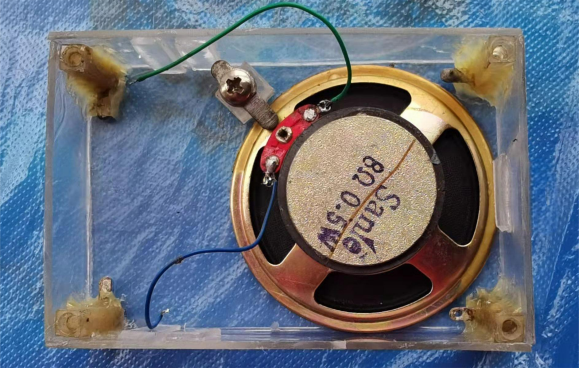
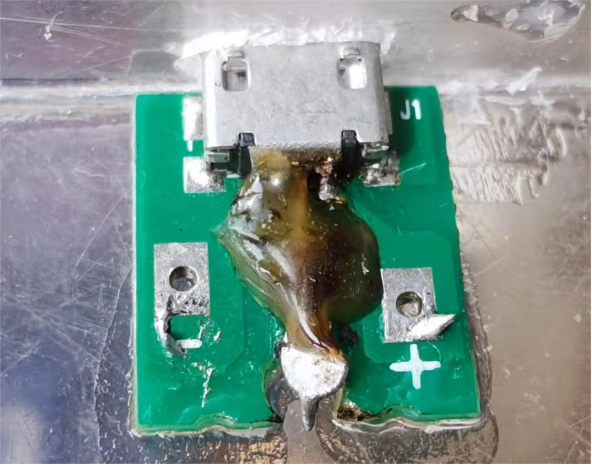
If the charging port you're using has two wires, you'll need to pull out an extra wire at the base of the plug to connect two lithium batteries in parallel, securing it with glue.
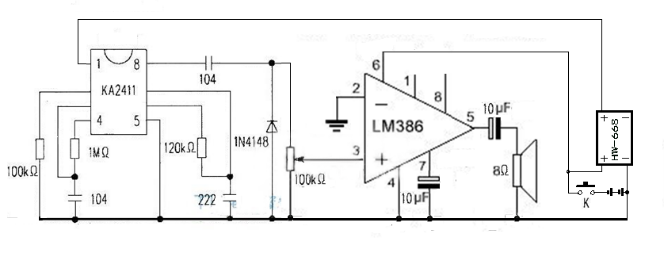
The electronic bell circuit consists of two parts: the K2411 (KA2411) sound generator and the LM386_N1 power amplifier. You can salvage these two integrated circuits from an old phone.
If the LM386_N1 is rusty and the pin 6 breaks off during disassembly, you can flatten one lead with pliers, insert it into the socket, and then solder the lead to pin 6 to complete the connection.
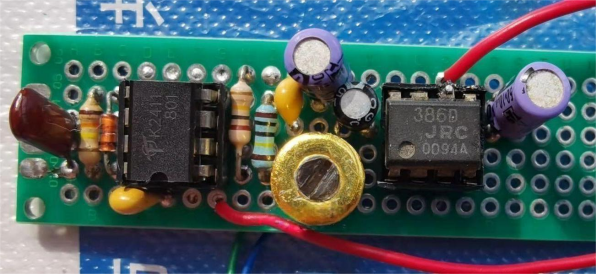
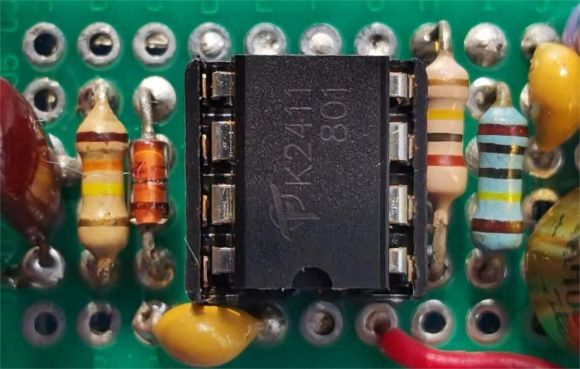
The K2411 (KA2411) typically operates with a voltage range of 17-27V, with a maximum of 30V. The LM386_N1 operates with a voltage range of 4-12V and a typical output power of 325mW. Therefore, you’ll need to add a step-up board, such as the HW_668 boost module, adjusting the output to around 25V.
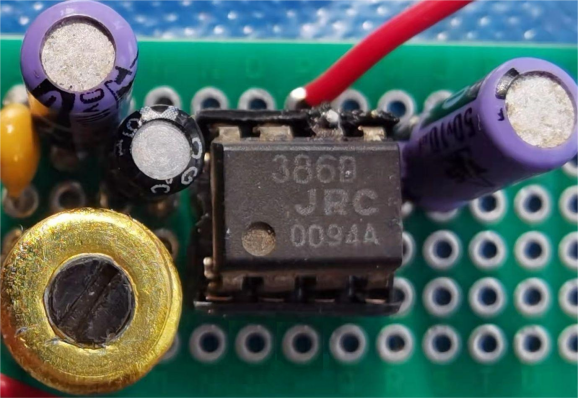
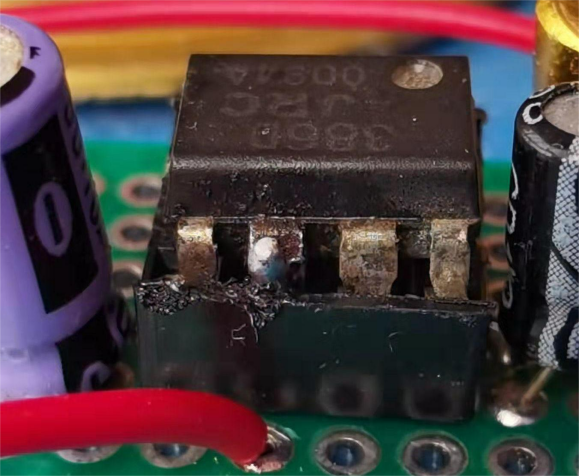
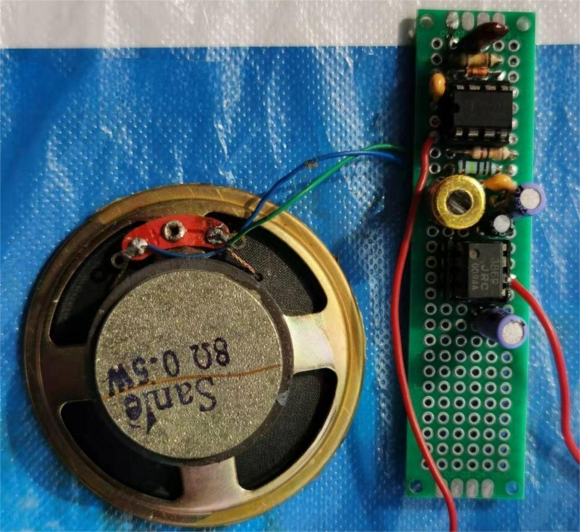
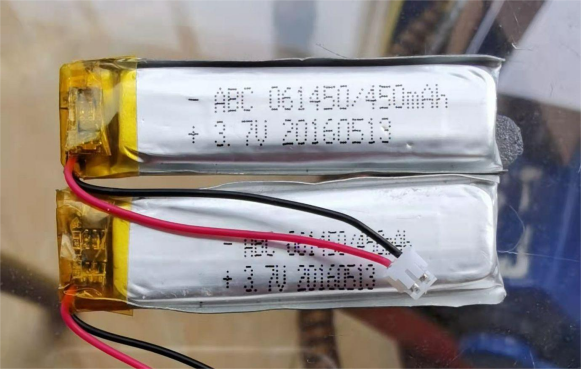
To power the LM386_N1 and the HW_668 boost module, use two 450mA lithium batteries in series. During testing, the total current was around 130mA, which should not pose any issues due to its short usage.
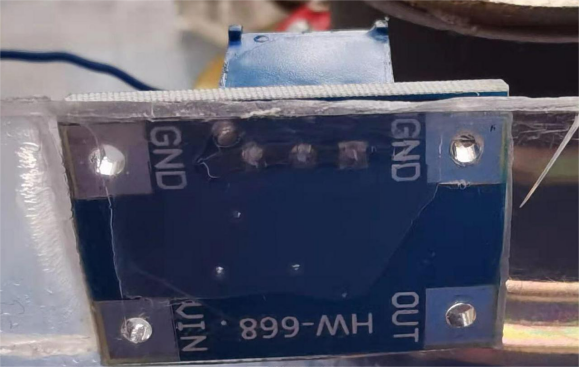
Next, lead out the switch control terminals.
A micro switch can also be used from old equipment, such as the pressure switch from a gas water heater.
Simply clean it, swap the moving and static contacts, and it's good to go.
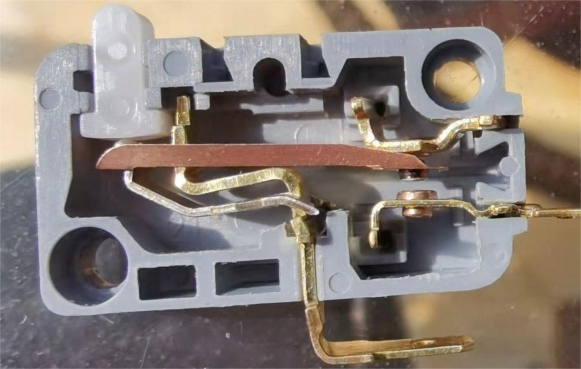
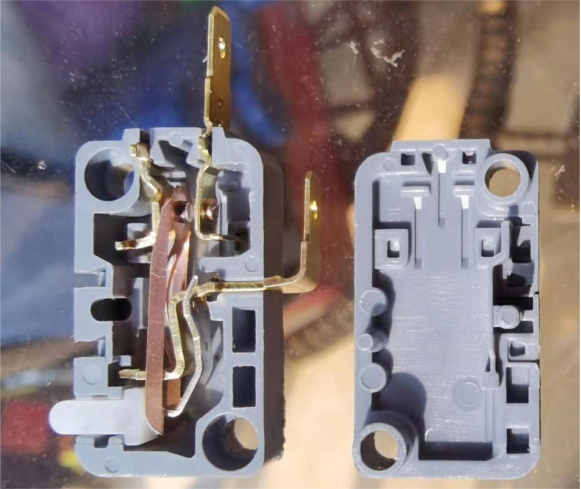
After testing, the sound was clear, loud, and pleasant.
Here is the circuit:
Completed.


