
If you're interested in DIY testing of battery internal resistance, you might want to check out this article.
Below is a simple circuit diagram for testing battery internal resistance, which you can use as a reference. It's even better if you build a signal generator using a 555 timer circuit, although generating a sine wave with a 555 can be a bit tricky.
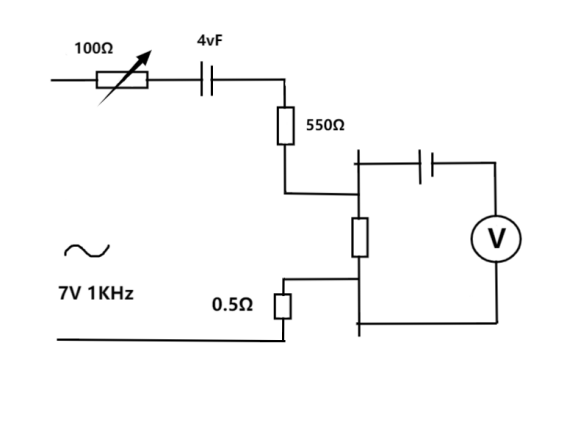
You can test battery internal resistance based on the circuit diagram shown above.
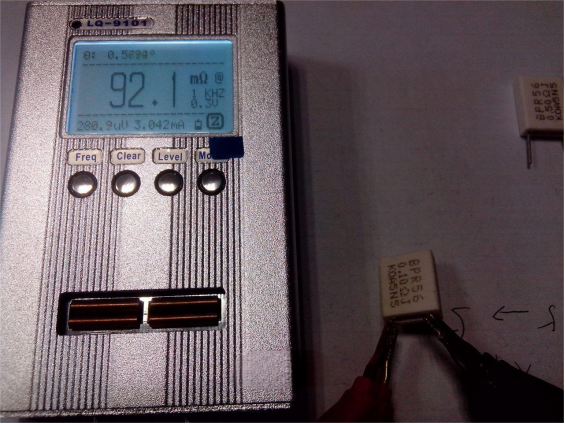
First, let's test two resistors used as reference weights. The 0.1-ohm resistor shown below was measured at 0.0921 ohms.
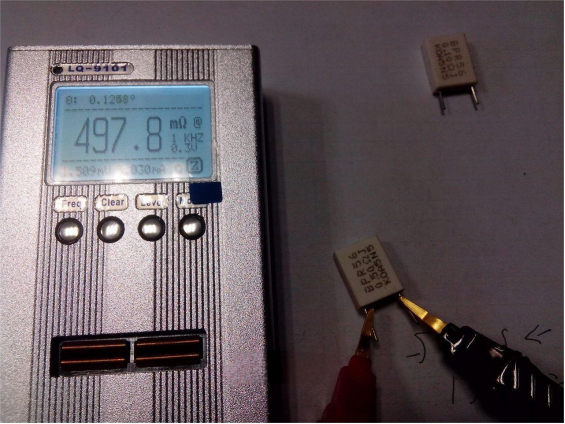
The 0.5-ohm resistor shown below was measured at 0.4978 ohms, which is a fairly small error.
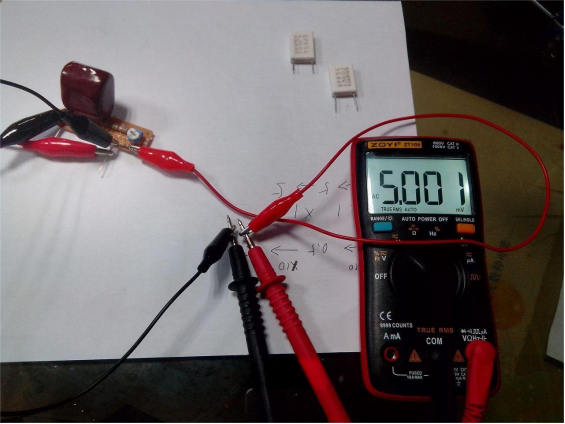
The circuit includes a built-in 0.5-ohm calibration resistor. Since this is a simple circuit, the exact precision of this resistor is unknown. You can use a bridge meter to find a similar 0.5-ohm resistor for calibration. The initial current is about 9.8 mA.
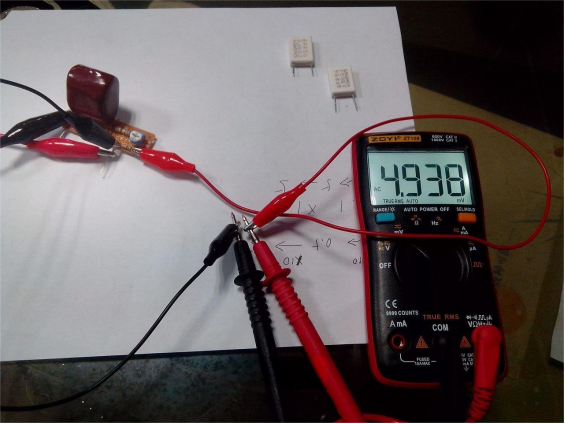
You need to adjust the potentiometer to about 10 mA because the voltage drop across 0.5 ohms at 10 mA is 5 mV.
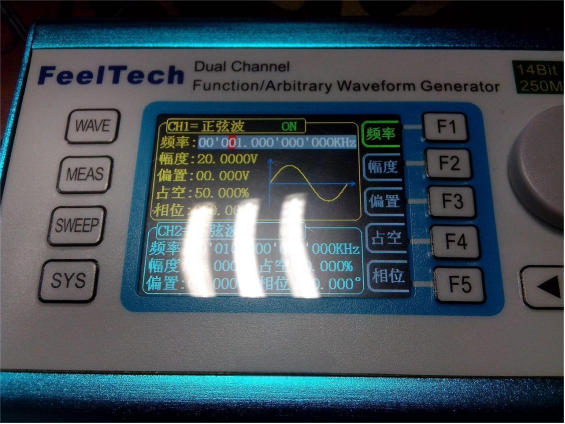
The voltage source shown below is an AC output at 1 kHz with a 20 V peak-to-peak signal.
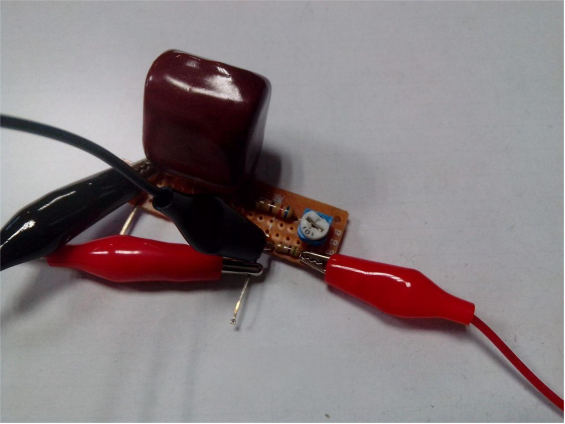
So, apart from the main circuit and the large capacitor, there's not much else involved—making it quite simple.
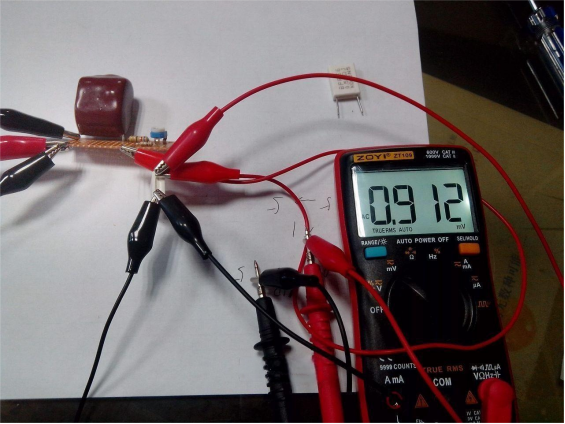
As shown below, you can use the reference resistors to verify the circuit's feasibility. For the 0.0921-ohm resistor, the voltage drop multiplied by 10 equals 0.921 V, while the actual measured value is 0.912 V, with roughly a 1% error.
Similarly, for the 0.4978-ohm resistor, the voltage drop multiplied by 10 equals 4.978 V, and the actual measured value is 4.947 V, also with about a 1% error. Both results are slightly lower than expected.
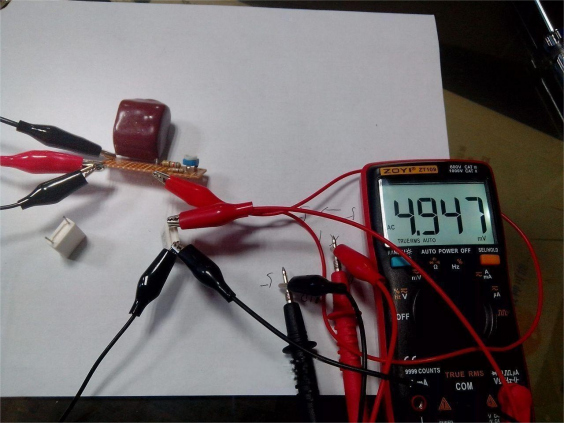
Next, you can connect a battery to measure its internal resistance. Don't forget to add a capacitor to isolate the meter probes, or else the display can easily overflow, as shown in the picture below.
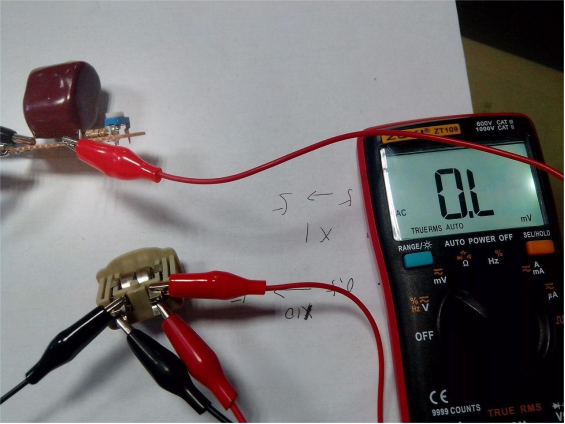
The internal resistance measured for this dual battery pack is about 0.9 ohms.
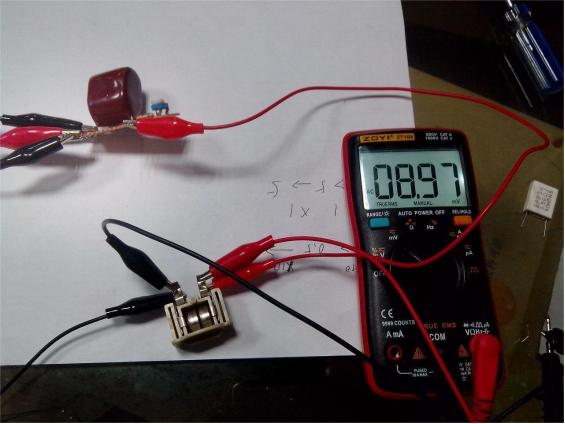
For a nickel-chromium battery that has been stored for a long time, the measured internal resistance is roughly 120 milliohms.
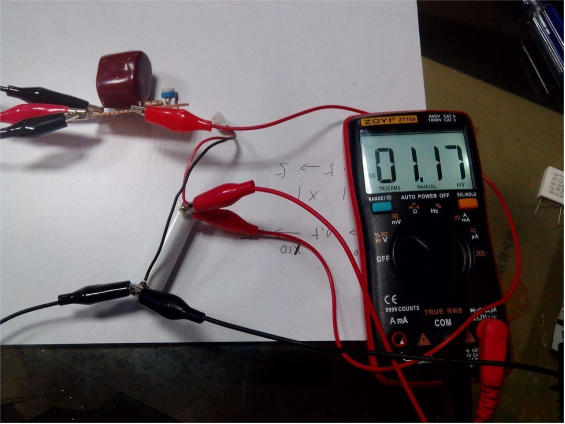
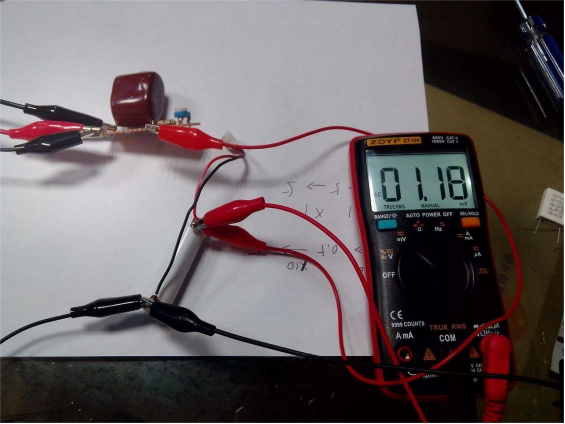
The internal resistance of a lithium battery was measured to be around 50–60 milliohms.
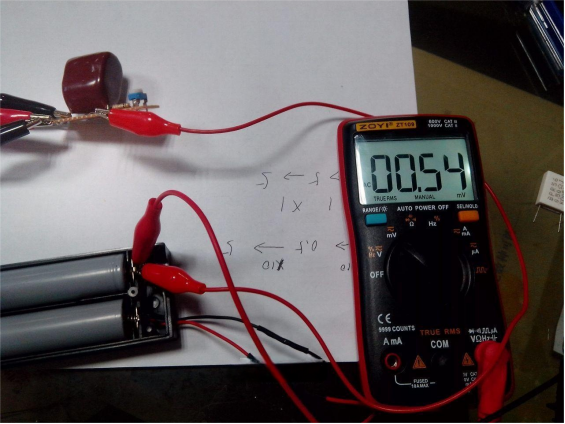
Don't forget to switch the measurement range to microvolts for better accuracy. The photos shown have not yet been switched, so the precision is not perfect.
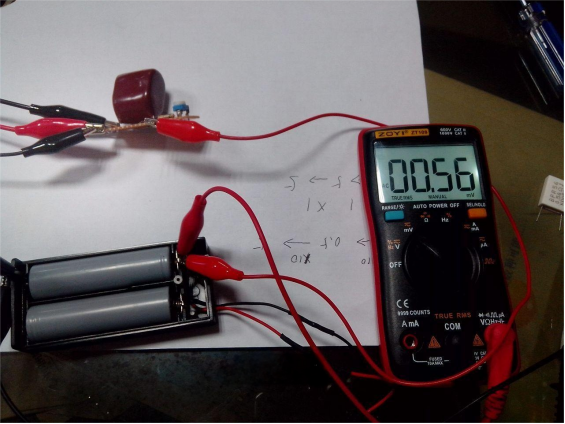
Actually, battery internal resistance doesn't need to be measured with extreme precision. This method gives you a good enough estimate.
Done.


