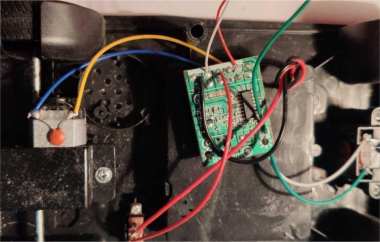
If you have a toy RC car and its battery runs out too quickly after charging, you can follow this guide to replace the battery. We'll switch it to three batteries in parallel, which will extend the car's runtime. If you're interested, take a look at this article.
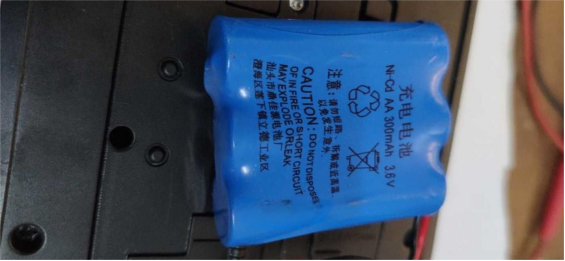
Here's what the original toy car battery looks like:
Open up the toy car, and the internal structure looks like this:
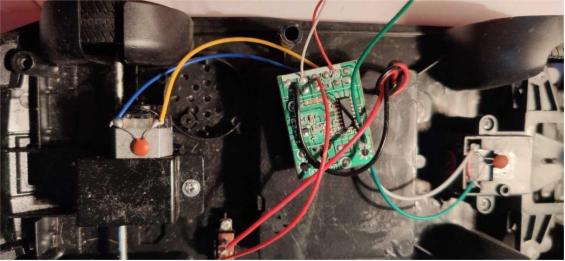
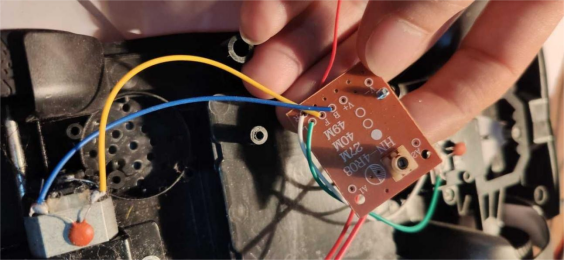
You'll need to move the receiver board slightly—this will make it easier to fit the batteries.
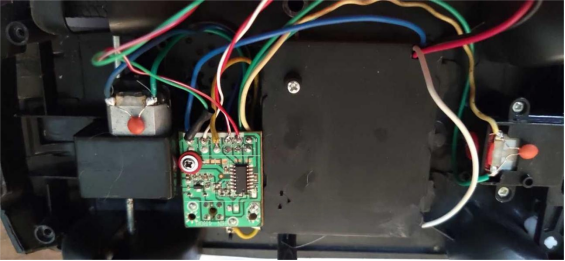
If the car's original wires are too thin and break easily when pulled, now is a good time to replace all of them.
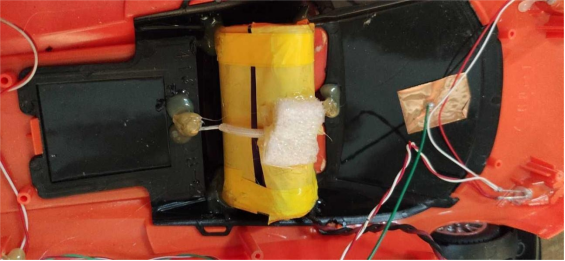
The original battery holder can fit 18650 batteries in terms of length and width, but it's not deep enough—so the cover won't close. You can arrange three batteries in a triangular layout in this spot, which fits perfectly. There are screws on both sides, so you can bend a piece of wire into a semicircle and fix it with the screws. Place a piece of plastic foam on top of the batteries to press them against the car's bottom.
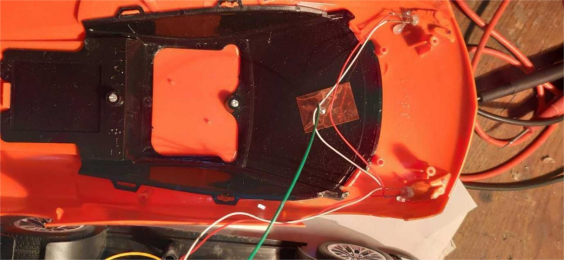
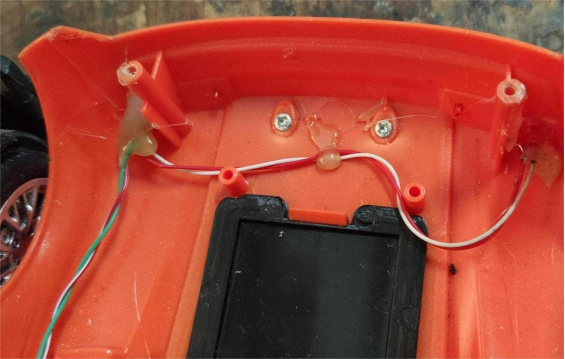
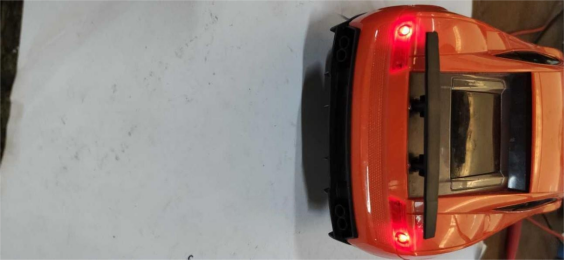
The original rear light has mounting holes but no lights installed. You can install two red LEDs in this position.
Place the charge/discharge board inside the original battery holder and fix it with hot glue.
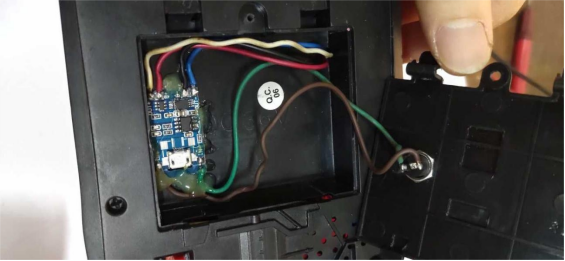
You'll also need to make a hole in the battery holder to install a DC socket as a charging port.
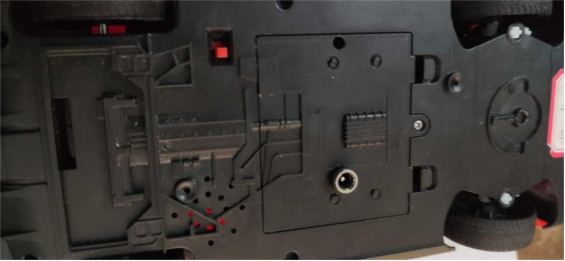
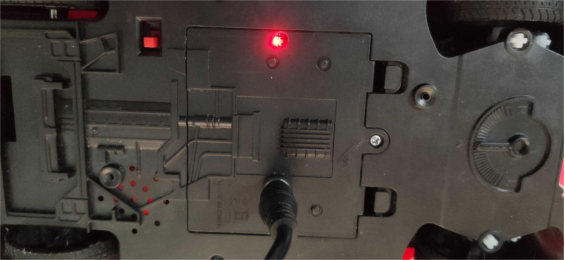
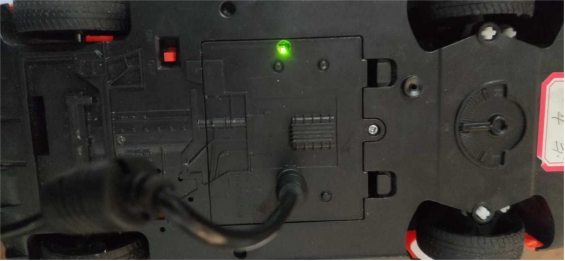
For the charging board indicator light, you can cut a hole in the battery cover so it's easy to see the charging status.
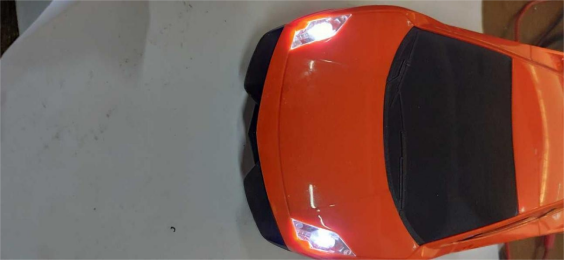
Once everything is done, the toy car's headlights will turn on when moving forward, like this:
The rear lights will turn on when reversing, like this:
Done.


